The Character (A Self-Surrogate):
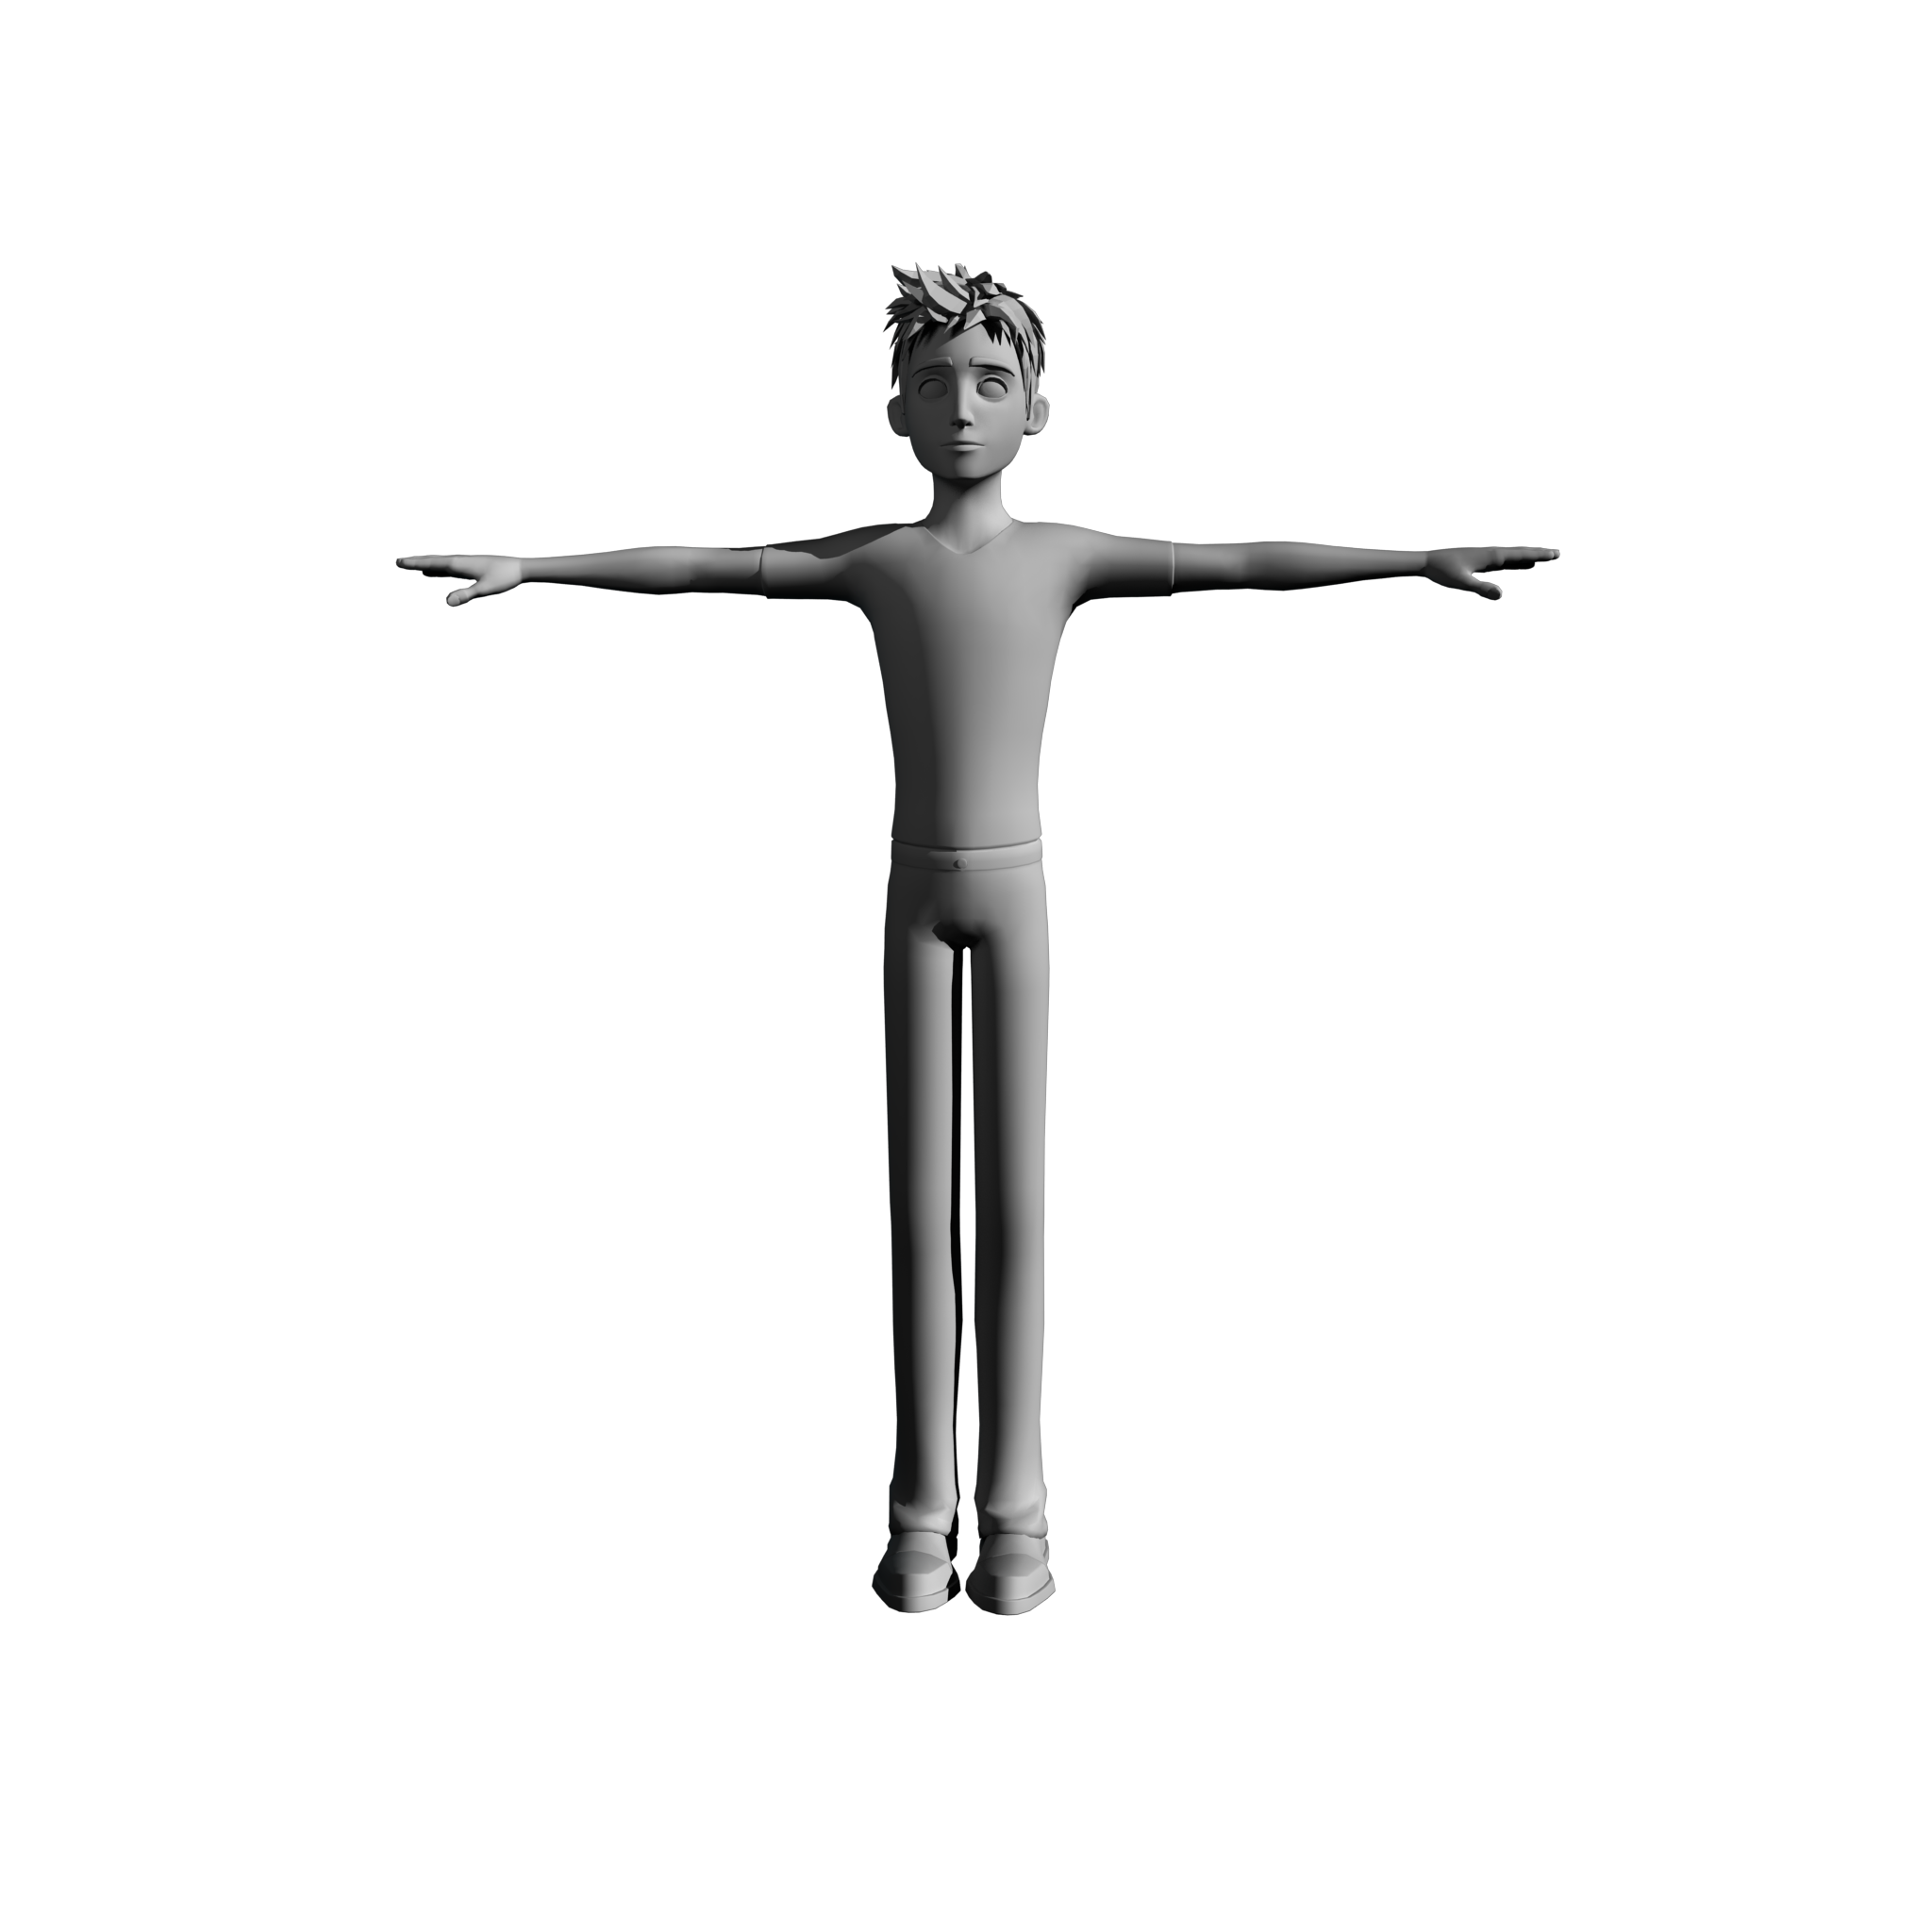
Asset Source — CGTarian’s ‘Ray Rig’, a famous and widely used rig created through a collaboration between DreamWorks Animation and CGTarian to be used in non-commercial student projects and animations. The Ray Rig comes with standard lambert materials, completely unanimated, yet the rig is incredibly dynamic (visually and kinetically), which is why I chose it as the basis for my main character.
Texturing The Character:
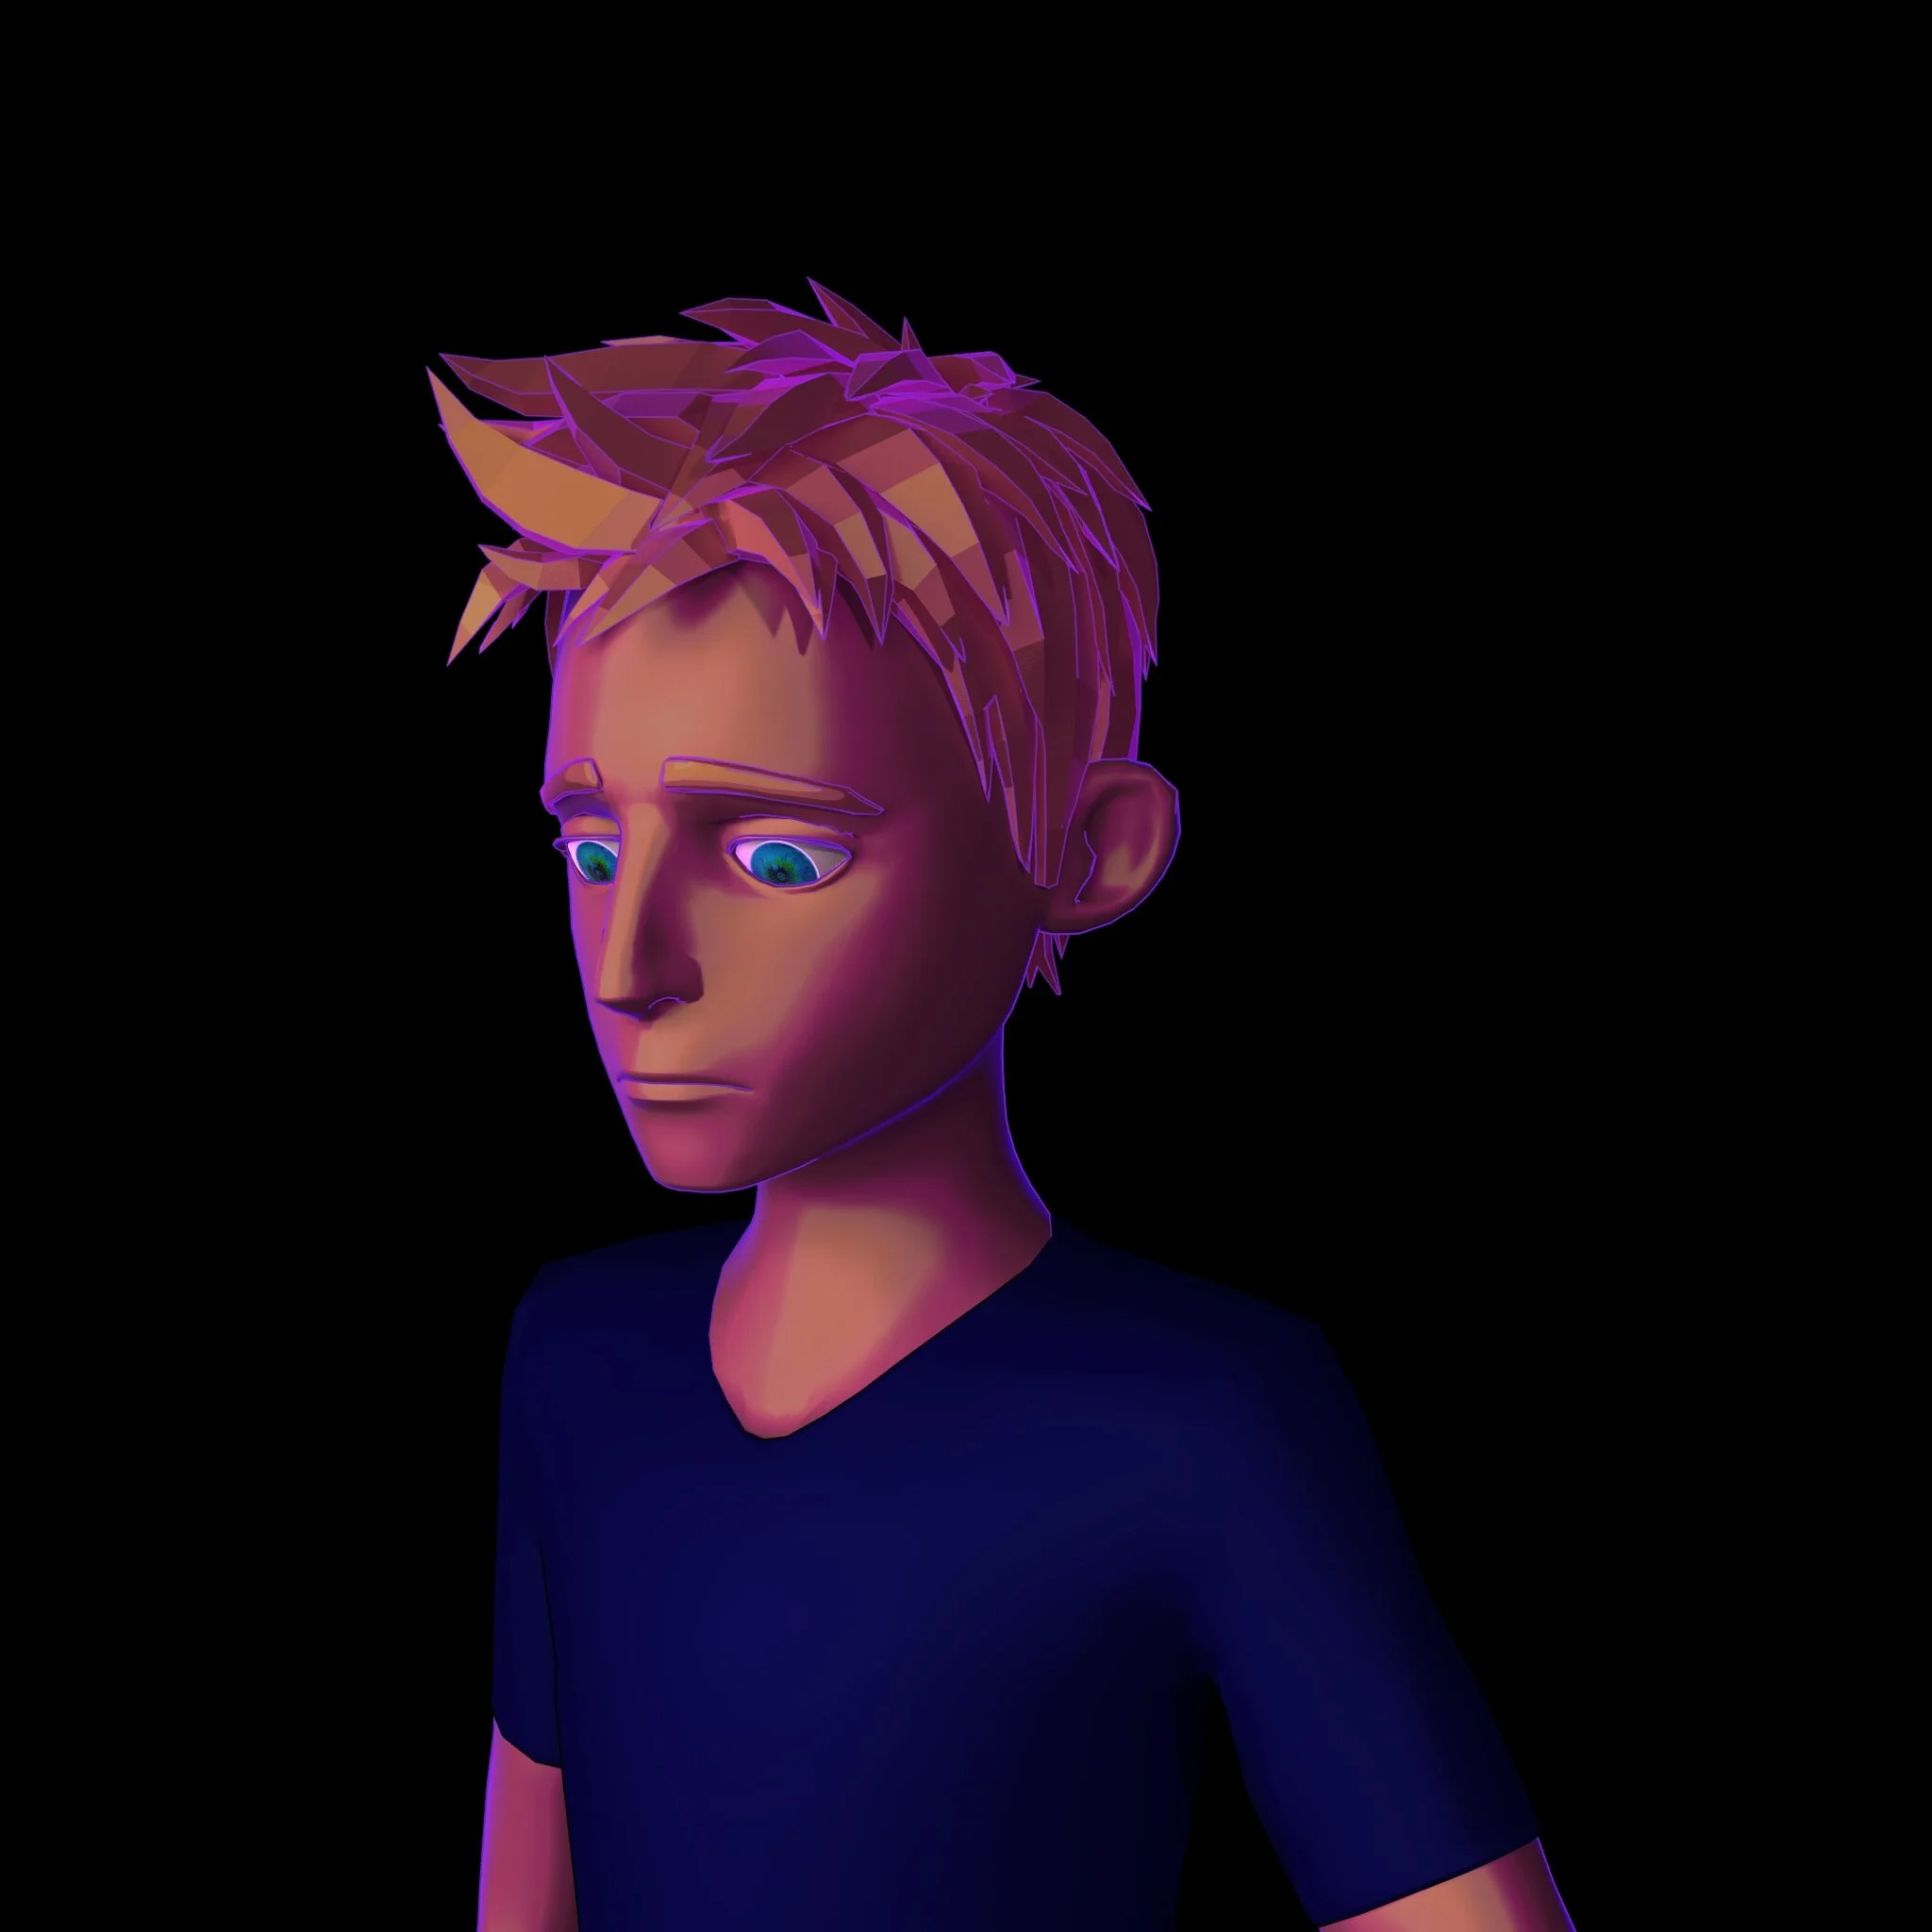
The first step in the character design process (before beginning the animation process) was applying the proper shaders to the mesh. In texturing the character, I decided to use Arnold’s stylistic Ai Toon Shader, instead of the physically-realistic and energy-conserving Standard Surface model, as the Ai Toon Shader is more light-weight (—especially in comparison to typical PBR workflows for skin shading in Arnold which require subsurface-scattering, roughness maps, normal maps, etc.—) and offers greater flexibility in creating the cartoony and stylized aesthetic I was aiming for.
Adding The Toon Shaders:
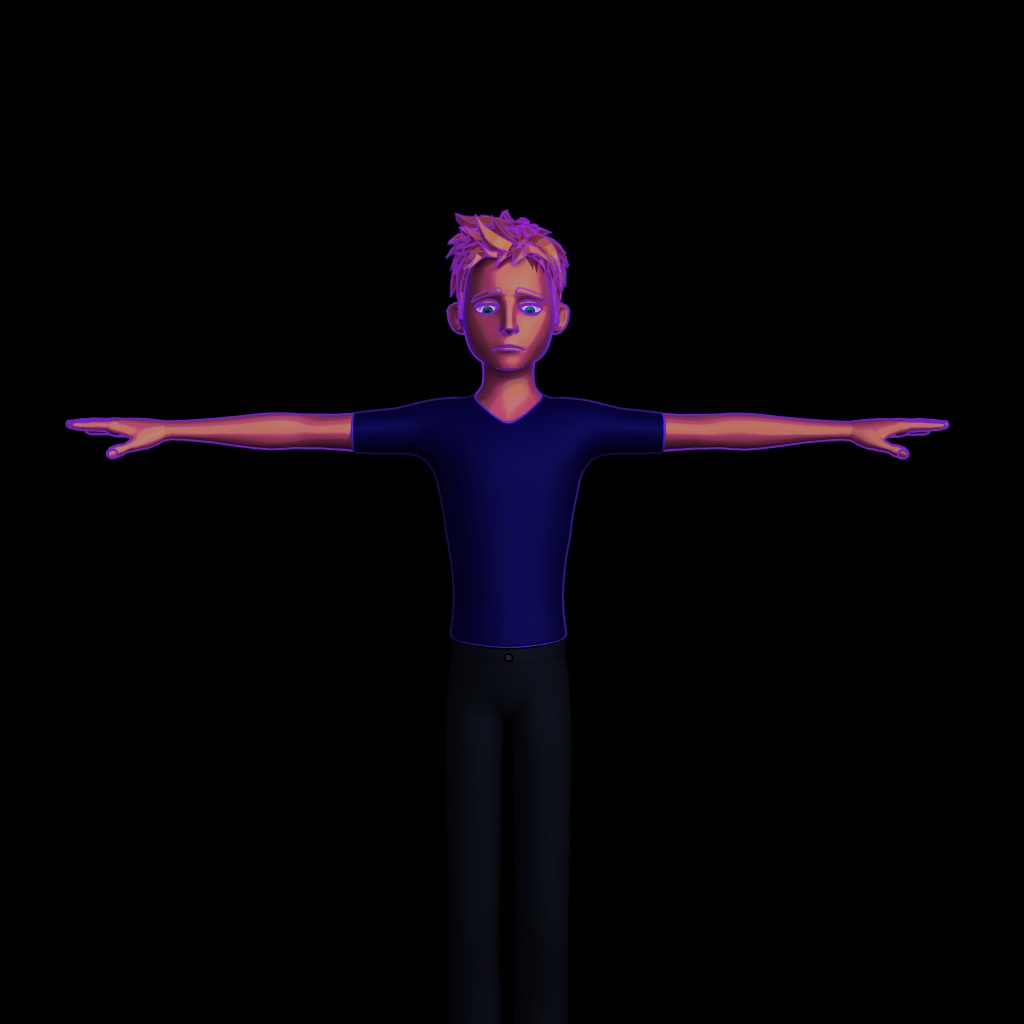
Front
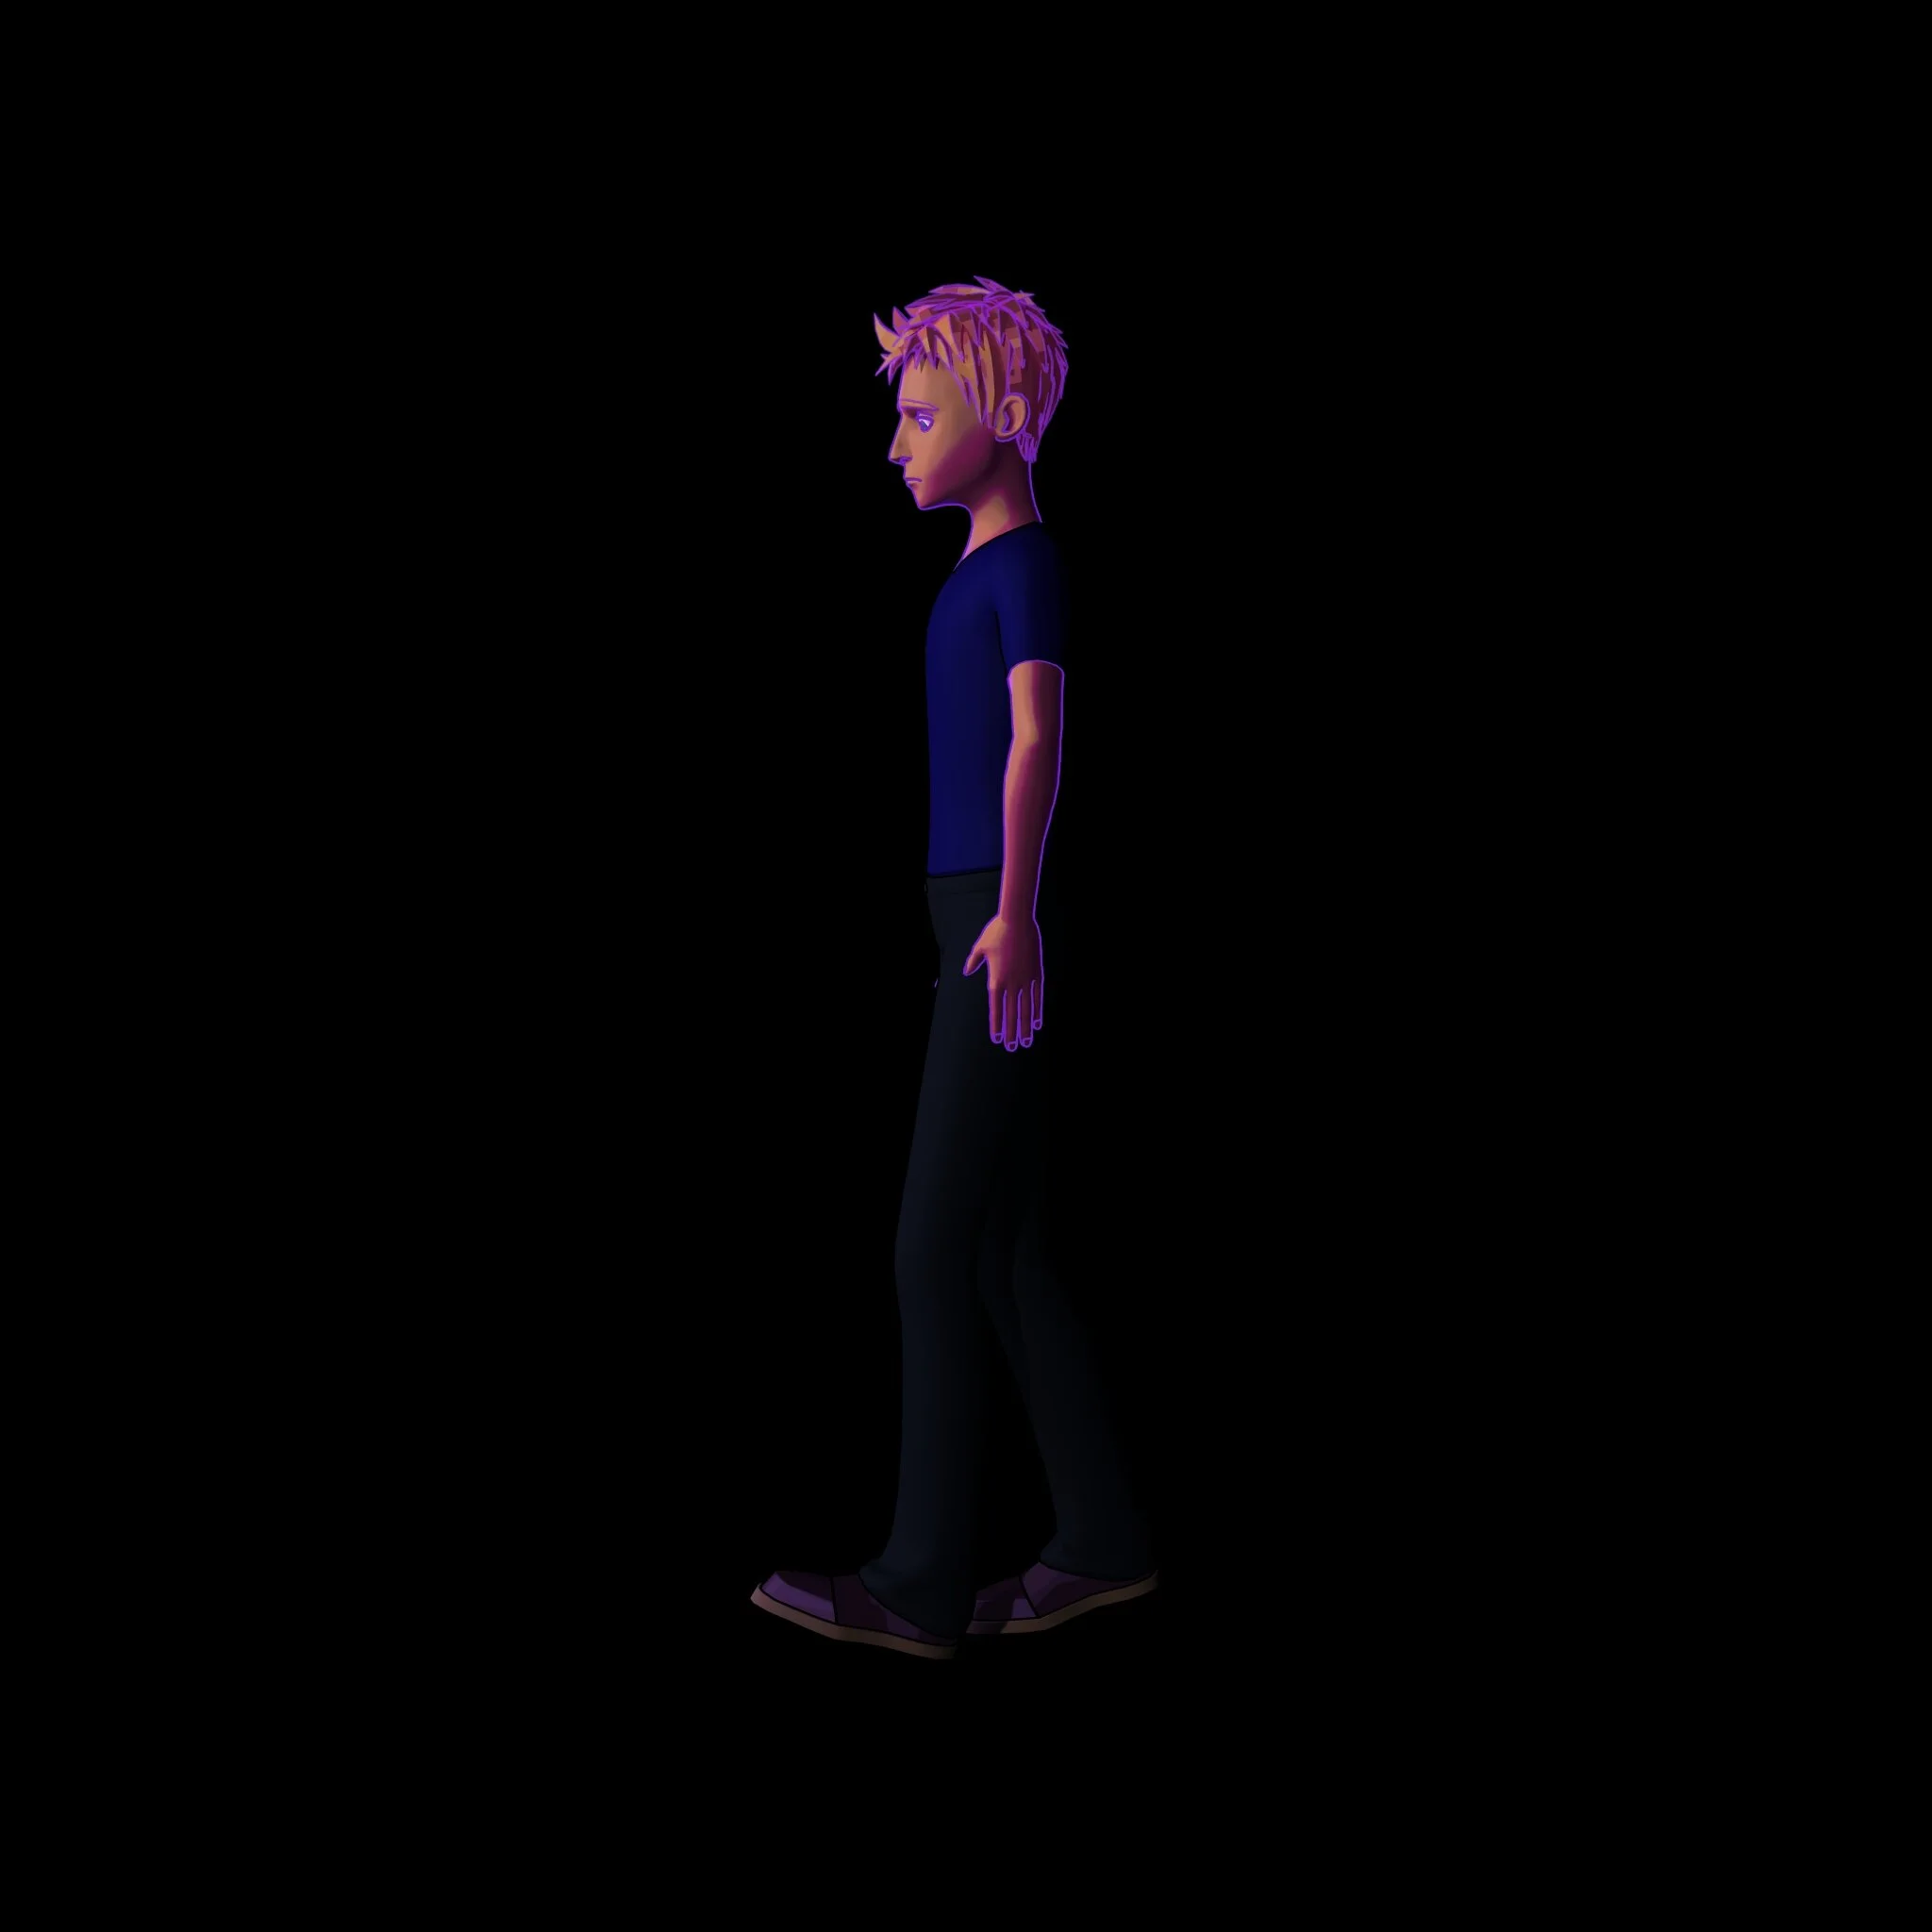
Side
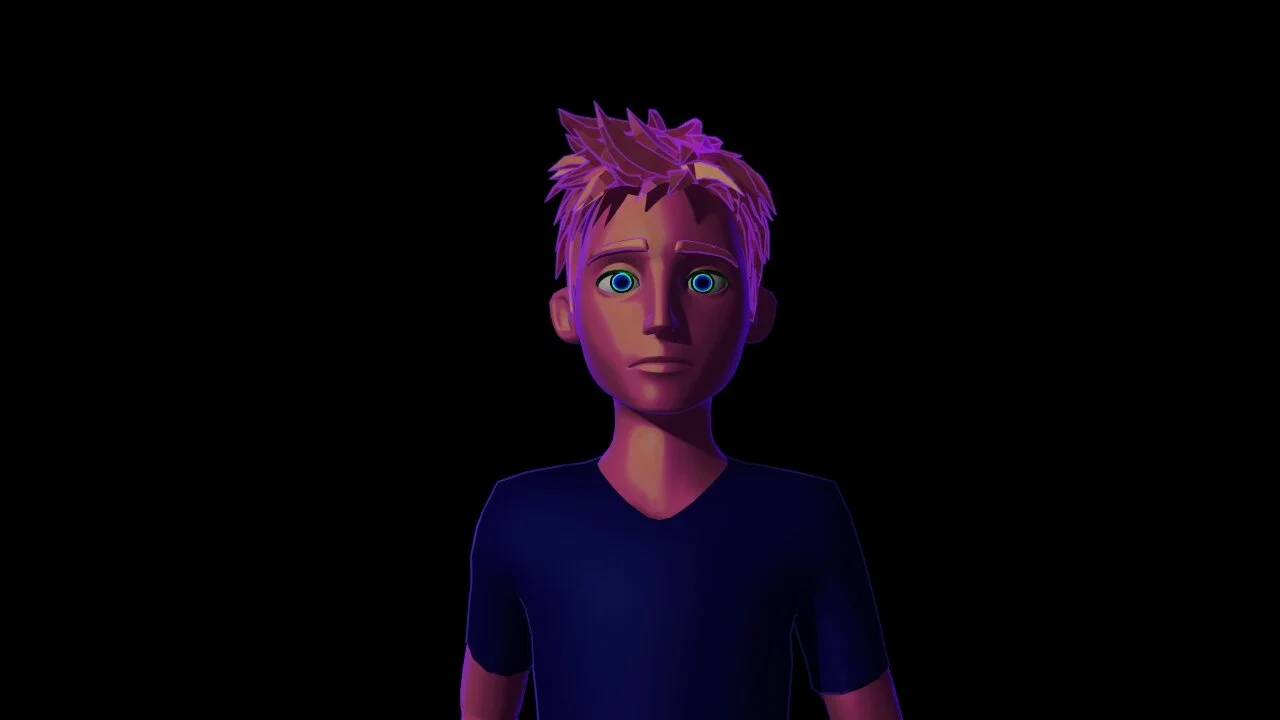
Front
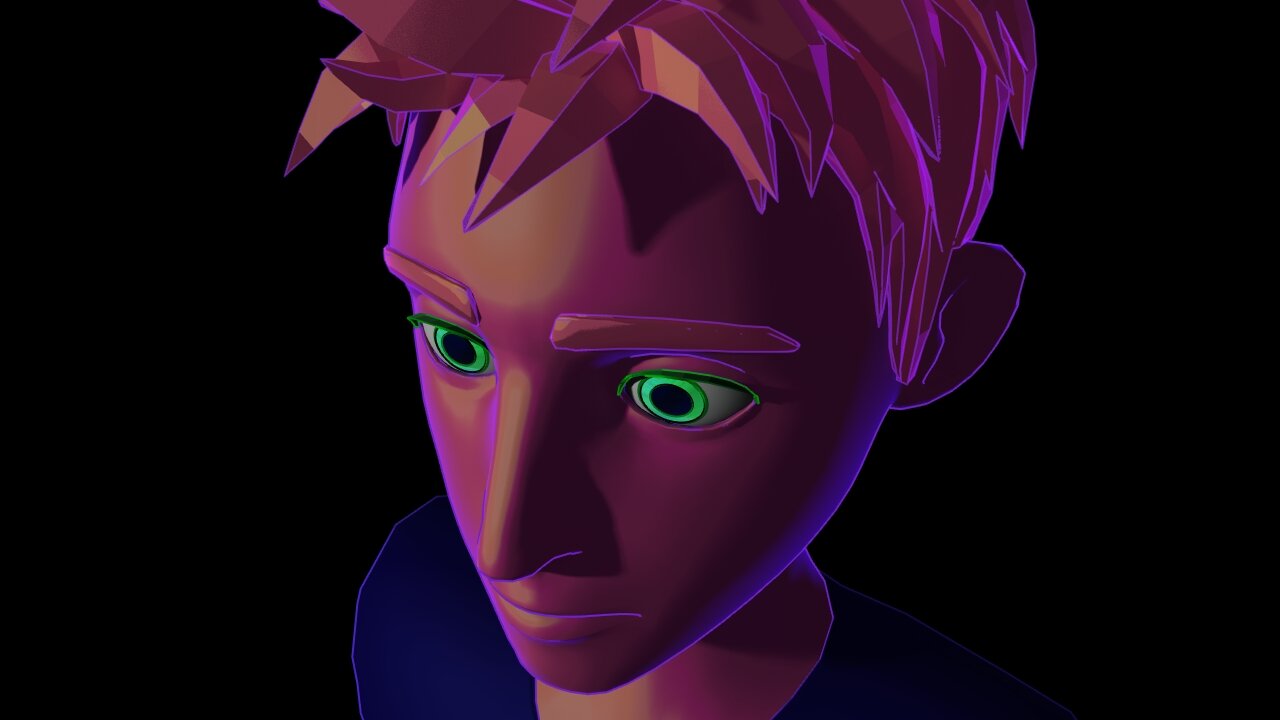
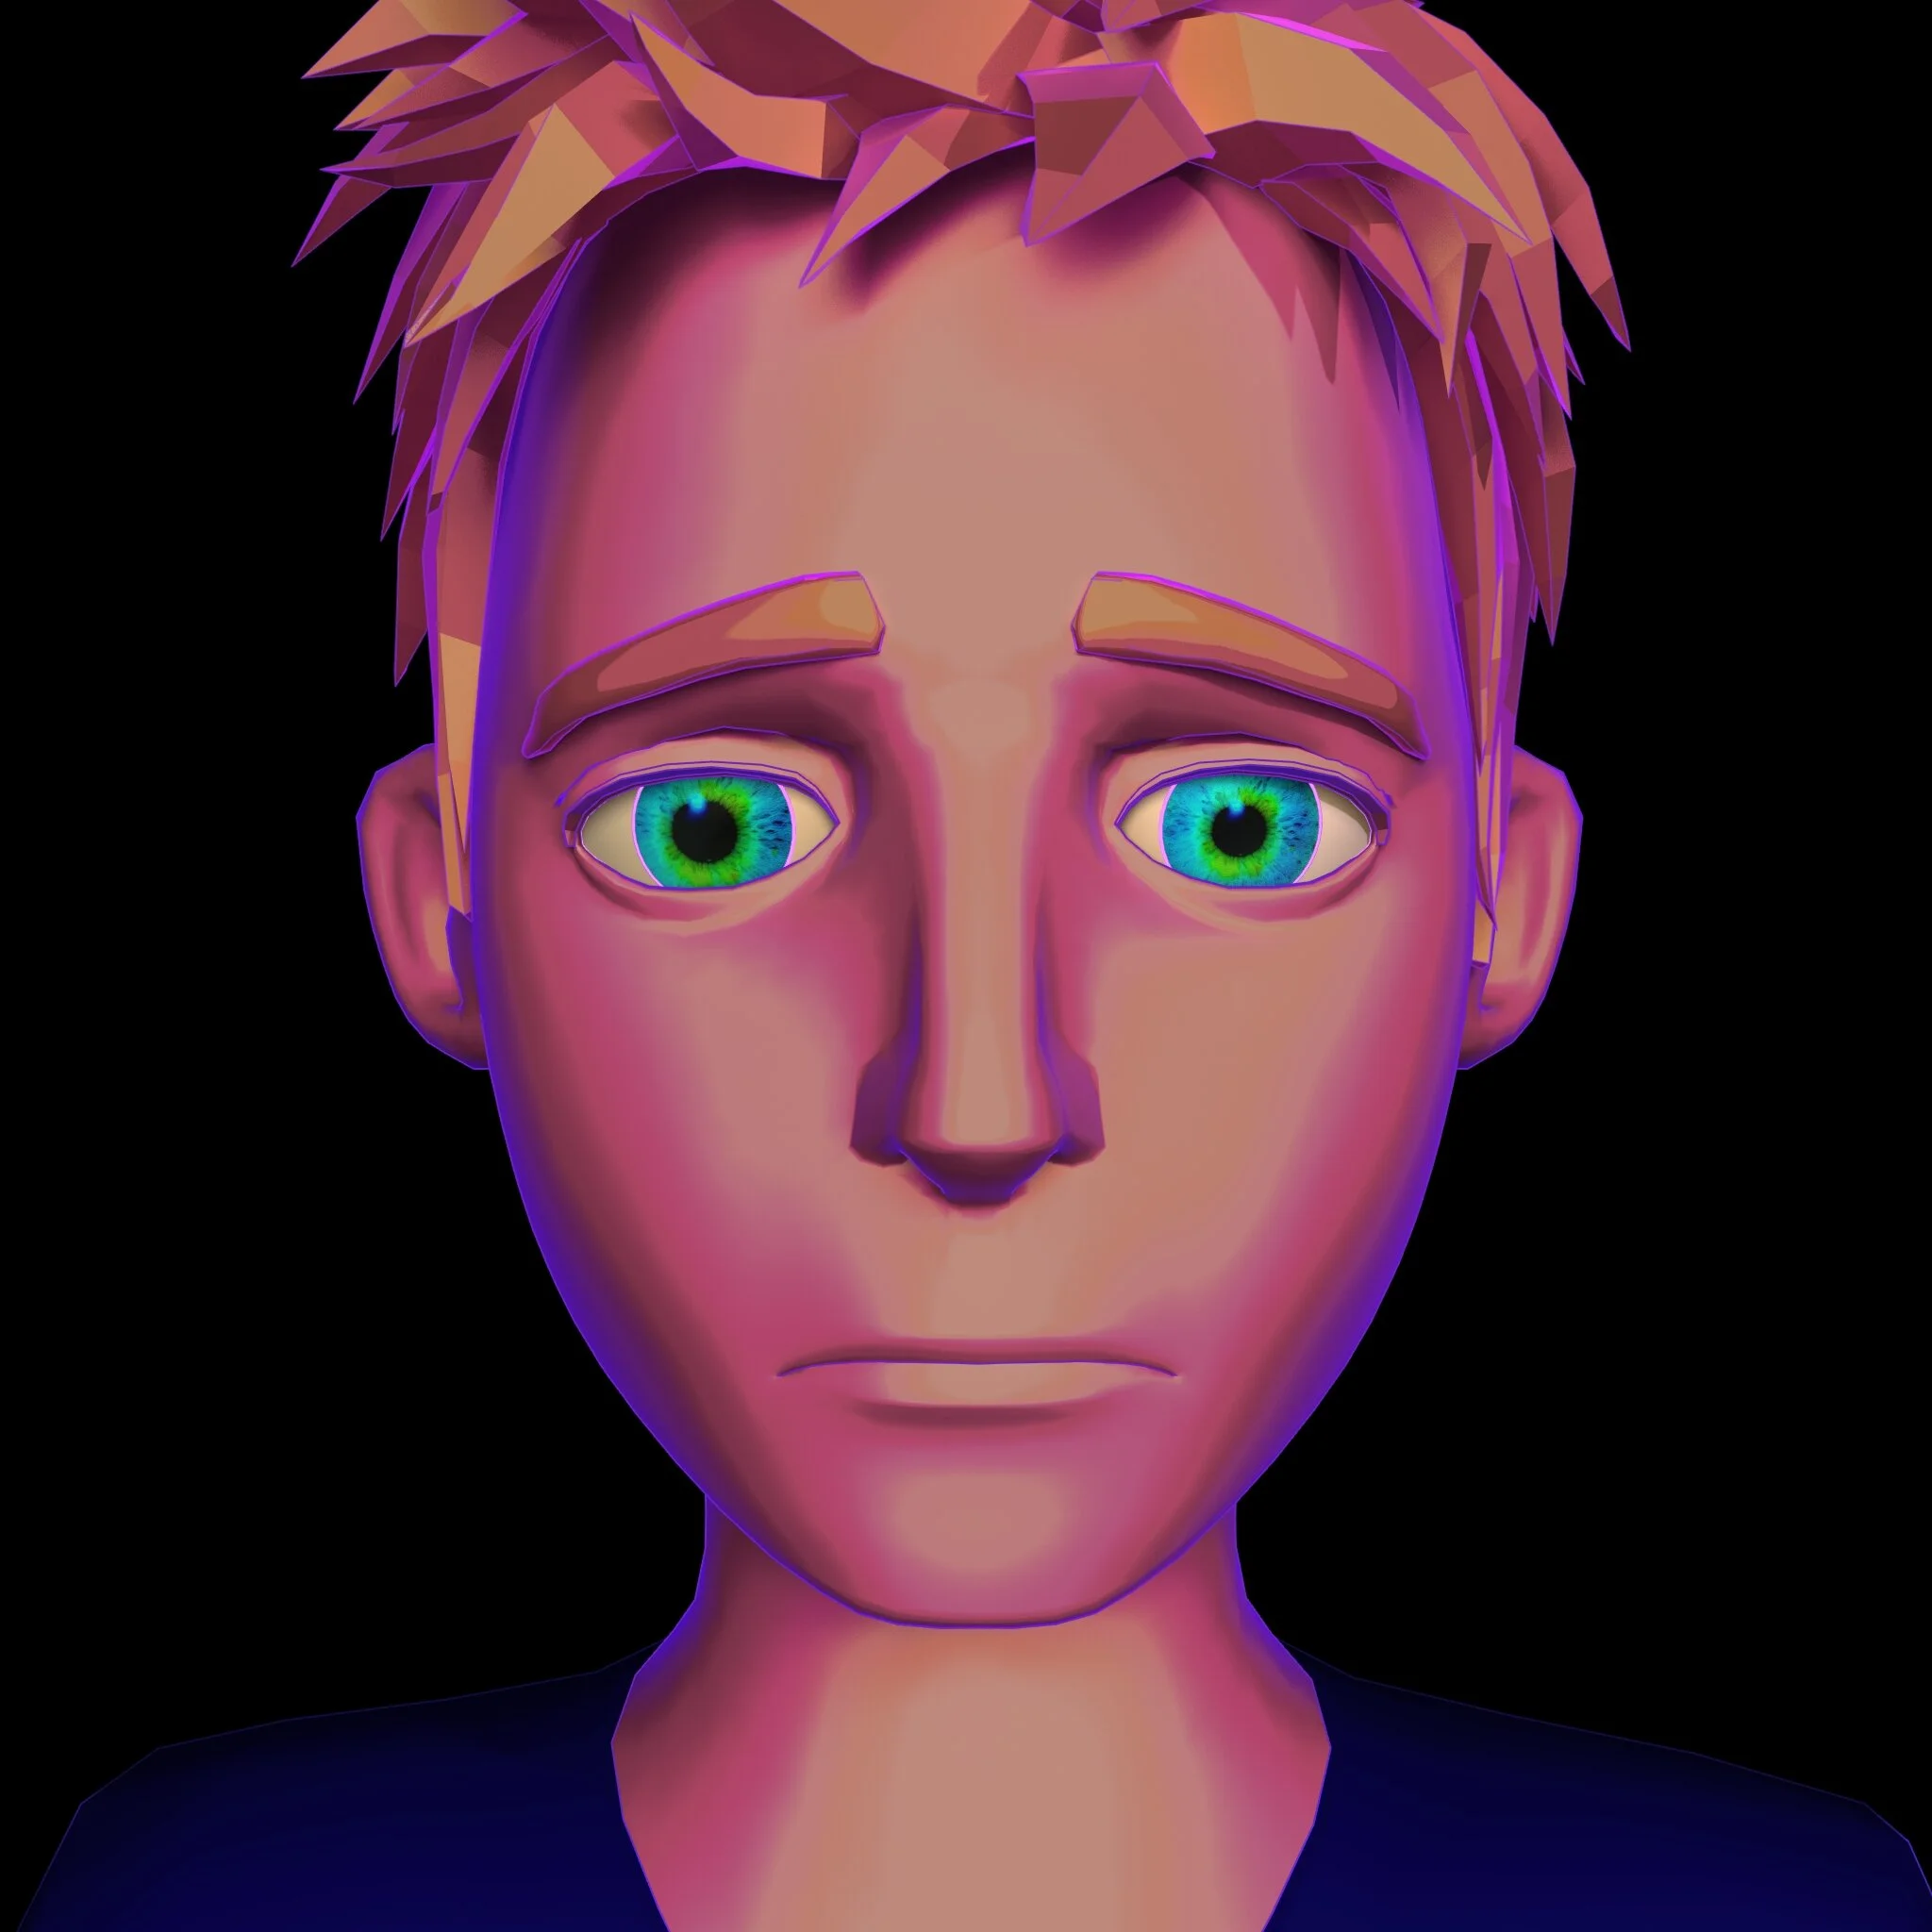
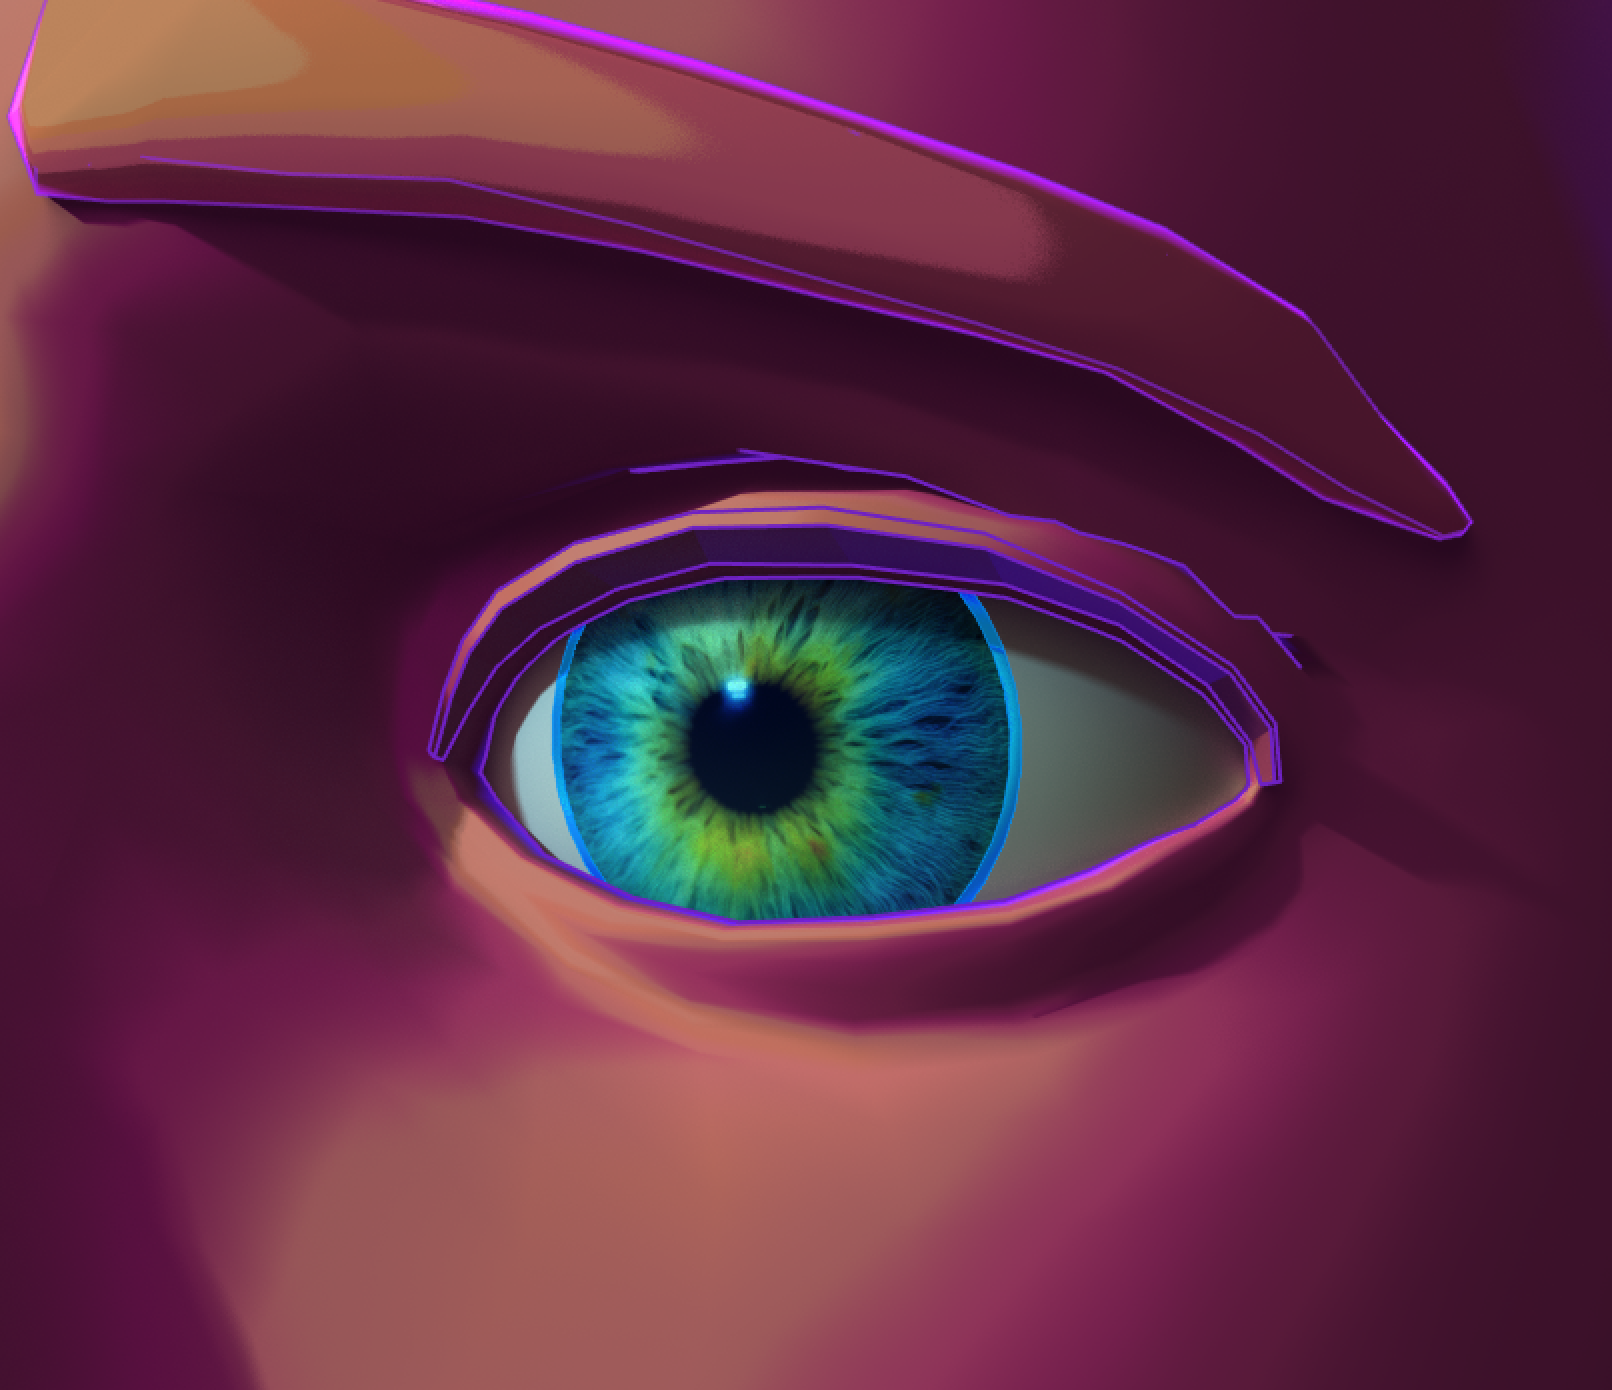
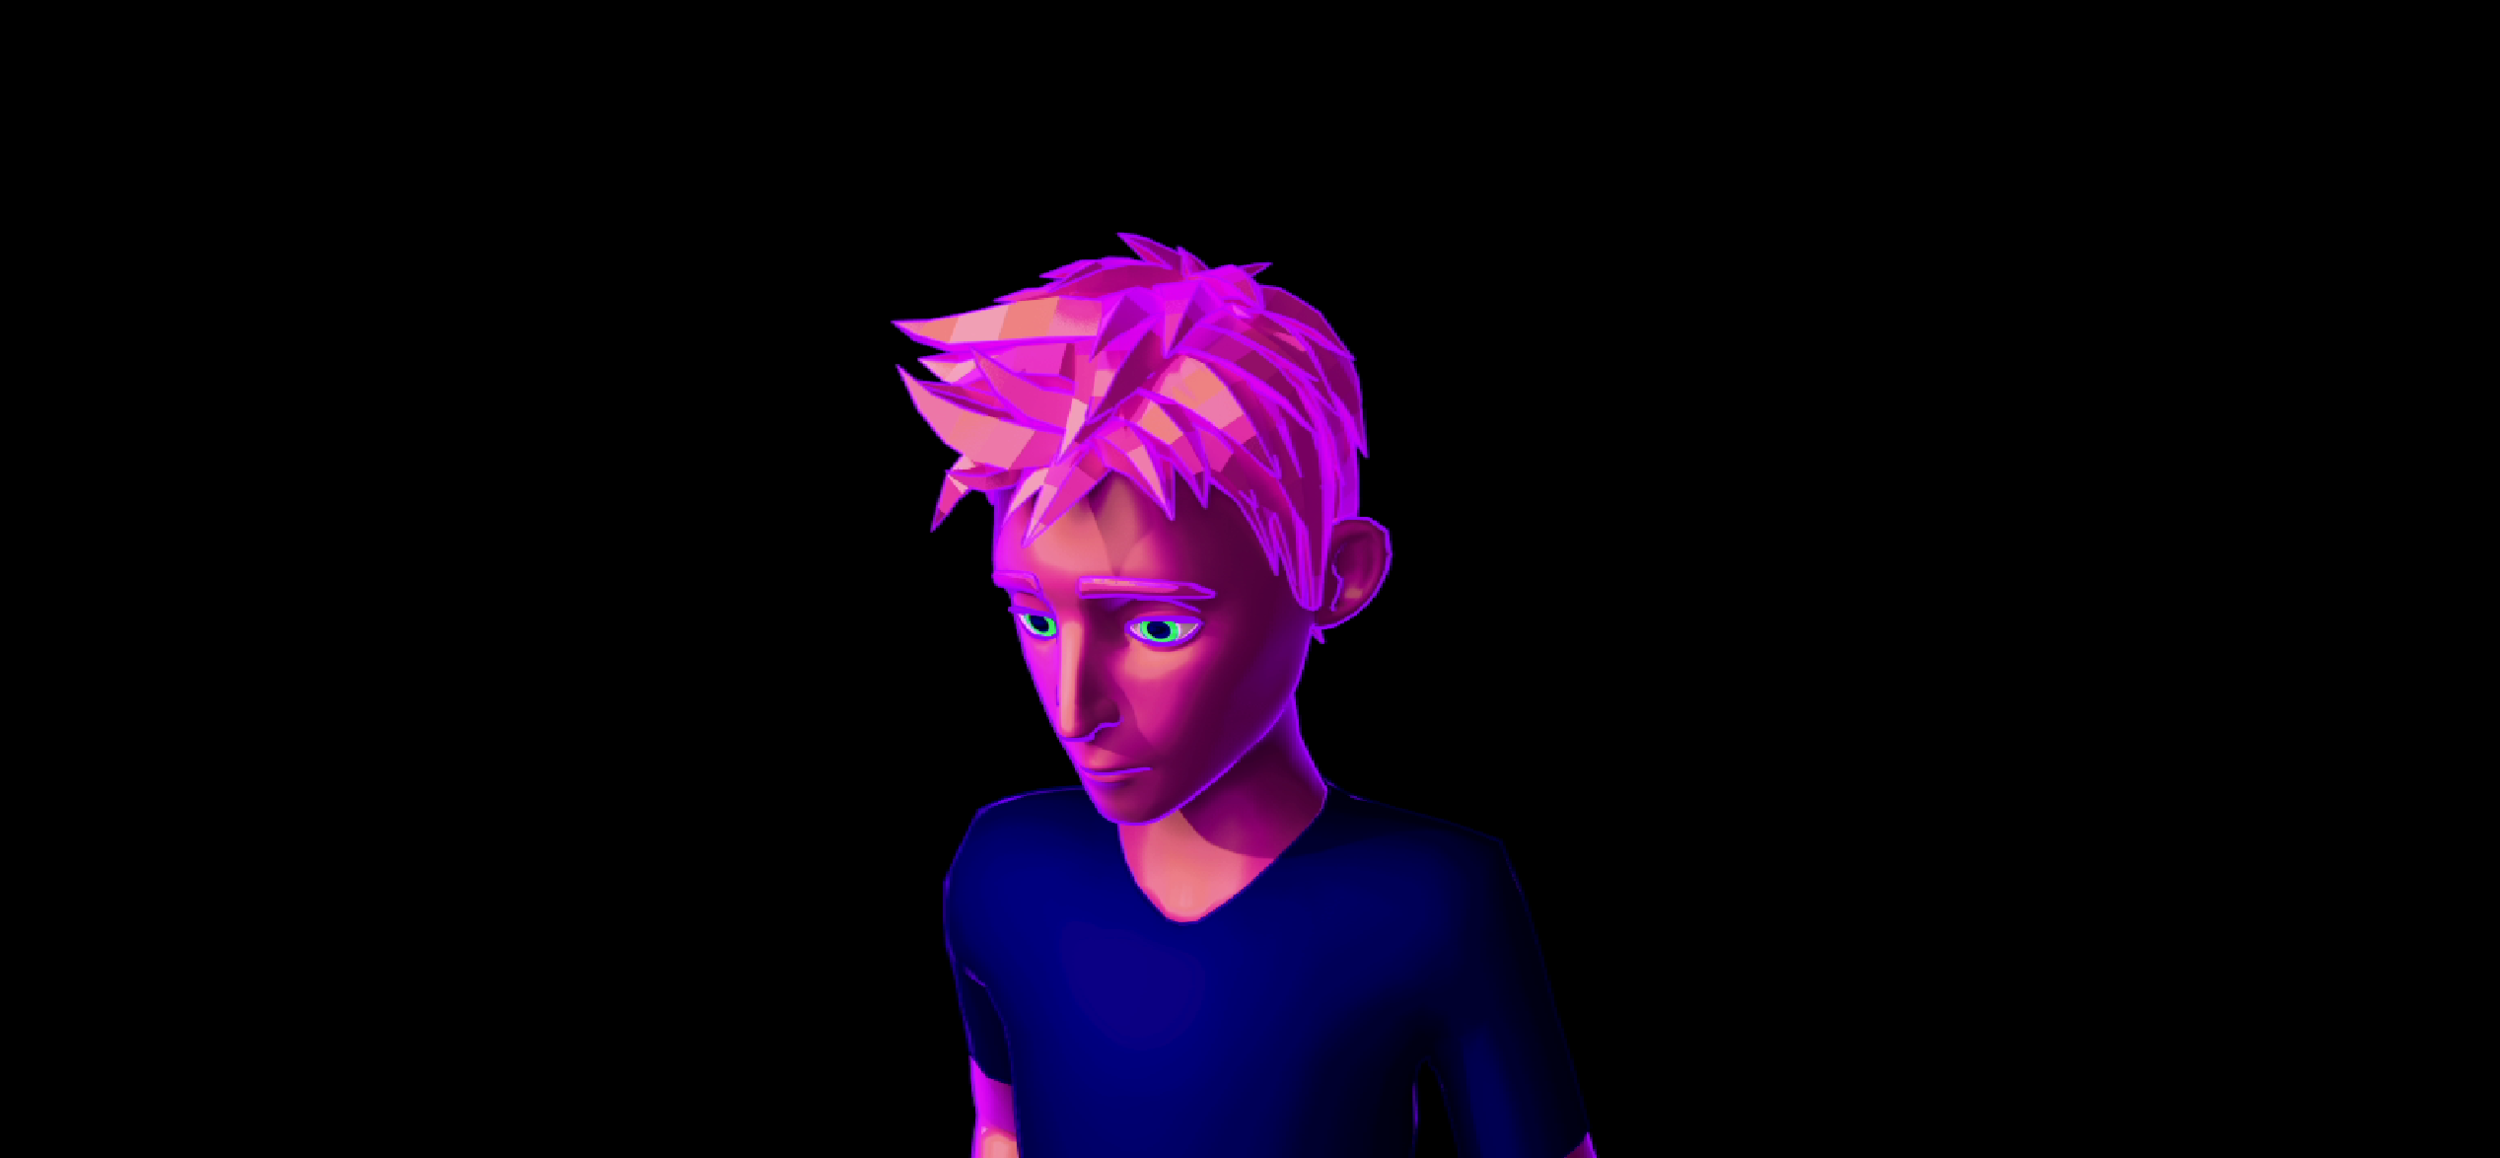
Closeup
Closeup
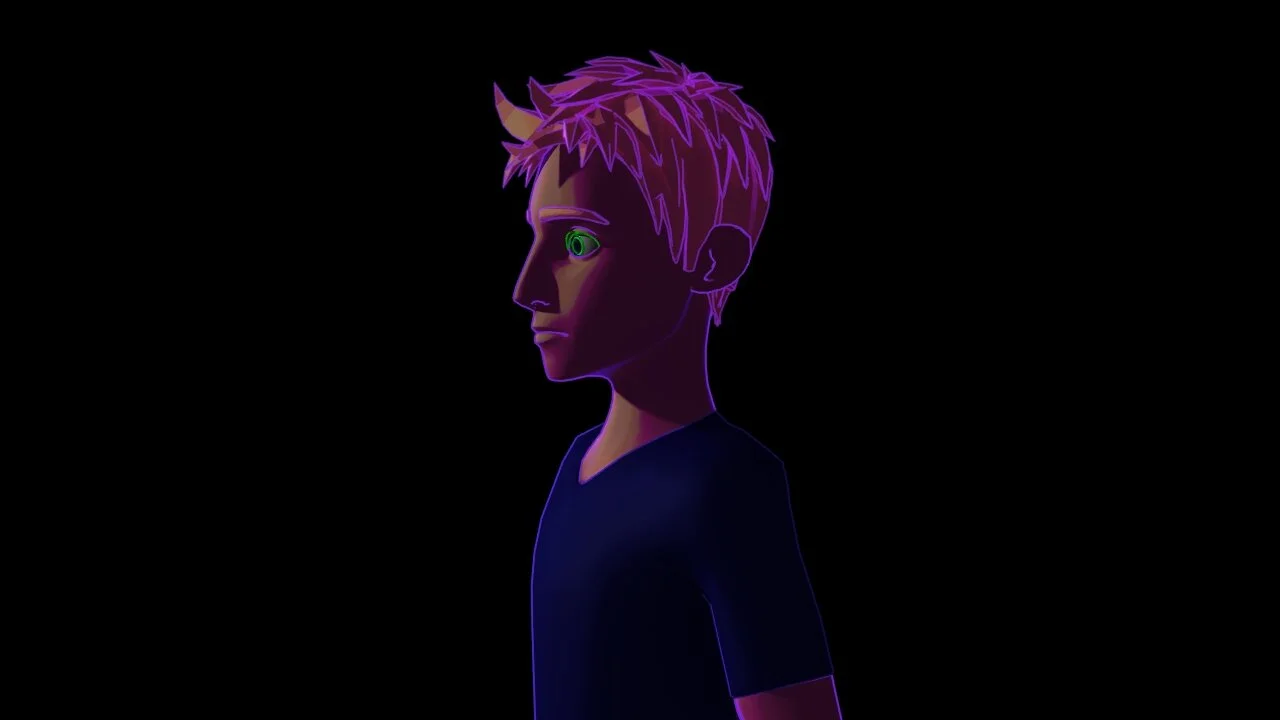
Side
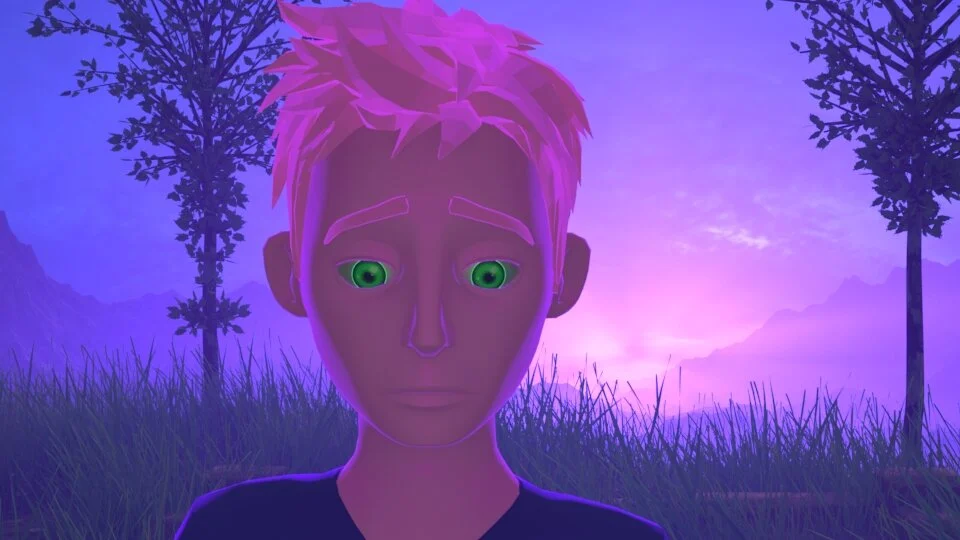
After adding the basic Toon Shaders to the mesh, I next added a more realistic textures to the eyes, using a Standard Surface Shader with subsurface-scattering (for closeups on the character’s face)

ANIMATING THE CHARACTER:
Walk Cycle
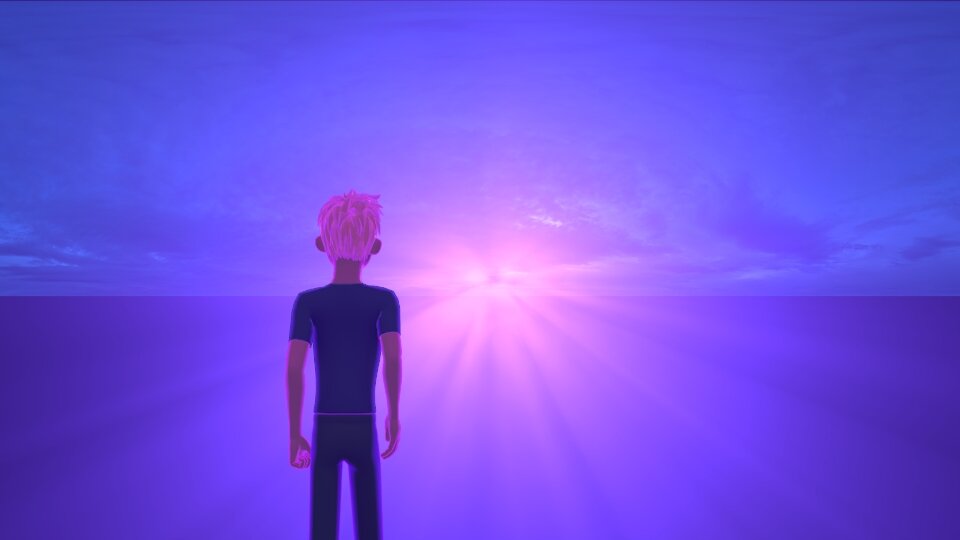
Dynamic Camera Shot