PART 3: Chapter 1 (Hallucinatory Montage)
Scene Breakdowns (in sequential order as seen in film):
N.B. : citations/links for all of the external sources that were used in the piece (i.e. anything that I didn’t specifically make myself) are listed in the ‘References’ section
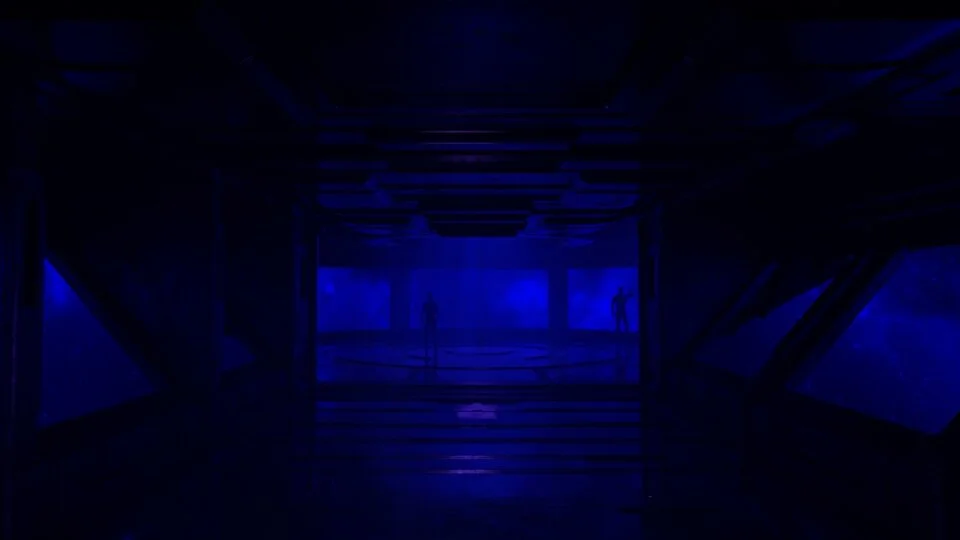
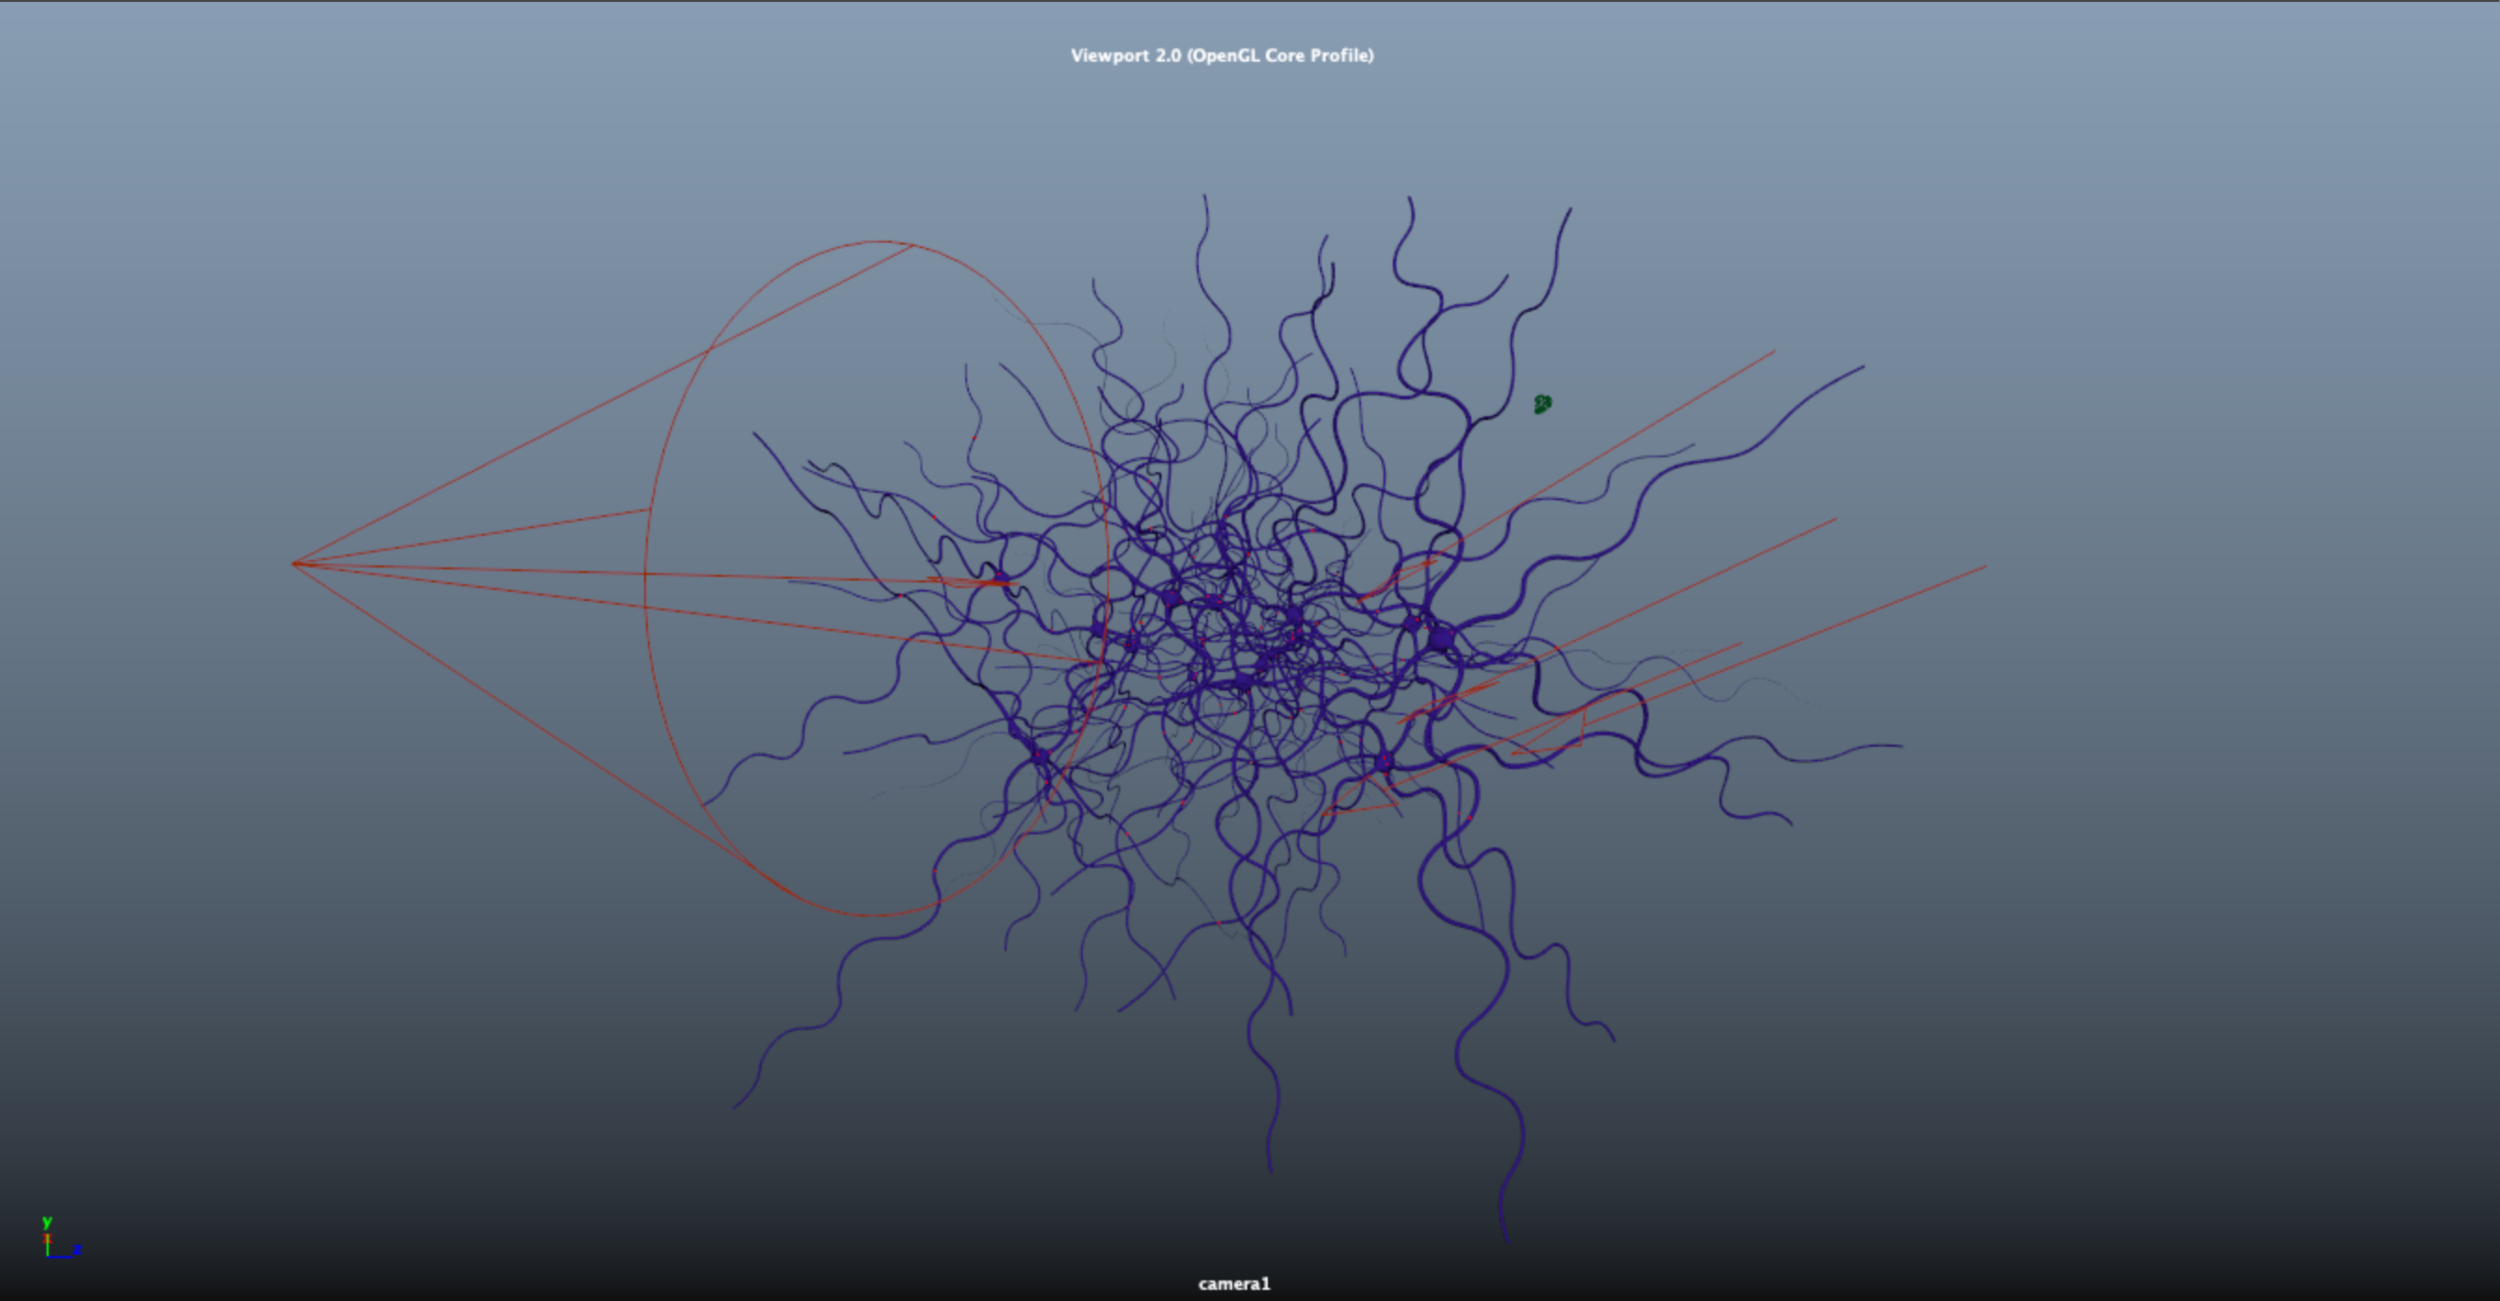
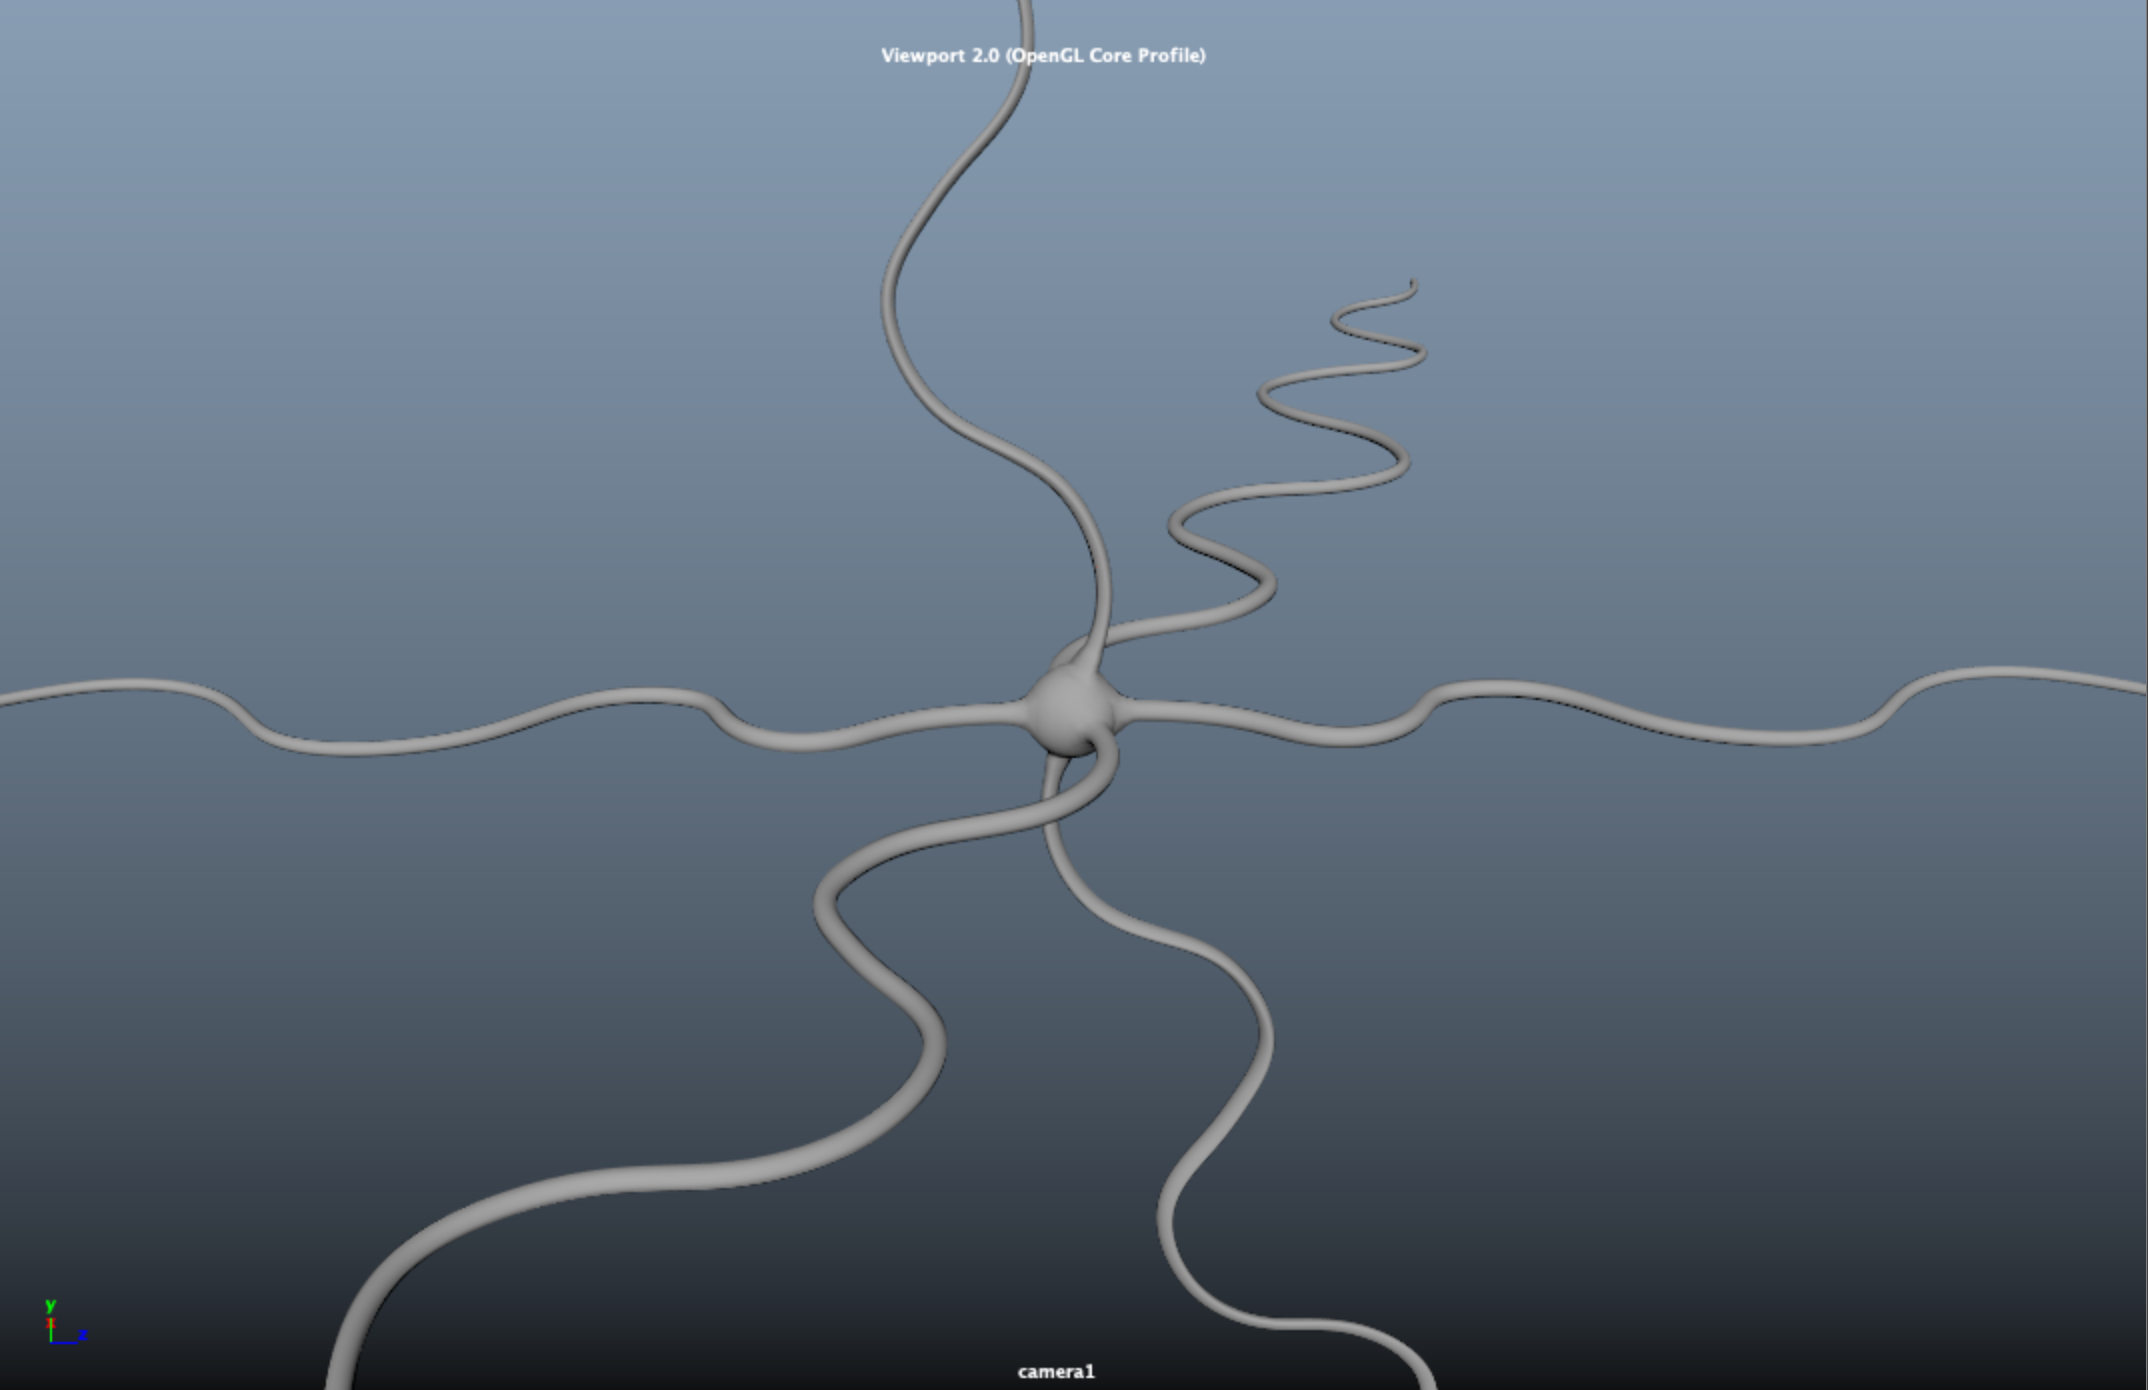
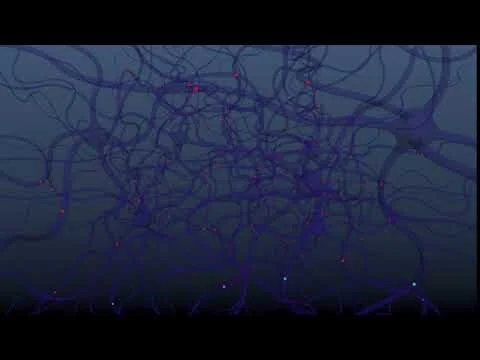
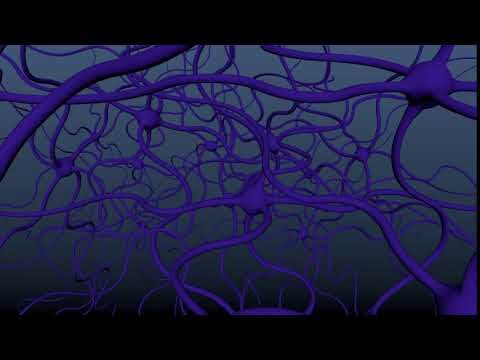
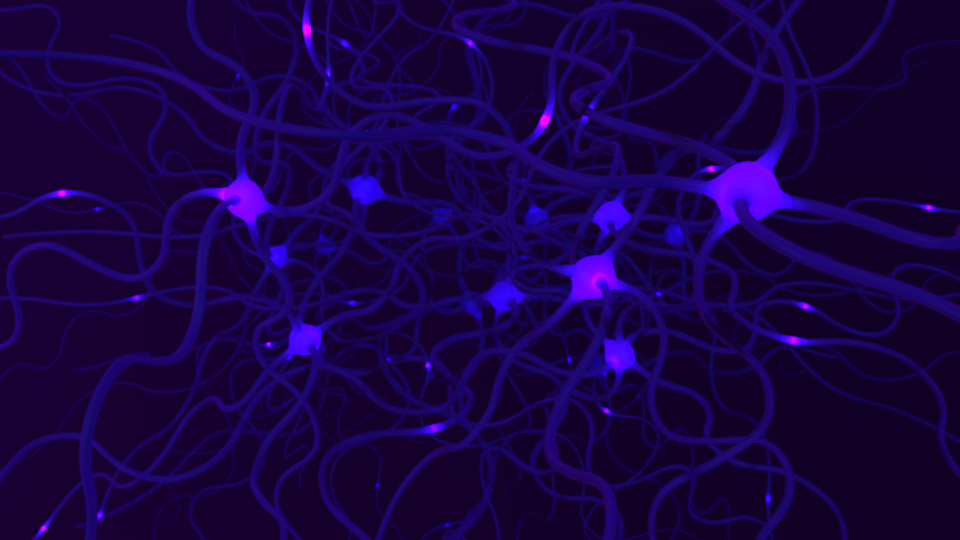
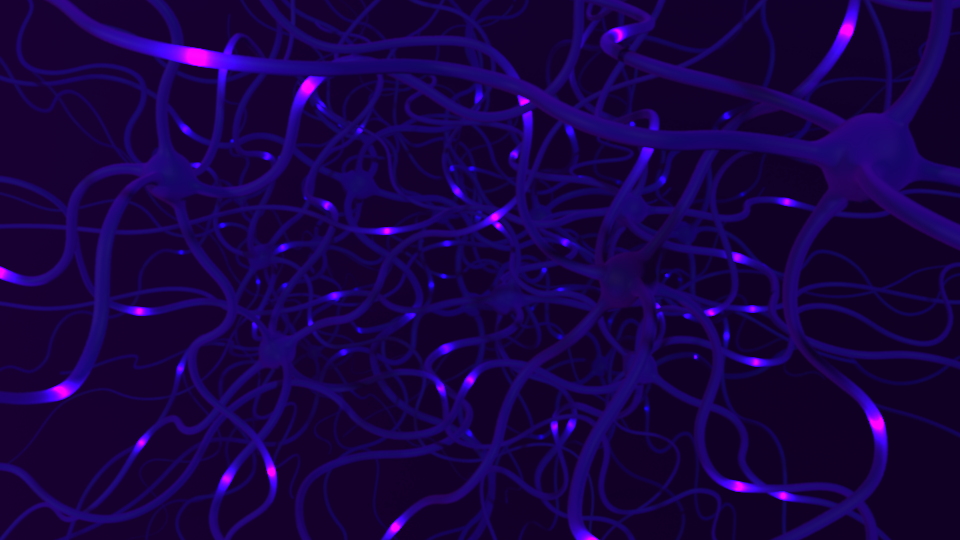
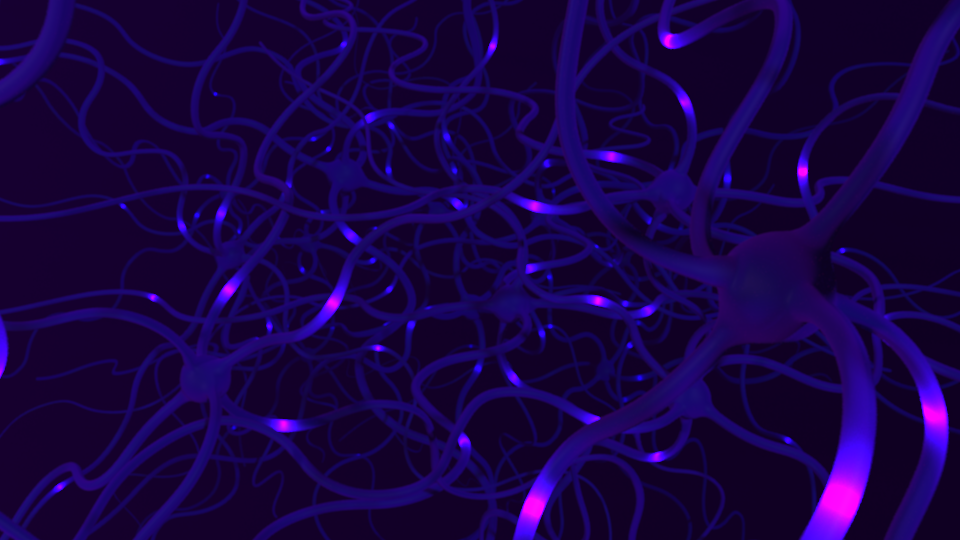
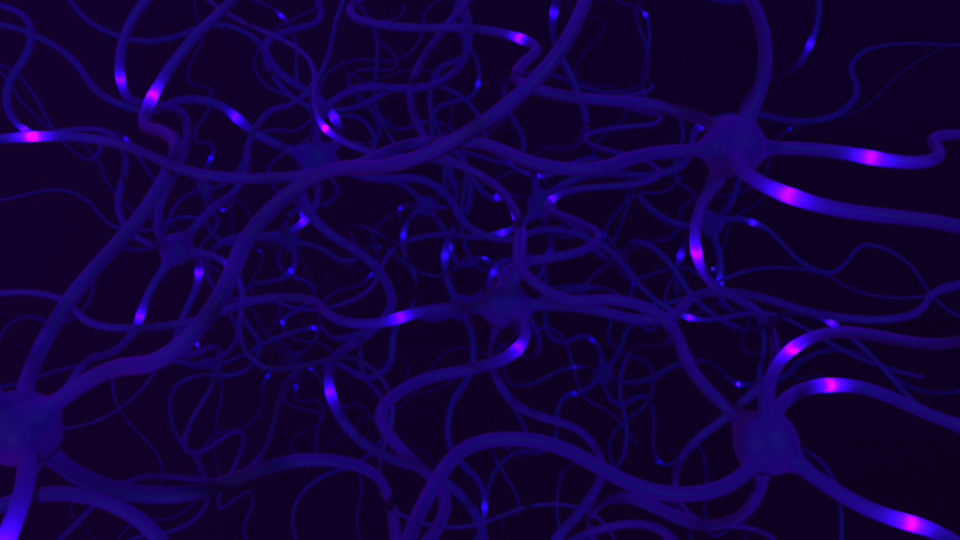
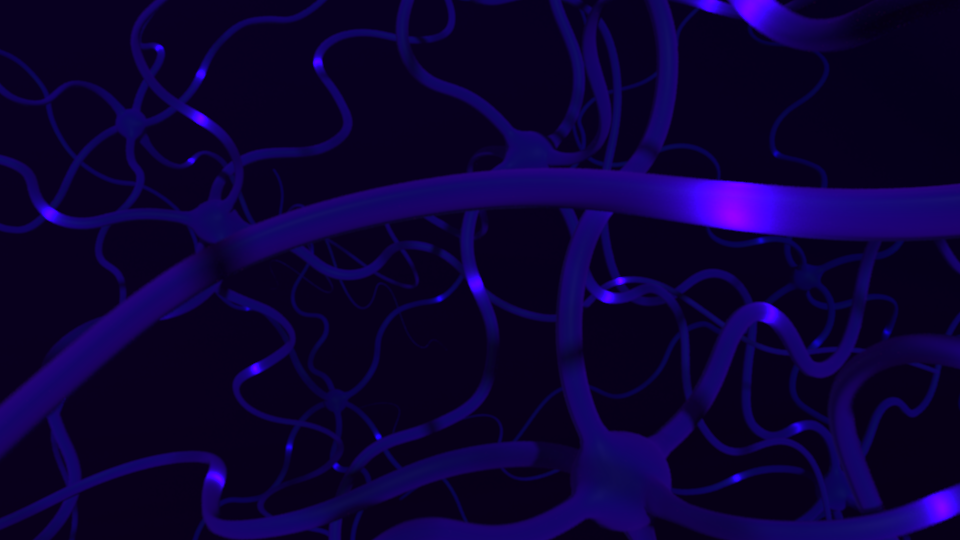
Scene 1: Neurons Firing Visualization
Brief Reflection —
The scene began with a single neuron mesh that I modeled using a basic sphere that was extruded along several curves that were placed/drawn in an attempt to realistically form the dendrites of the neuron. The curves that had been initially used to form the tendrils of the neurons were then used (as motion-paths) to animate a series of lights throughout the neuron mesh (using a Mash network). After creating this initial neuron (and tweaking the animation of the ‘pulsating effect’ of the lights as they travelled throughout the mesh), I then duplicated the entire system and manually placed more of the neurons throughout the scene to create the interlocking neuronal network look that’s seen below.
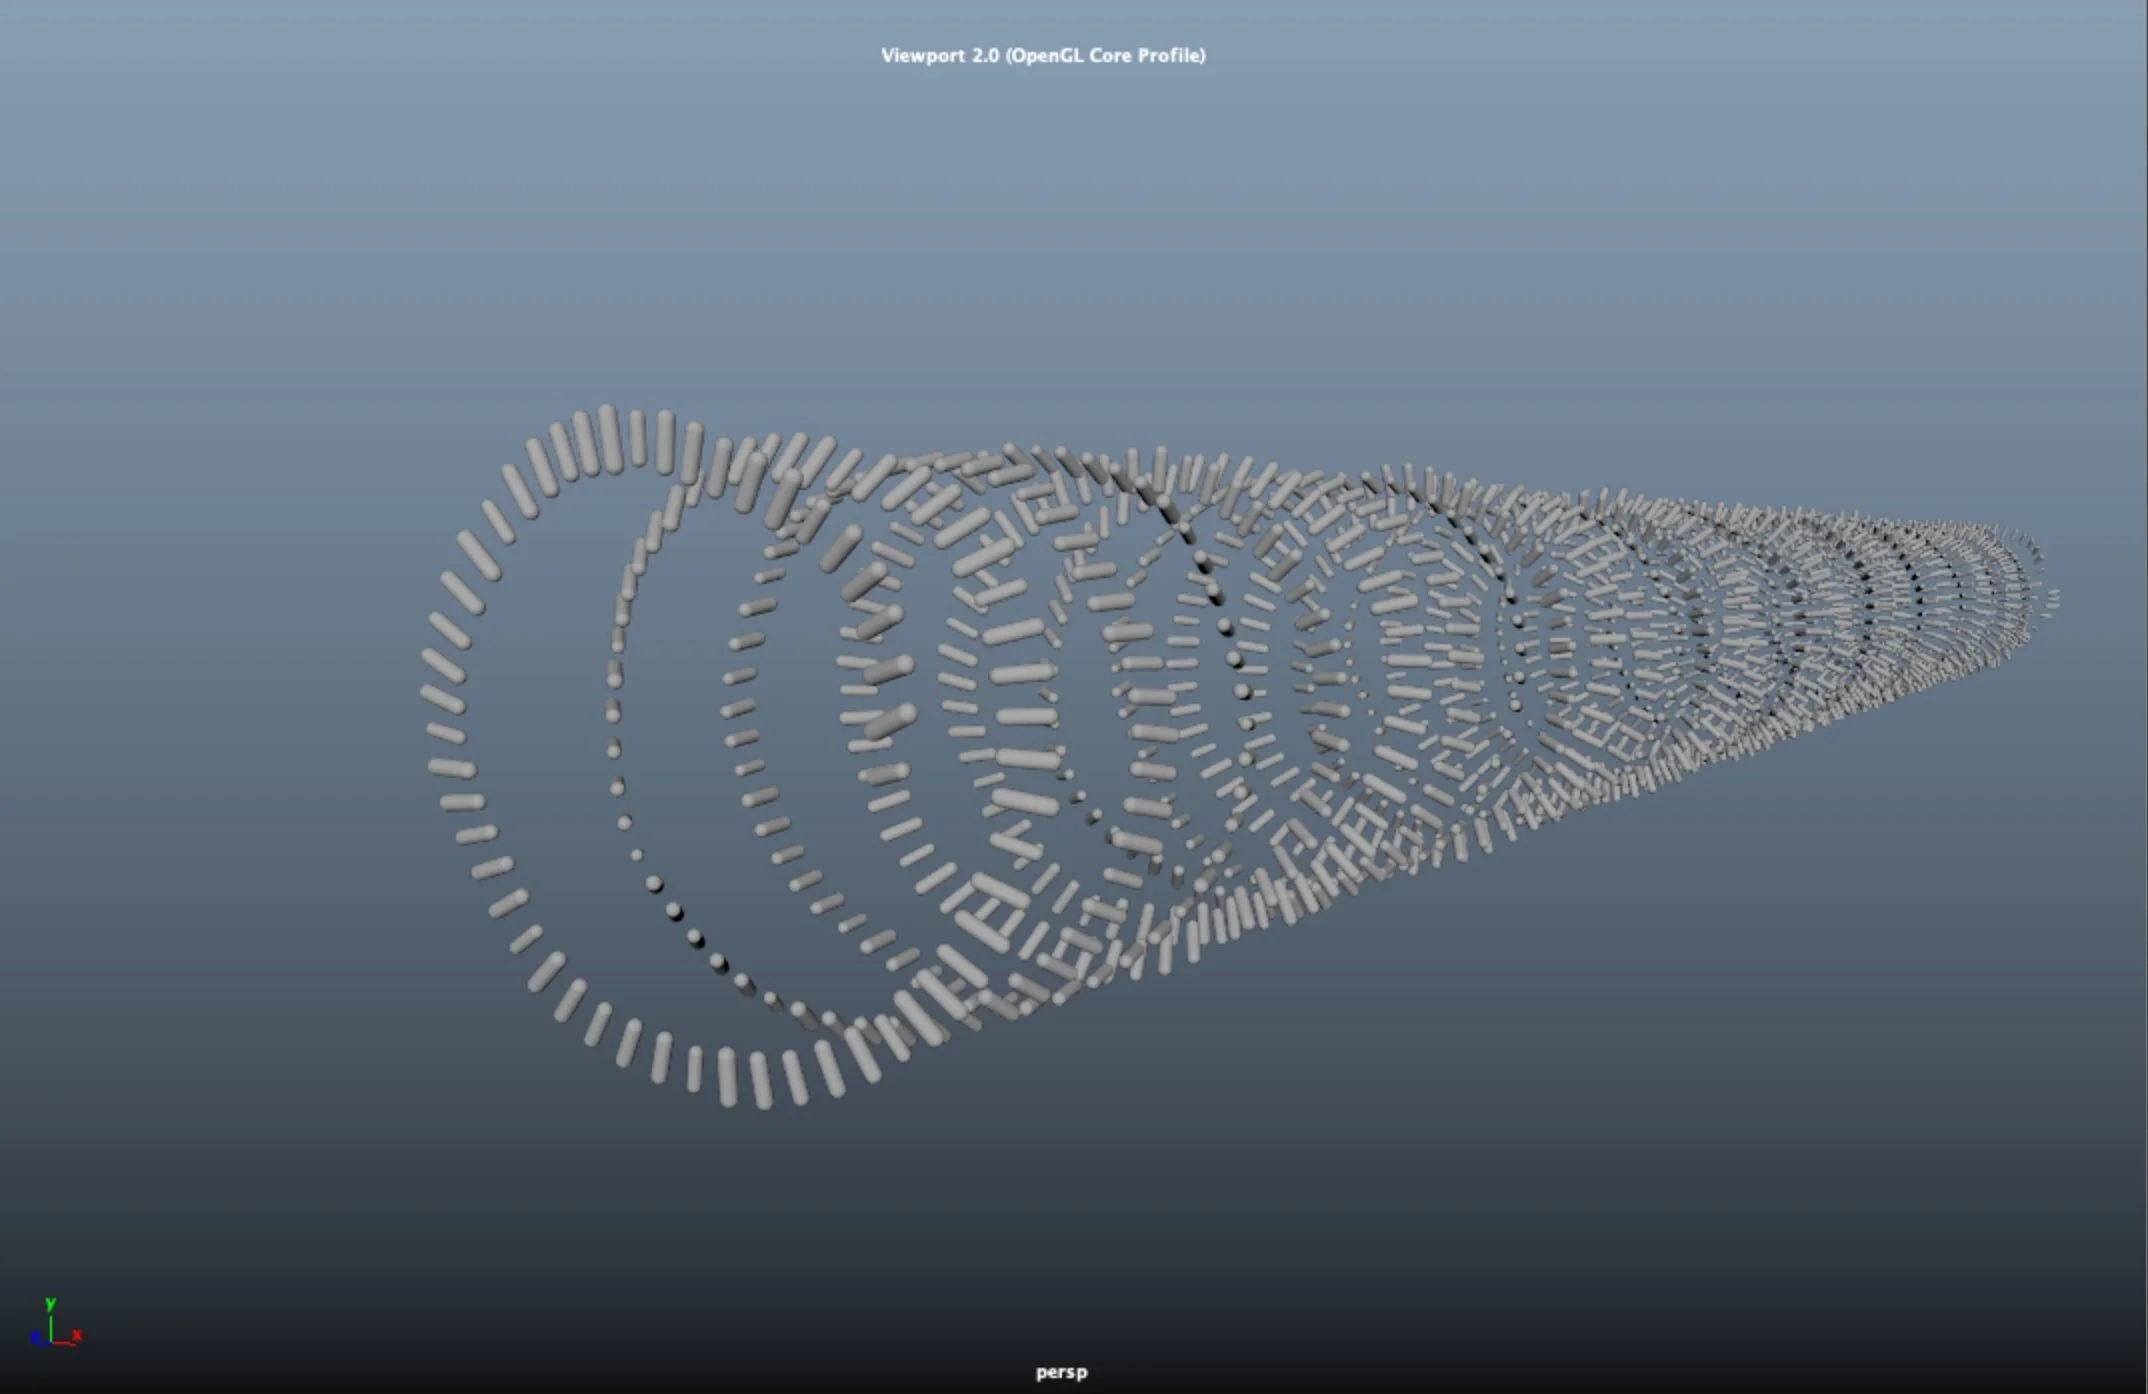
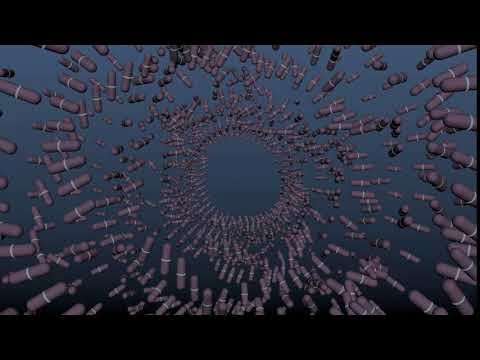
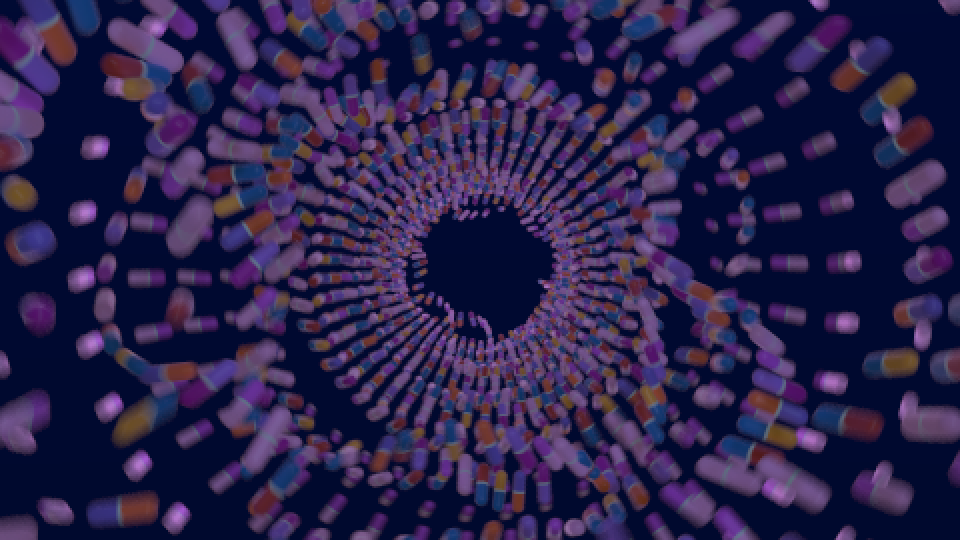
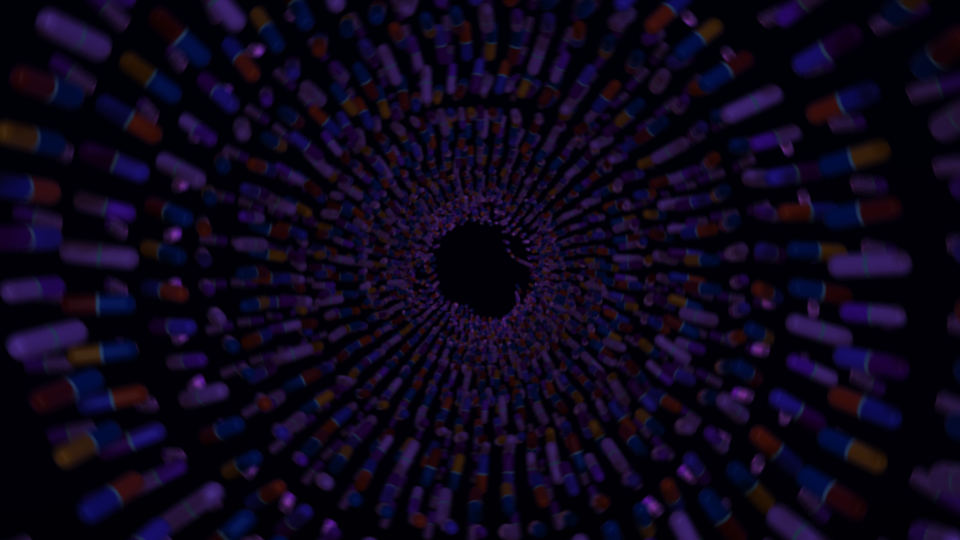
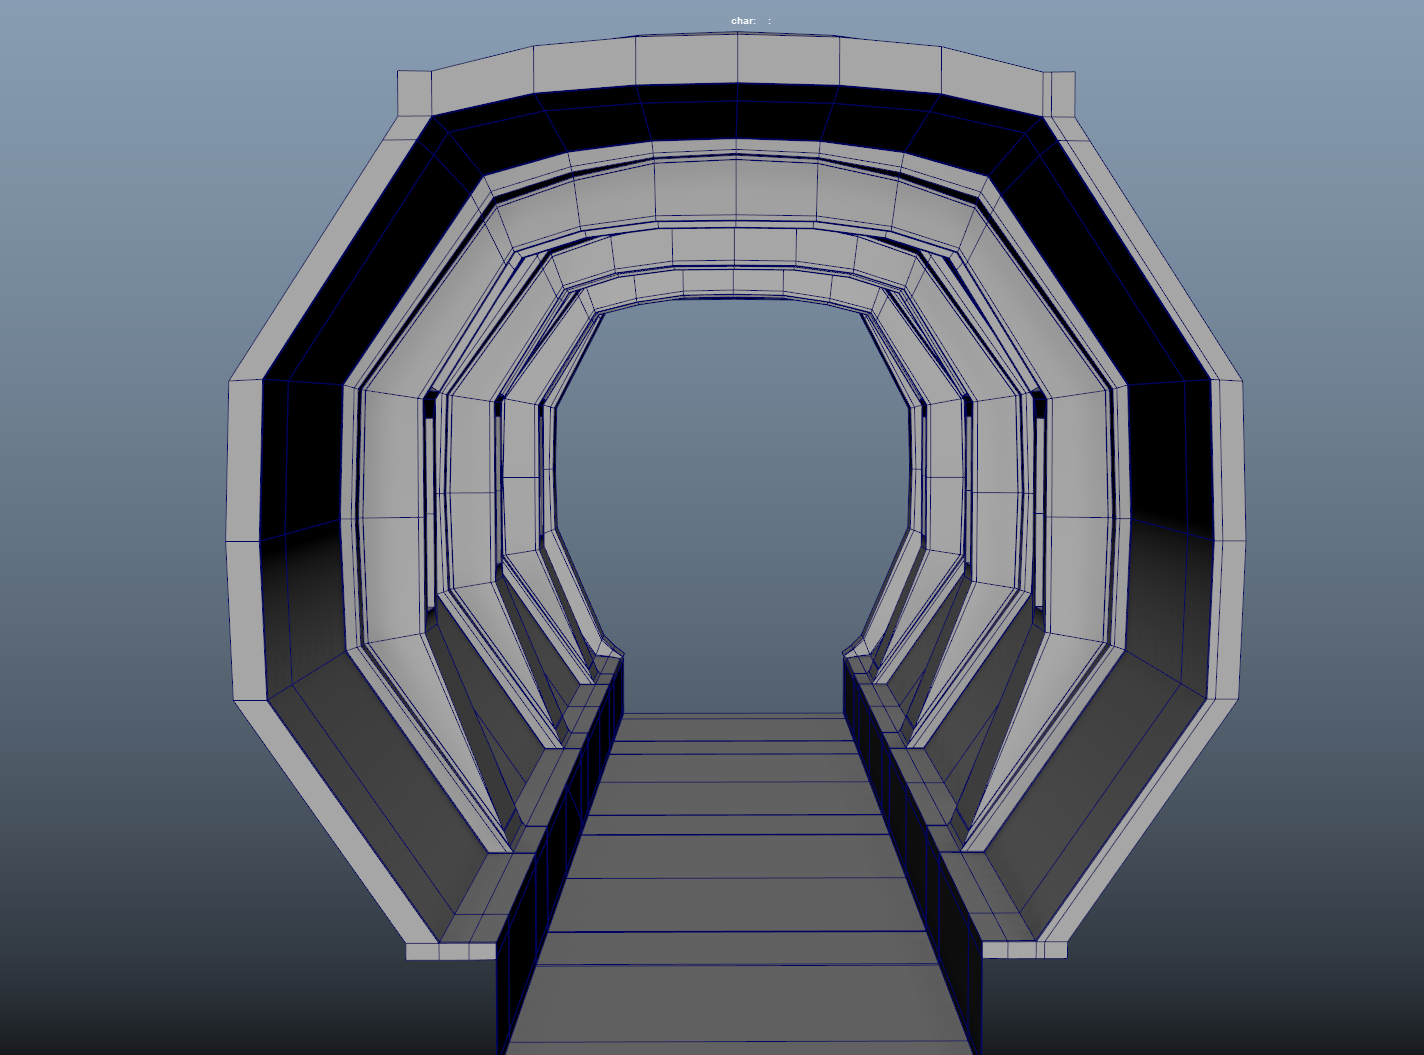
Scene 2: Medication Tunnel
N.B. No reflection/explanation found necessary as similar techniques have already been used throughout the project
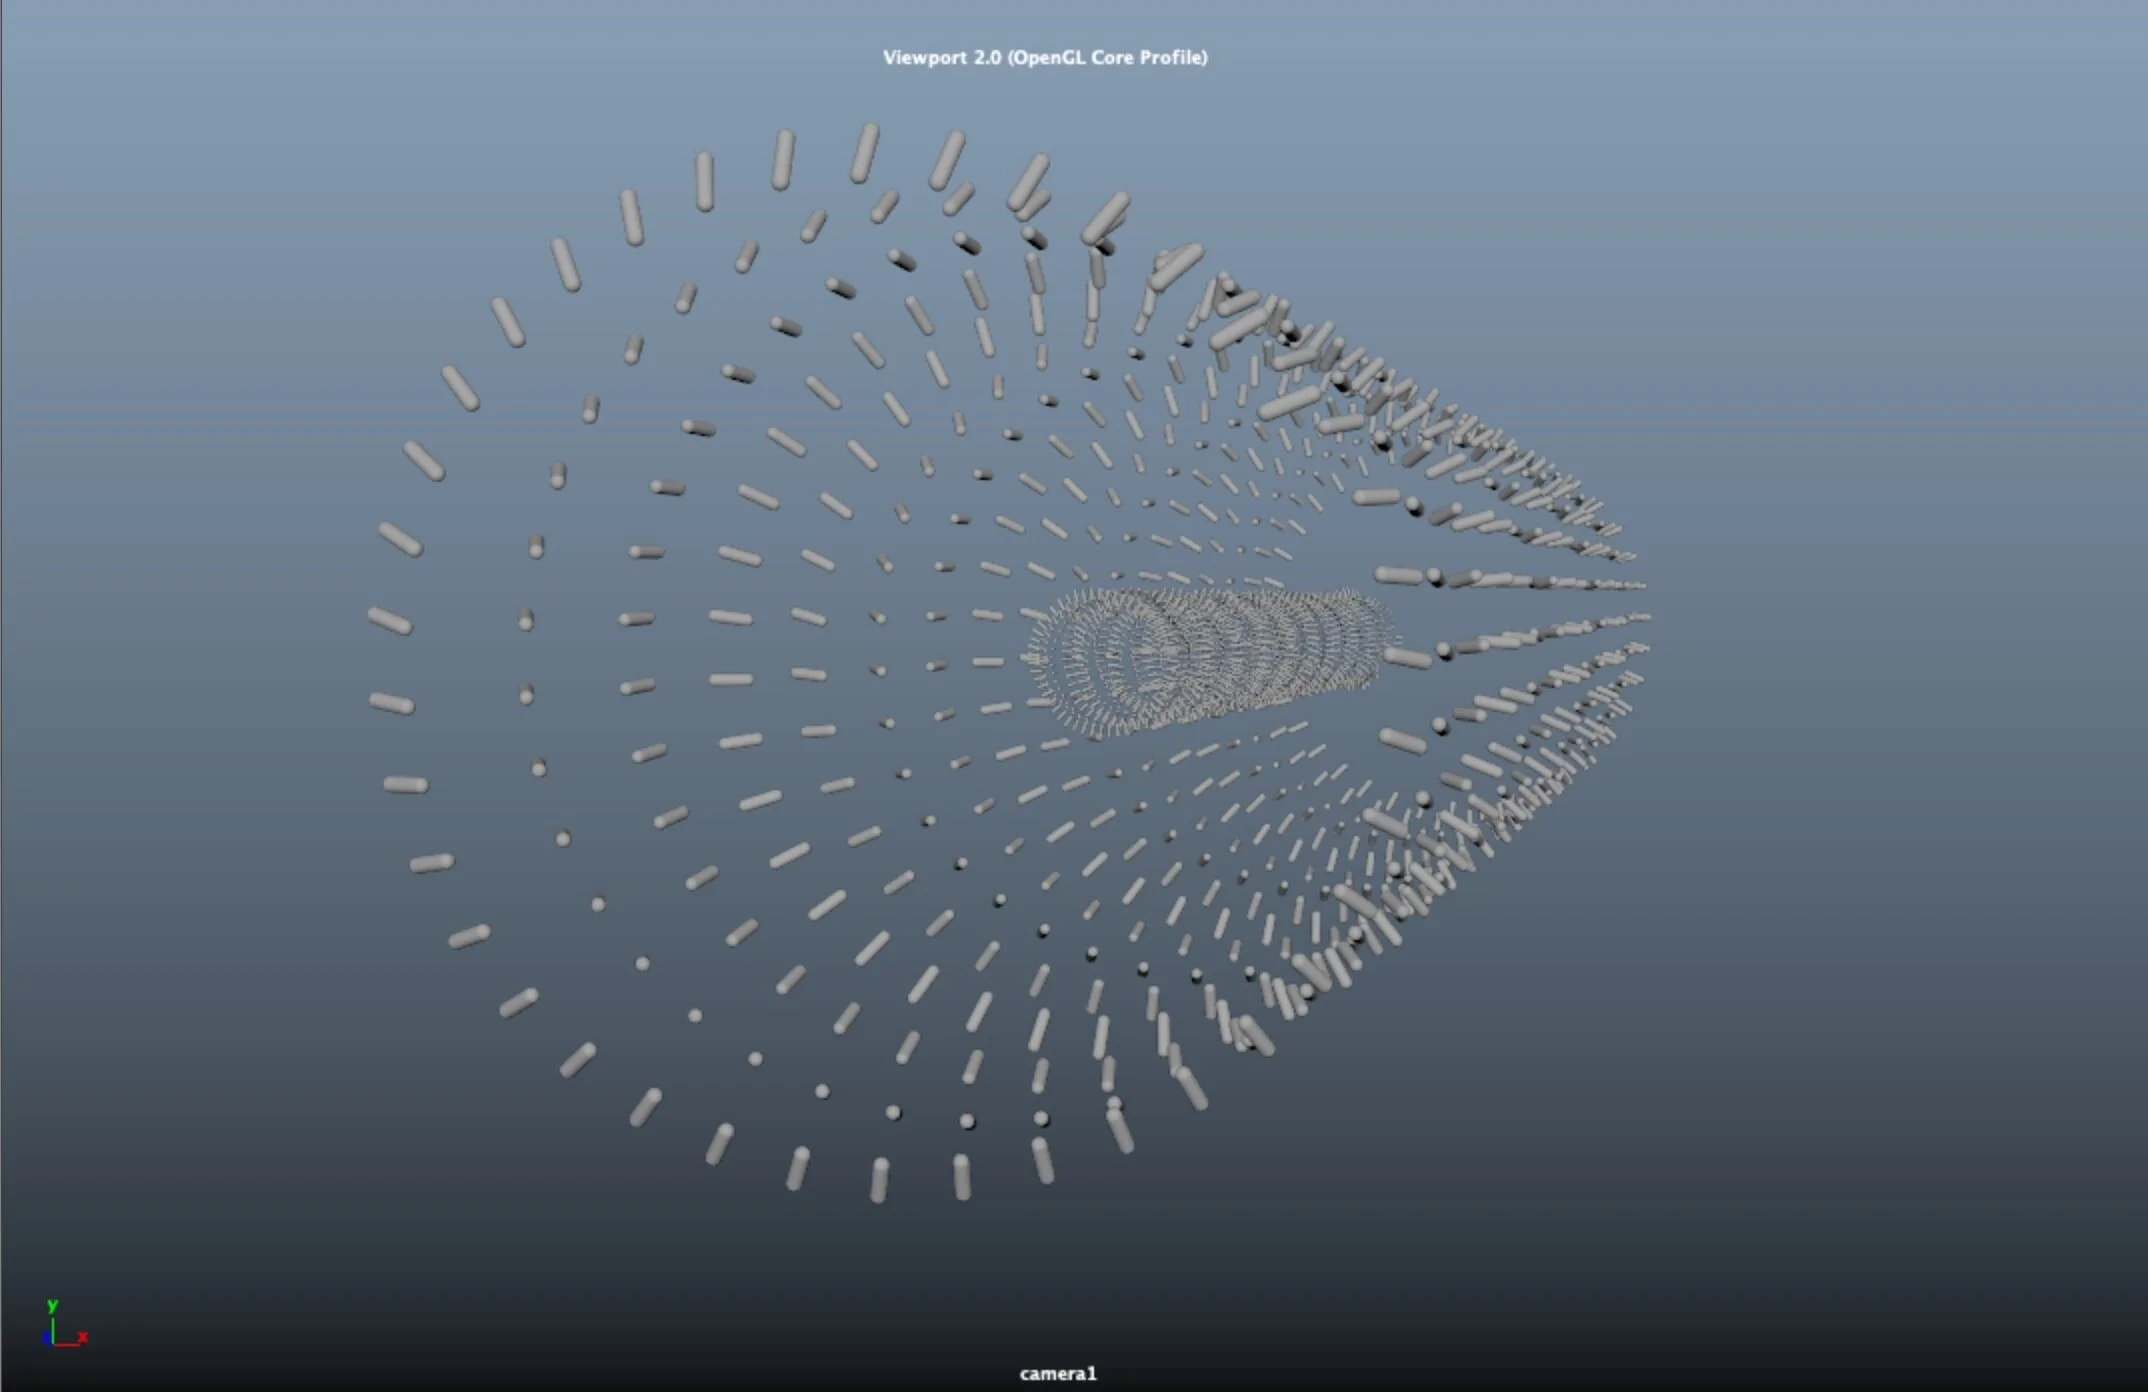
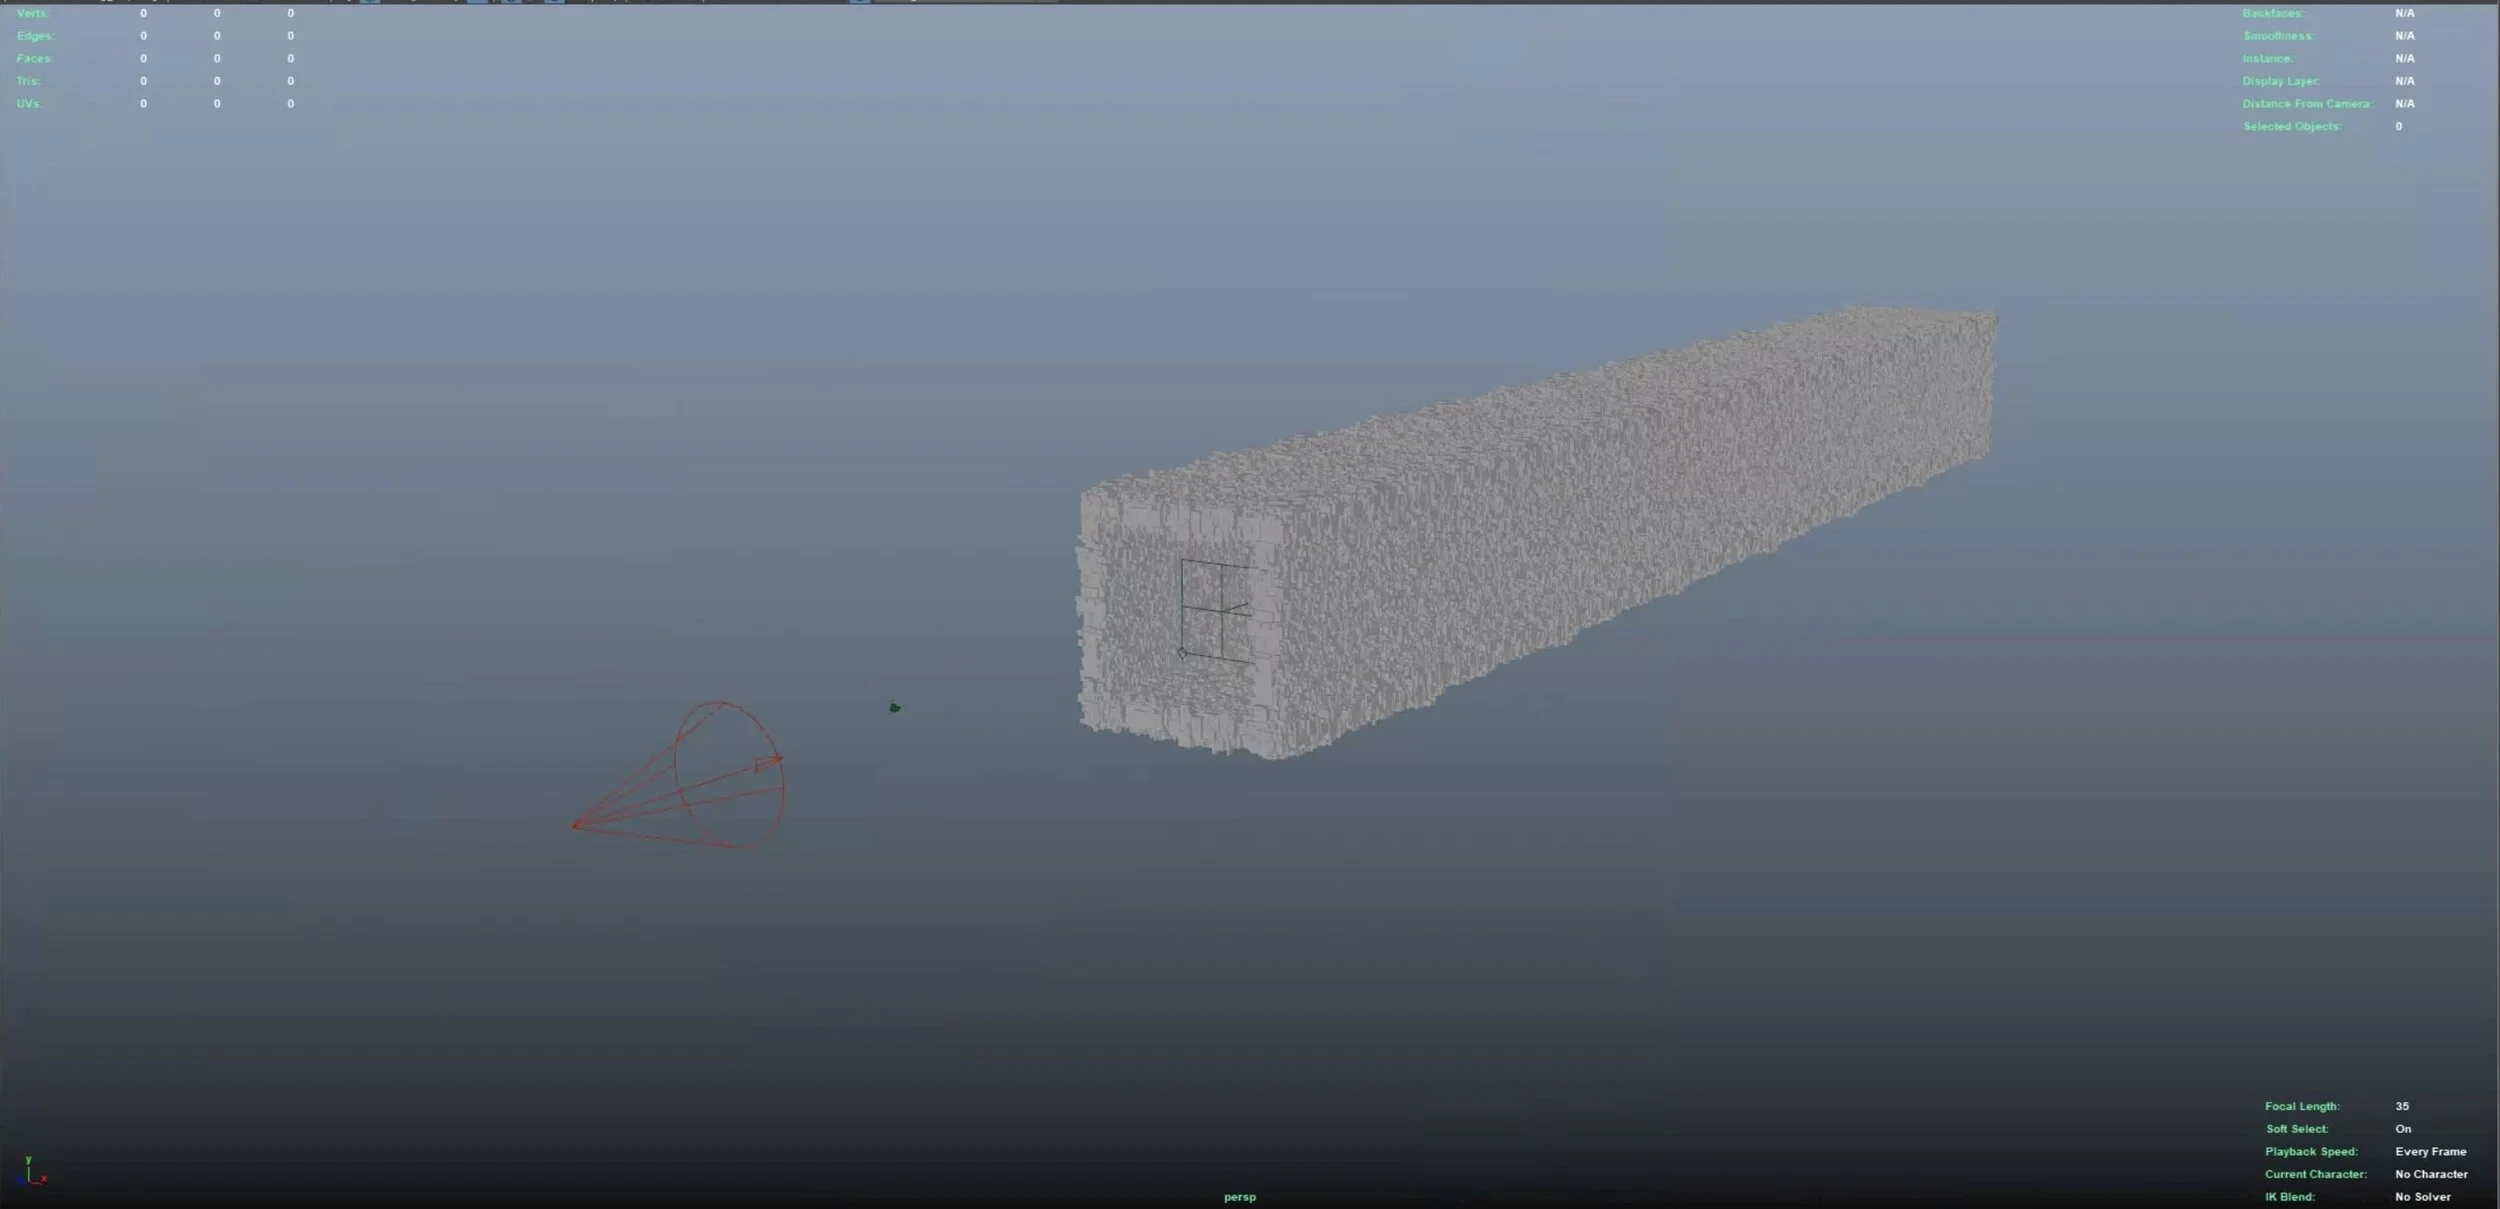
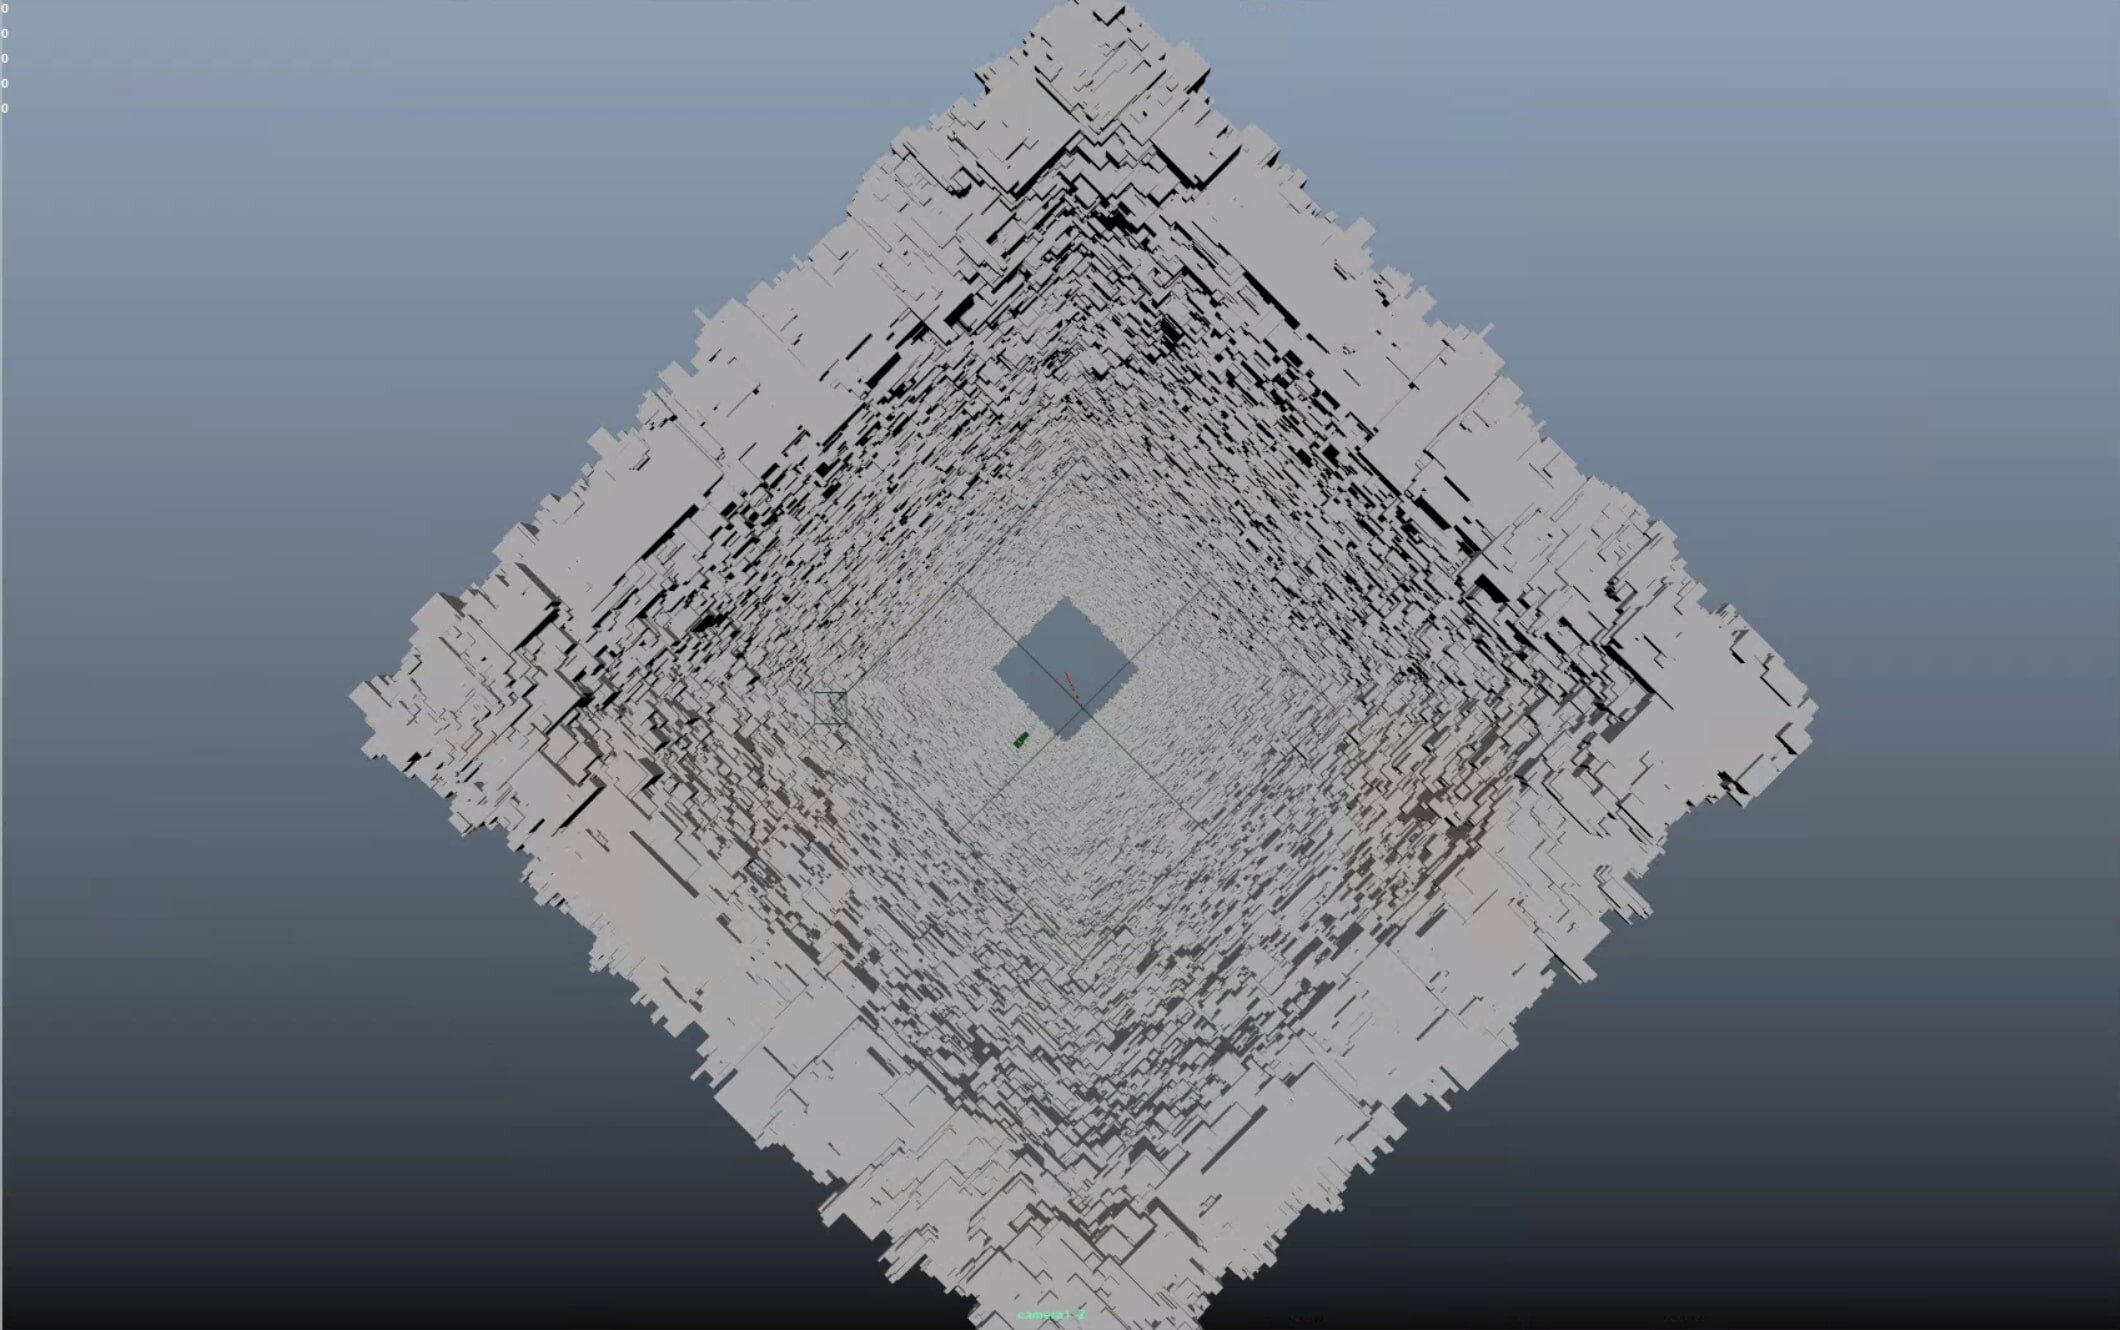
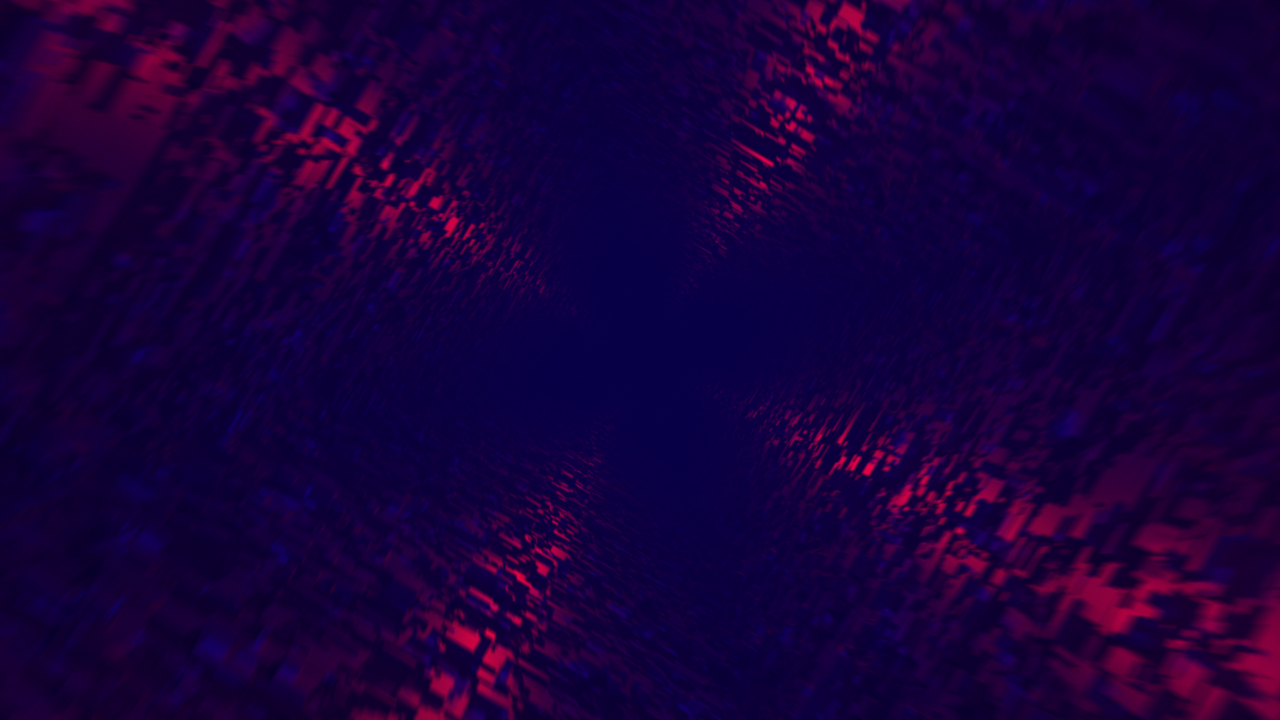
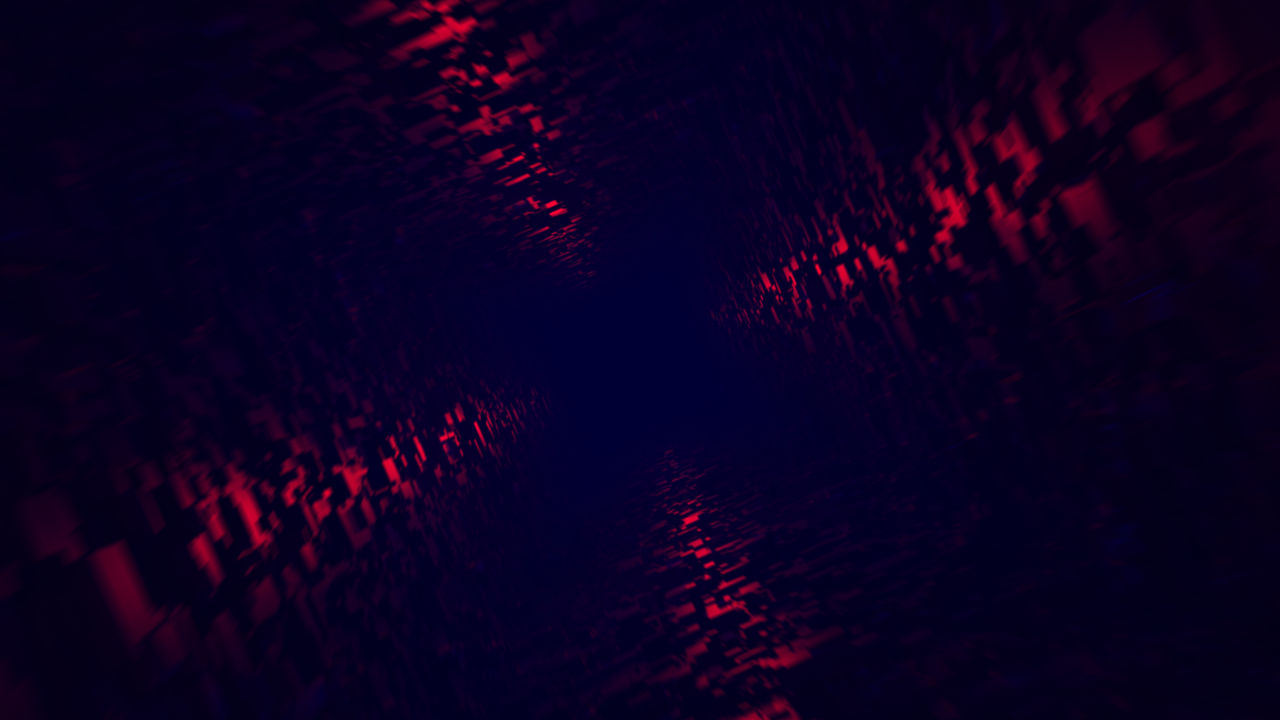
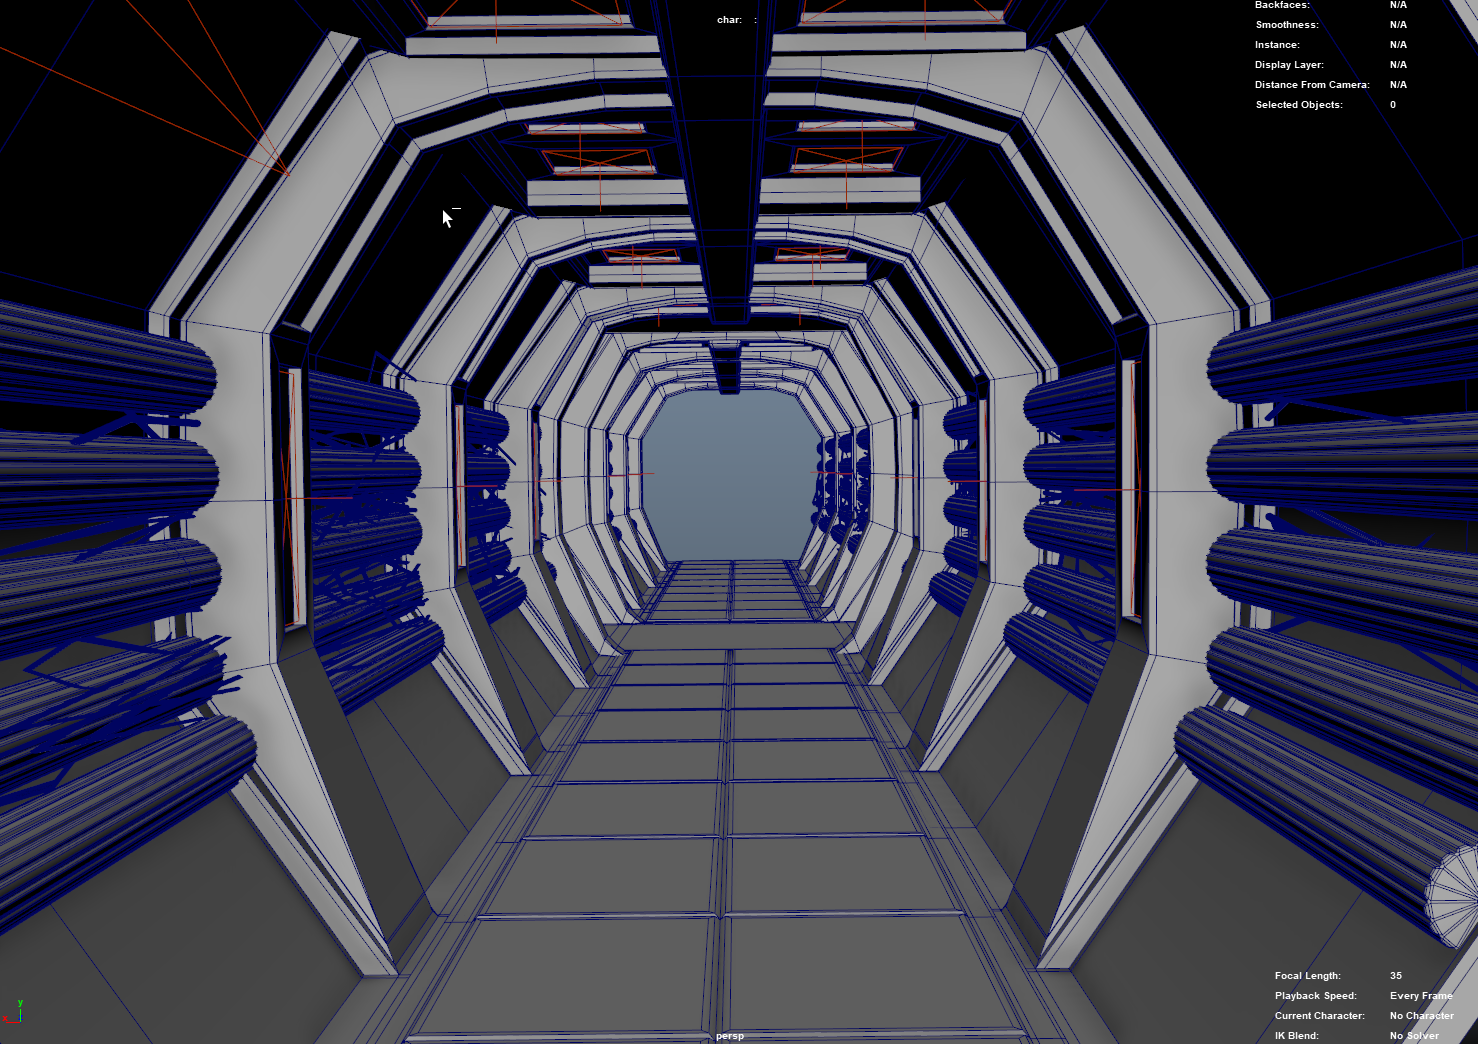
Scene 3: Greeble Tunnel
Brief Reflection:
The ‘Greeble’ Tunnel (named after the modeling process that was used in the original star wars films) was created using a series of layered Mash networks thatd randomly distributed a series of cubes onto the initial basic ‘rectangle’ shape; each of the Mash networks worked identically in that they all randomized the scale/rotation/position of the distributed cubes, so it was the layering of these networks on top of each-other that created the final ‘greeble’ look.


Part 3: Chapter 2 (Lost In Space)
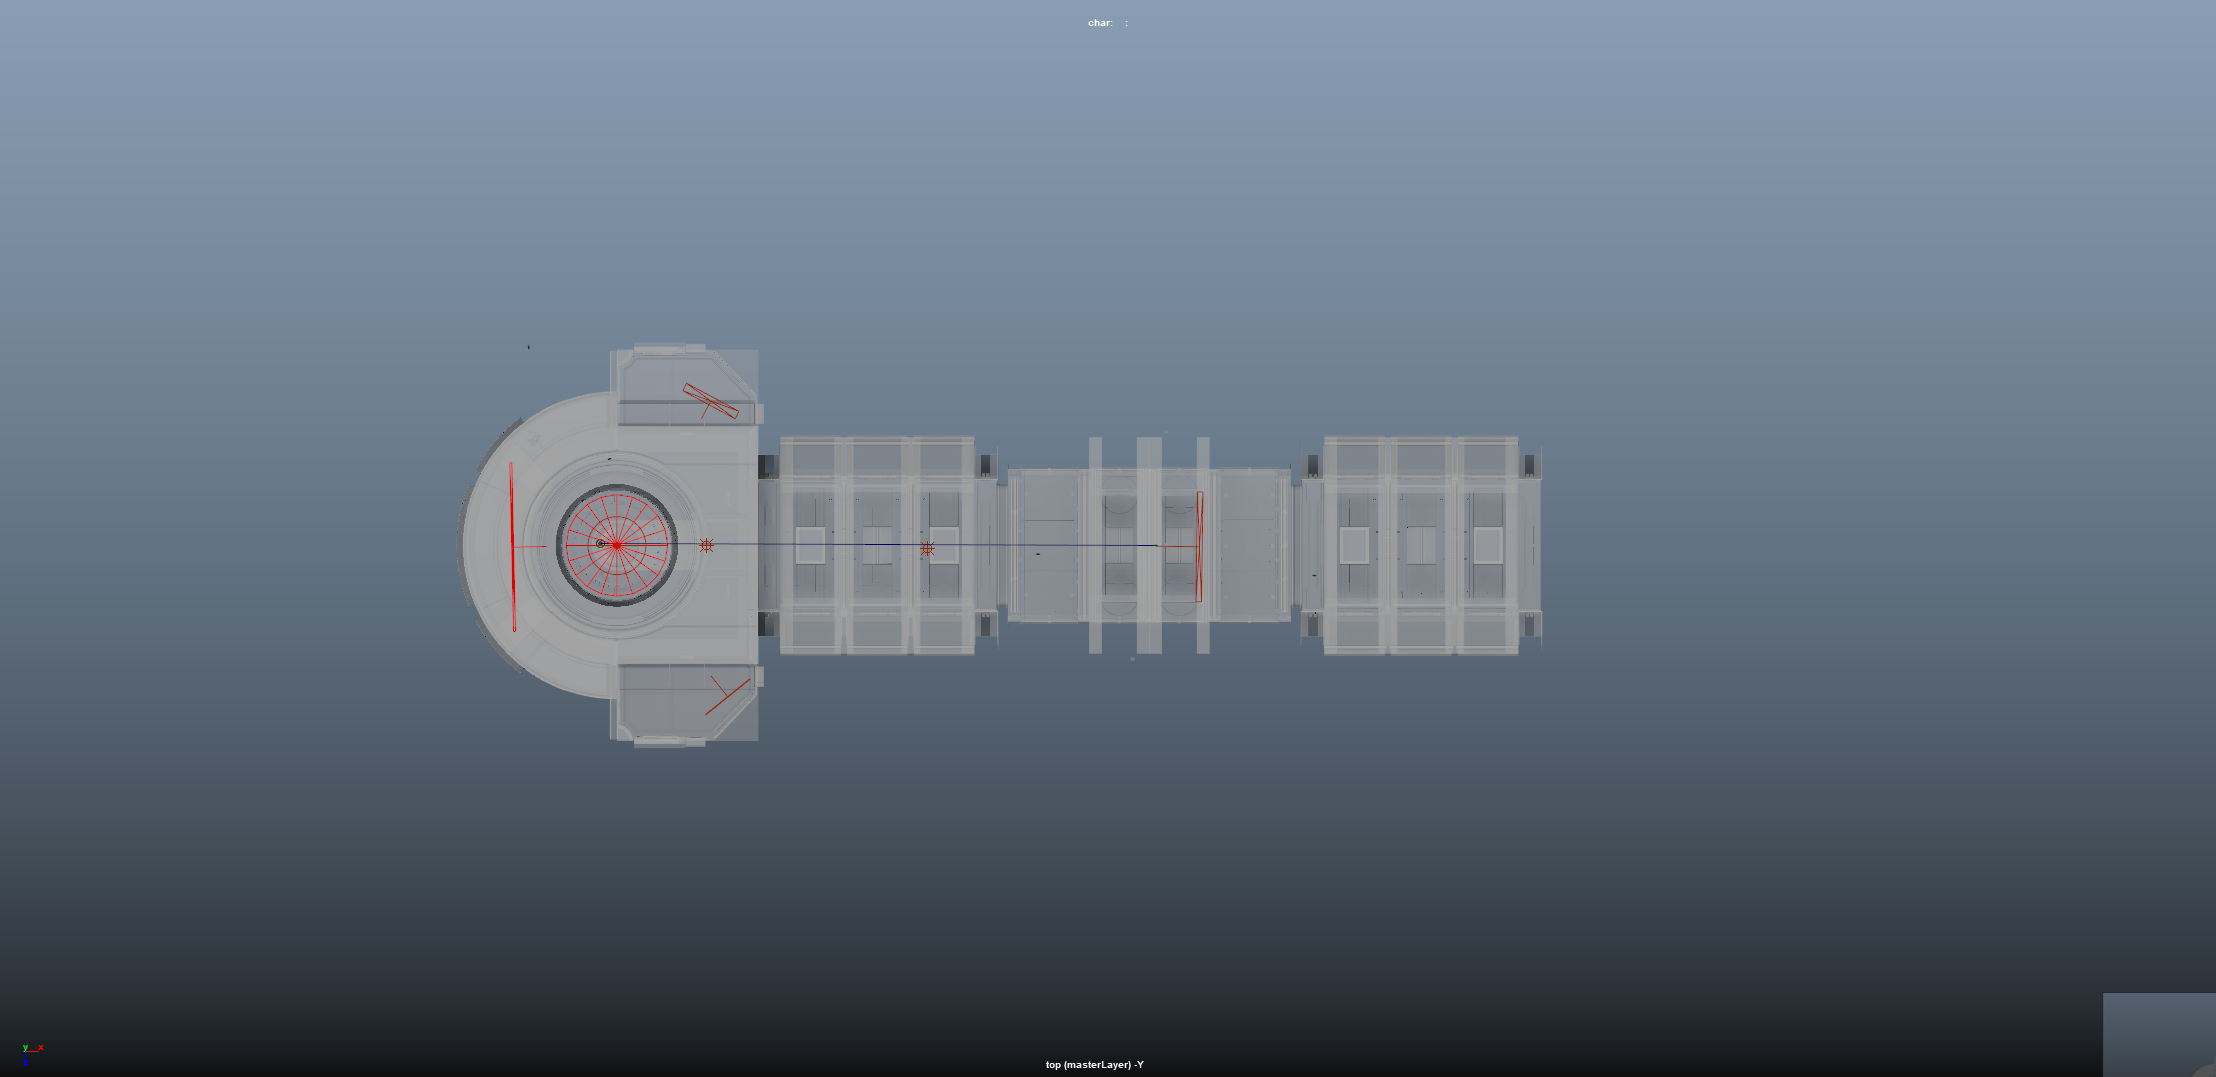
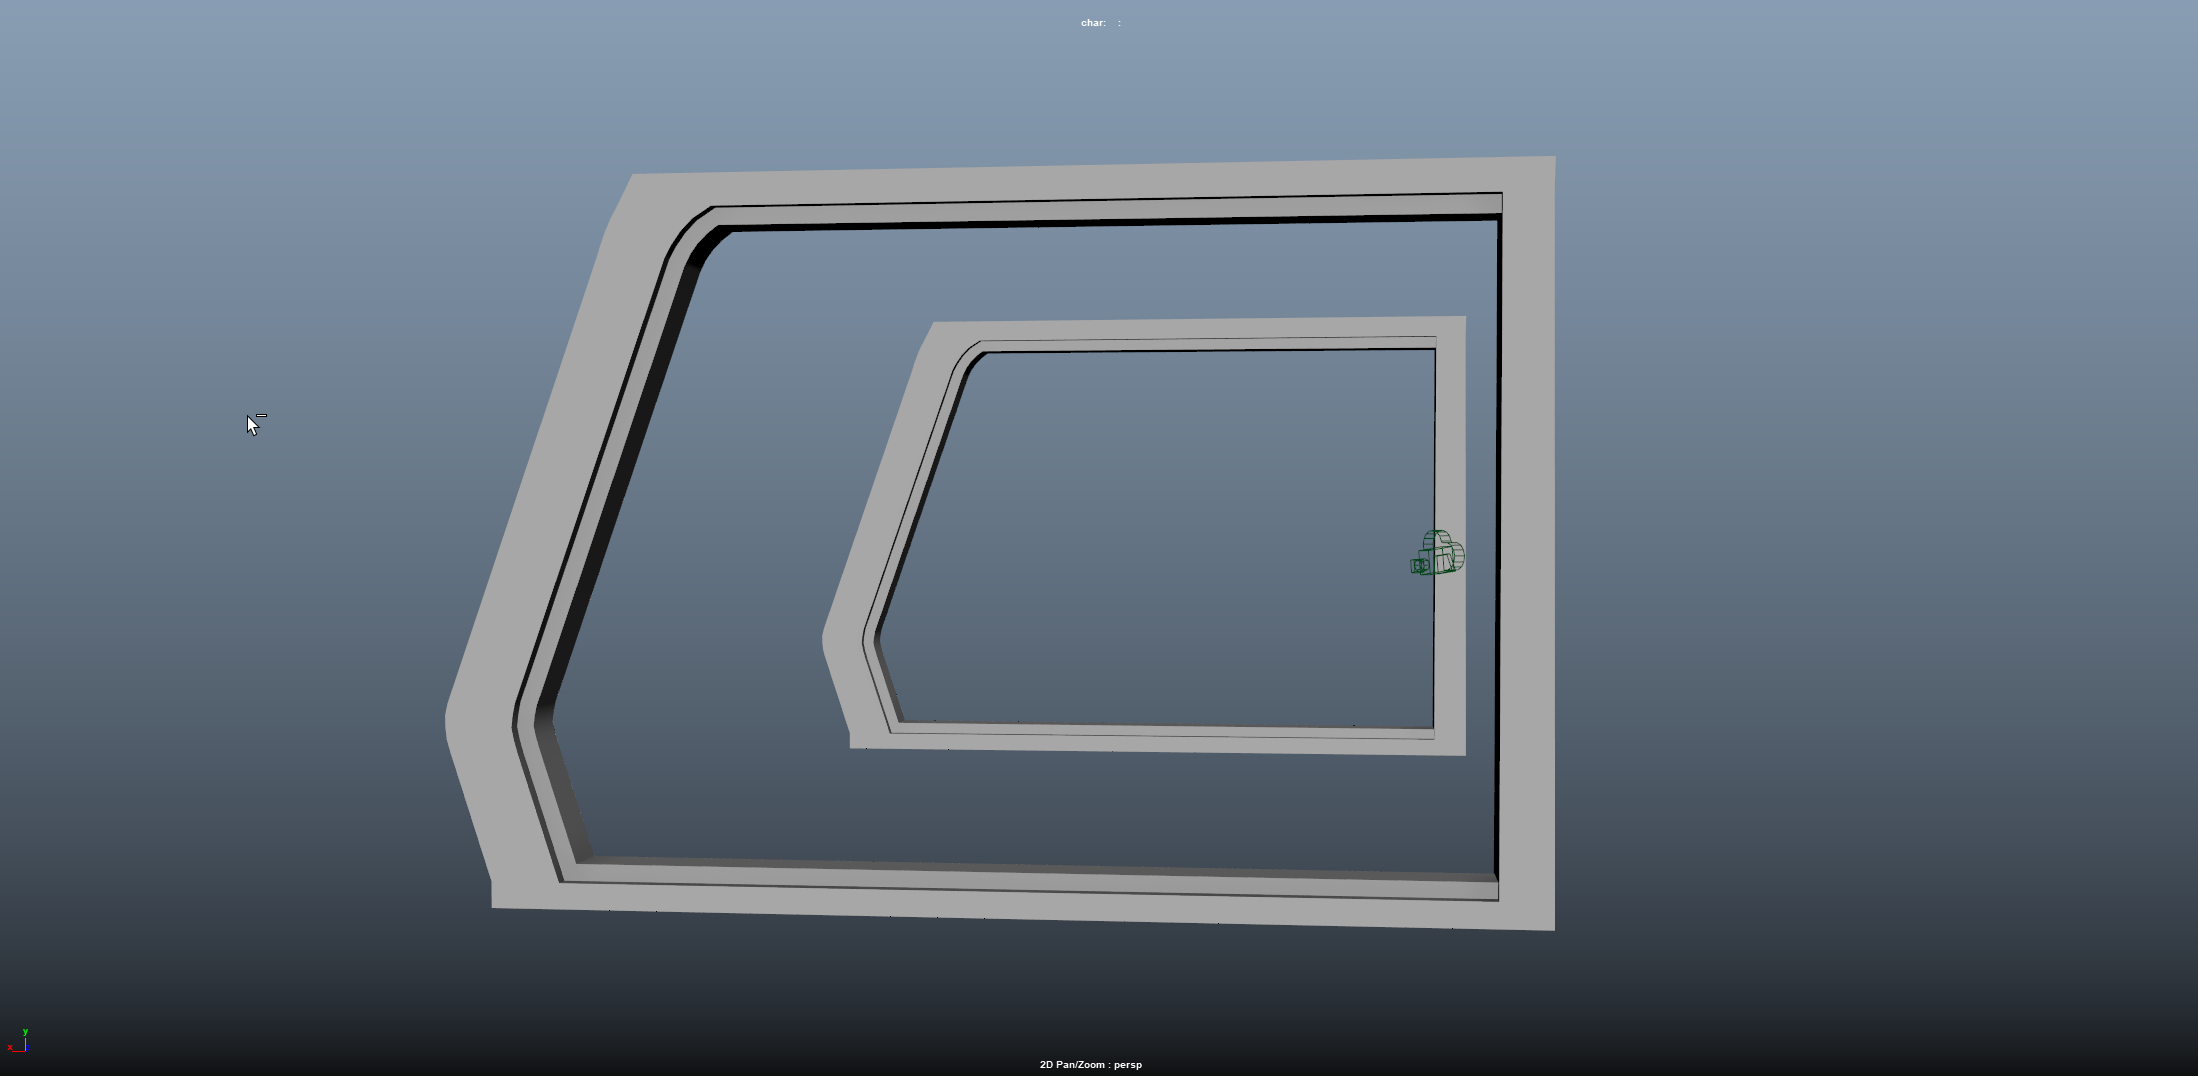
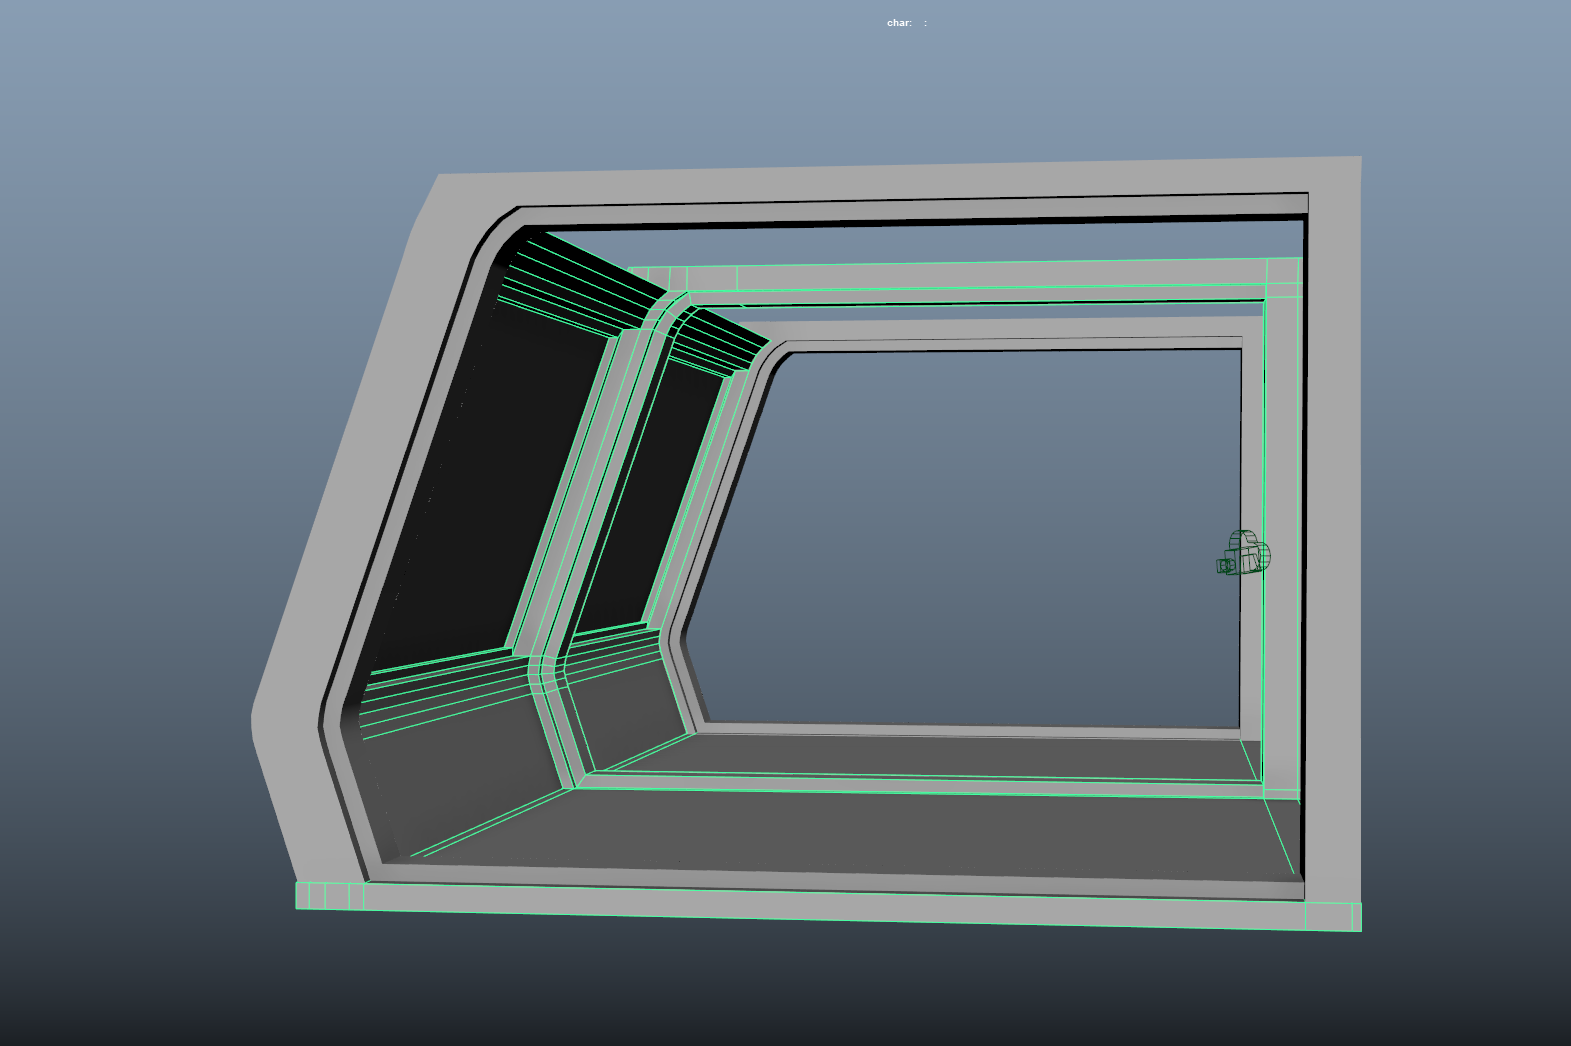
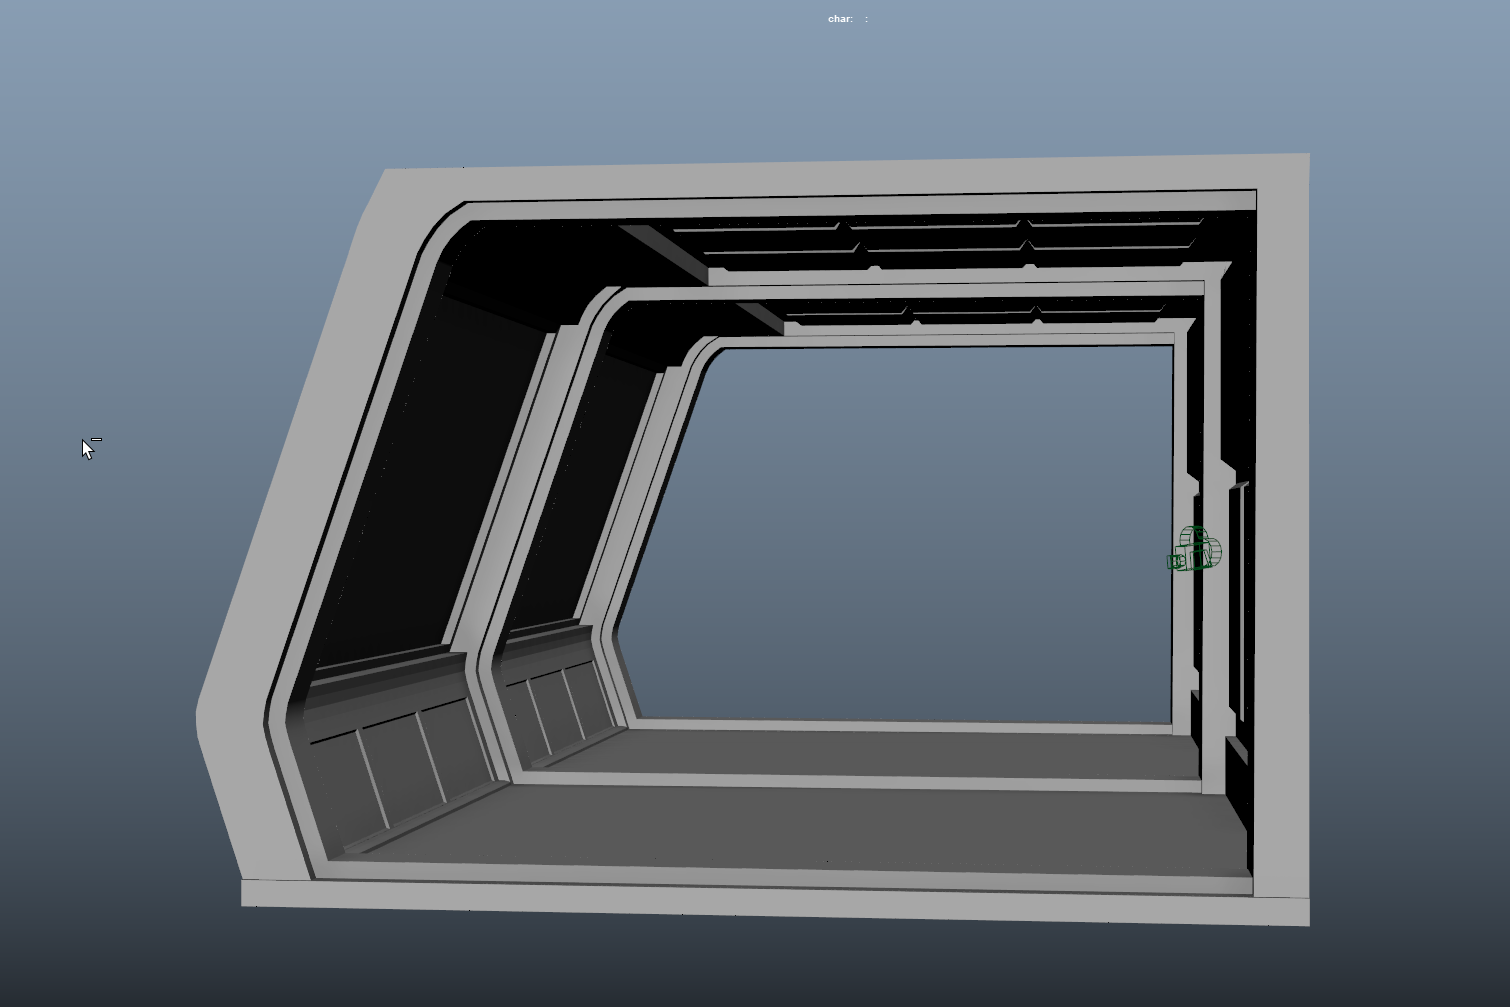
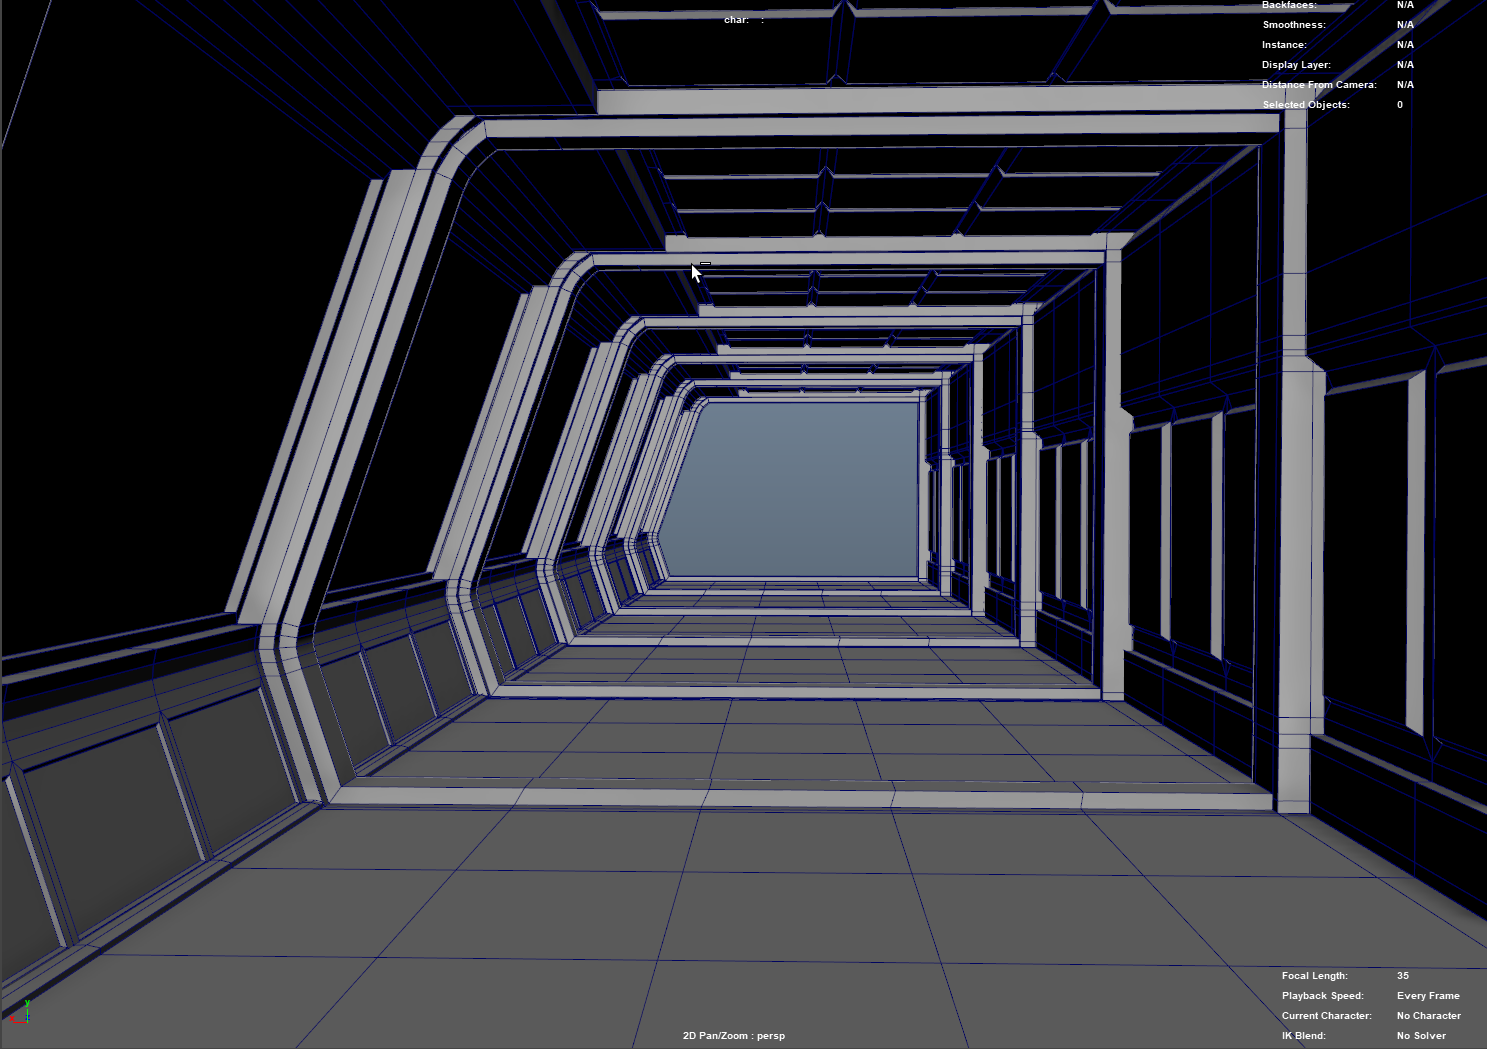
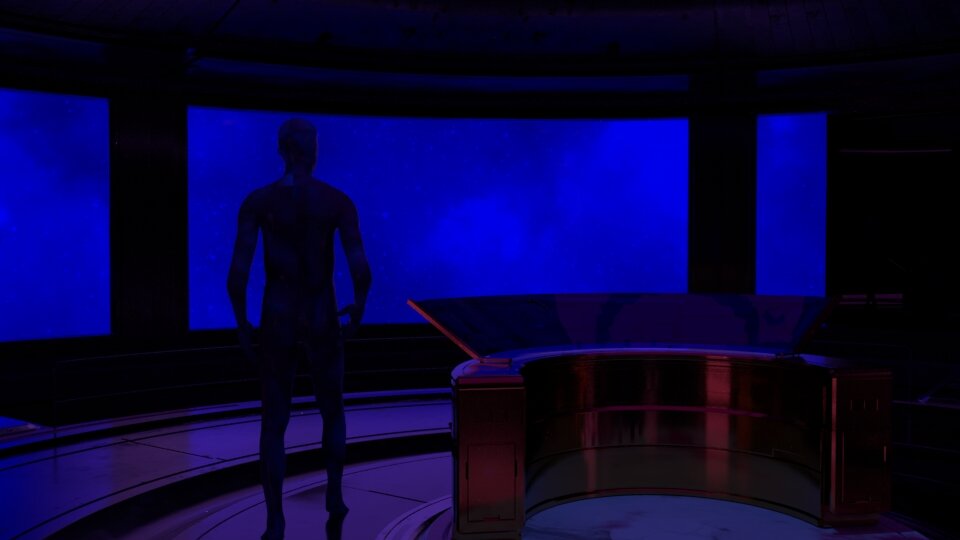
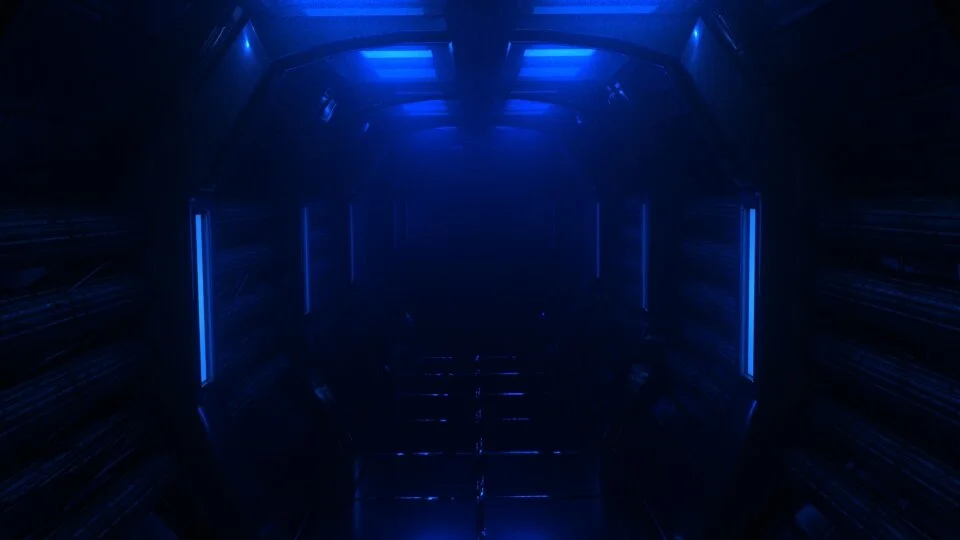
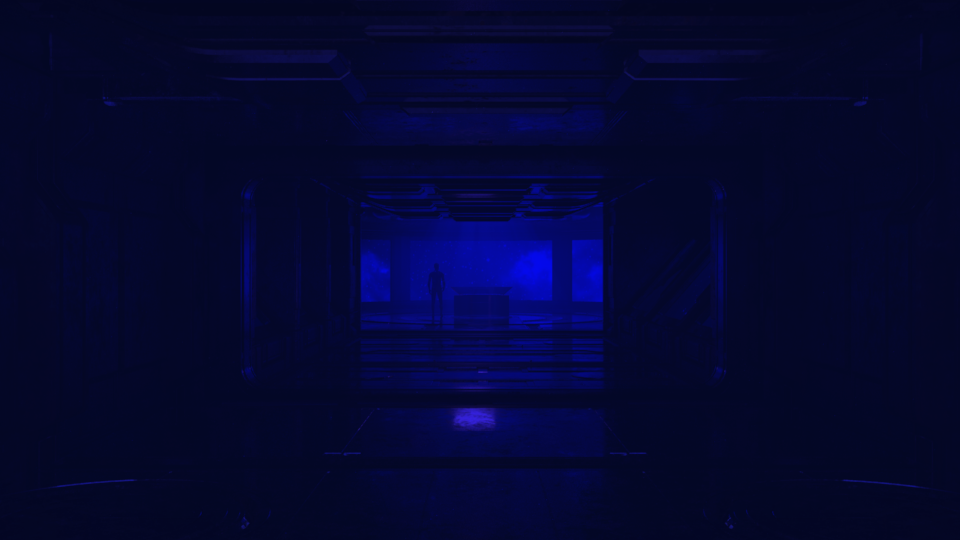
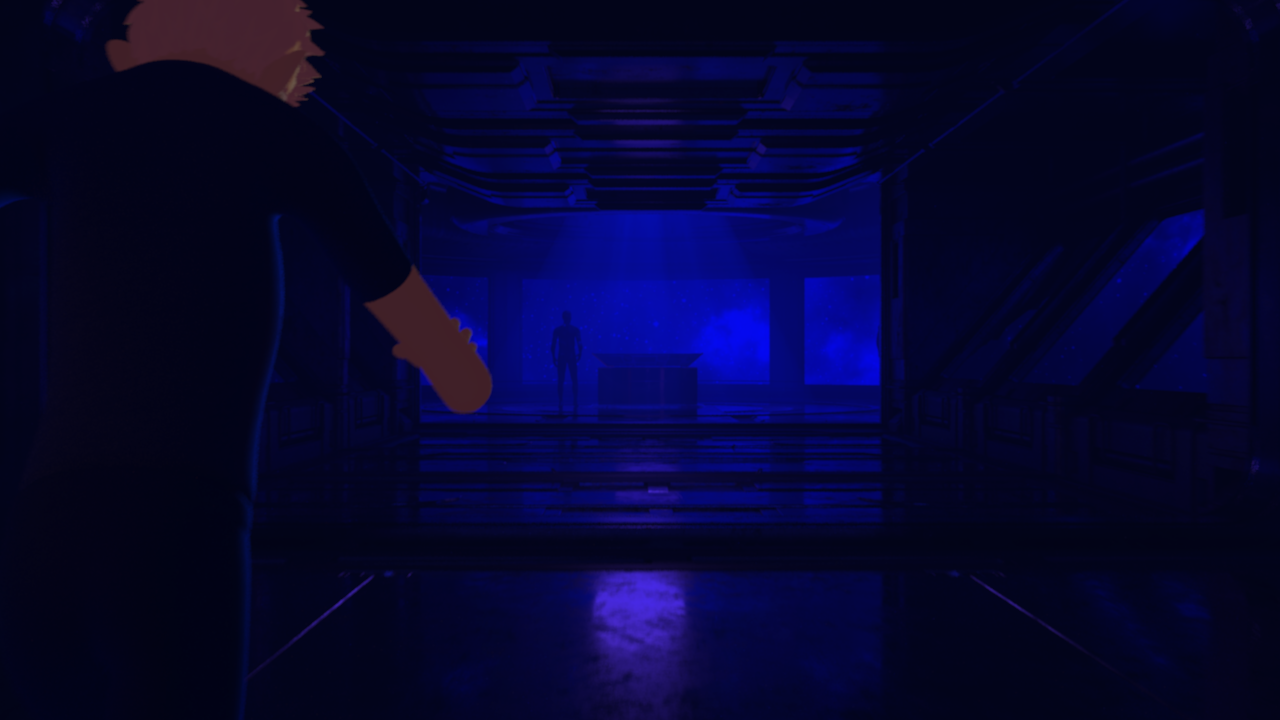
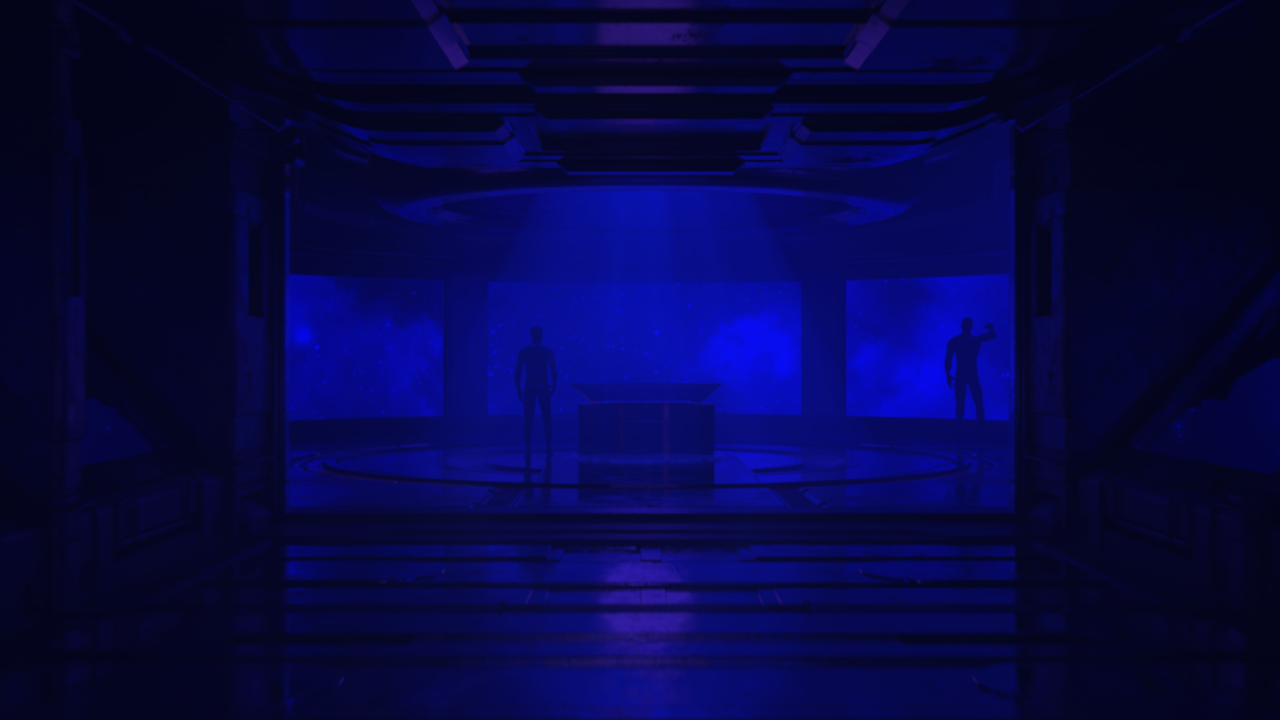
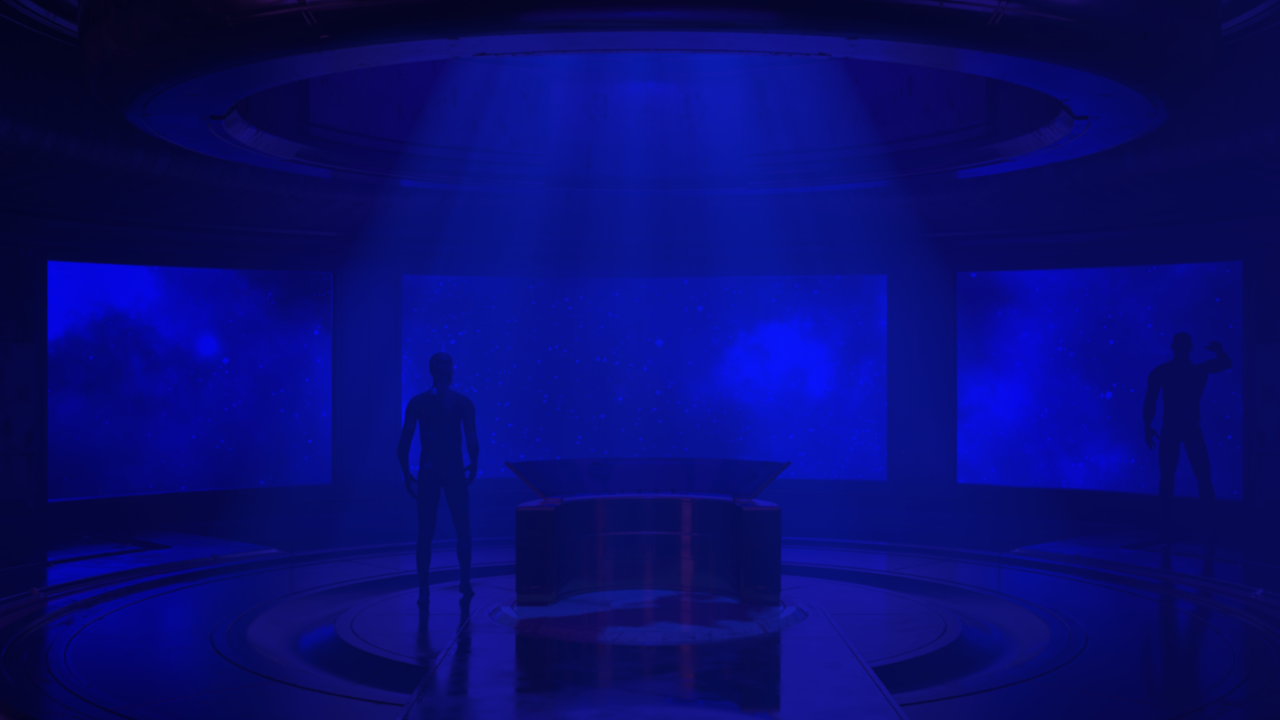
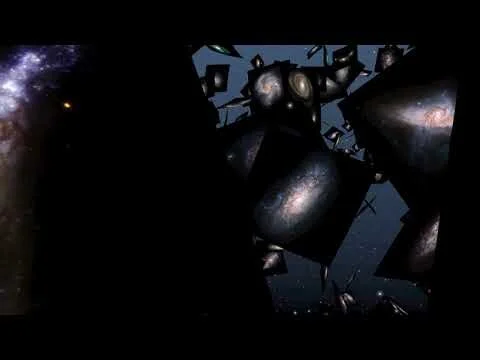
Scene 1: Abandoned Spaceship Exploration
Brief Reflection:
Not much needs to be said about this scene as the setup was quite straight-forward/conventional. After modeling the two initial hallways (—one of which was ultimately scrapped—), I added image planes with space textures that project the starlight organically onto the the scene, and then also added some atmospheric volume using a spotlight and several point lights spread throughout the hallway (to create the foggy/volumetric look.) Additionally, it should be also noted that the models for the ending-part of the hallway (along with the command center desk) were obtained/downloaded from an external source via an educational license (—as with the rest of the project, the sources for all of these additional files I downloaded are included on the separate ‘source’ page.)


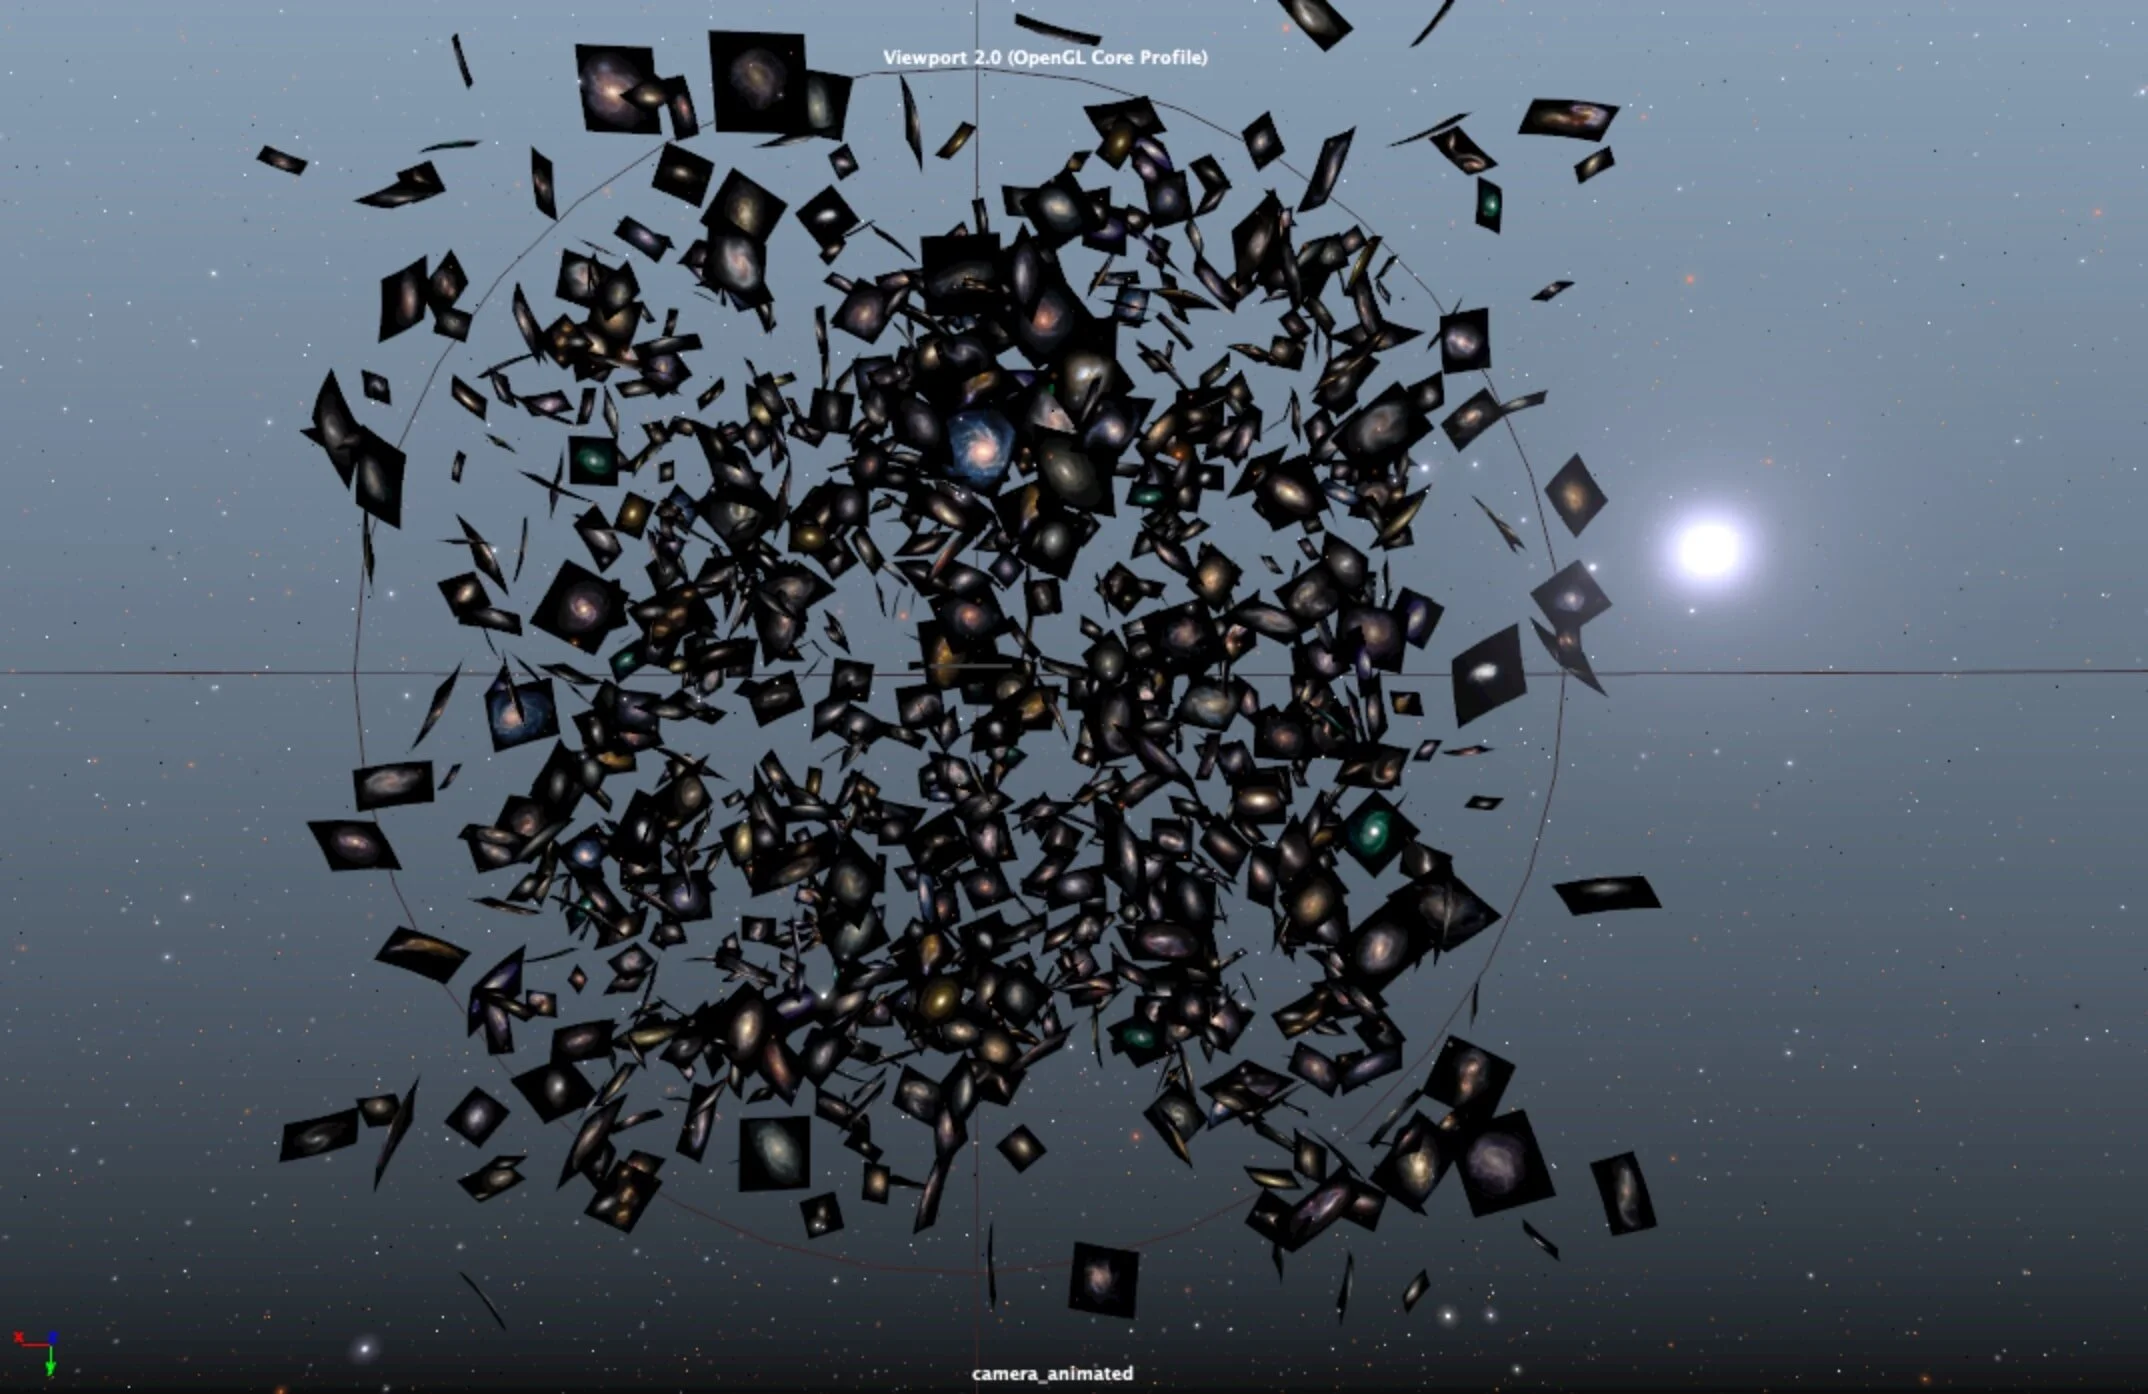
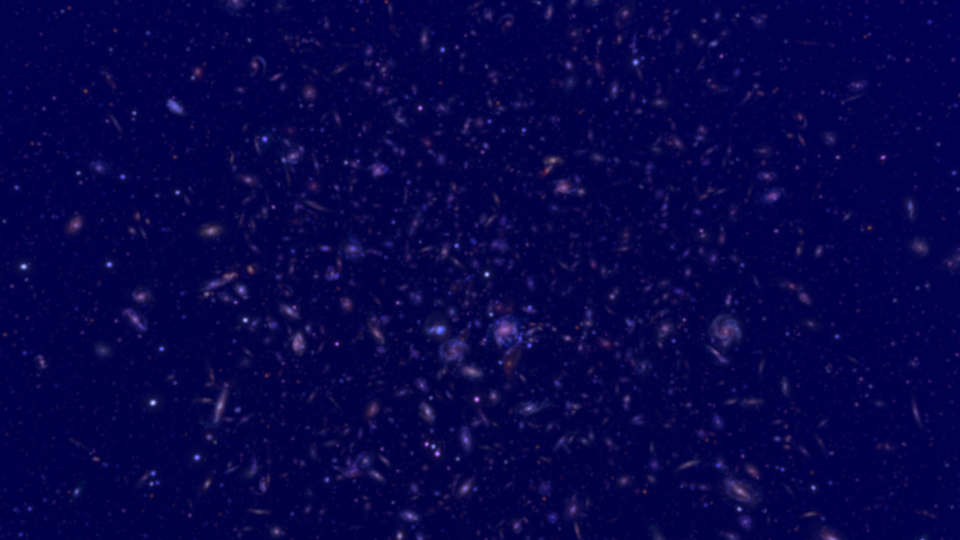
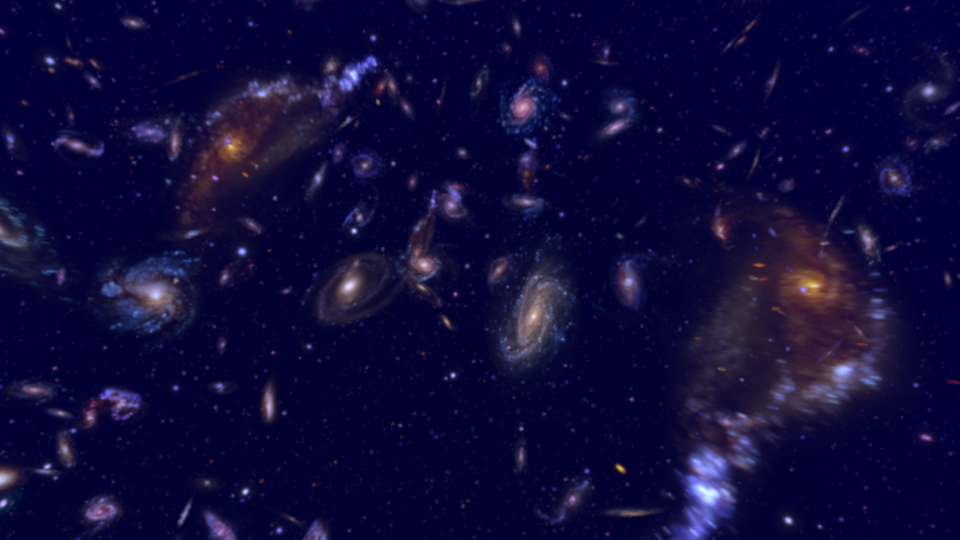
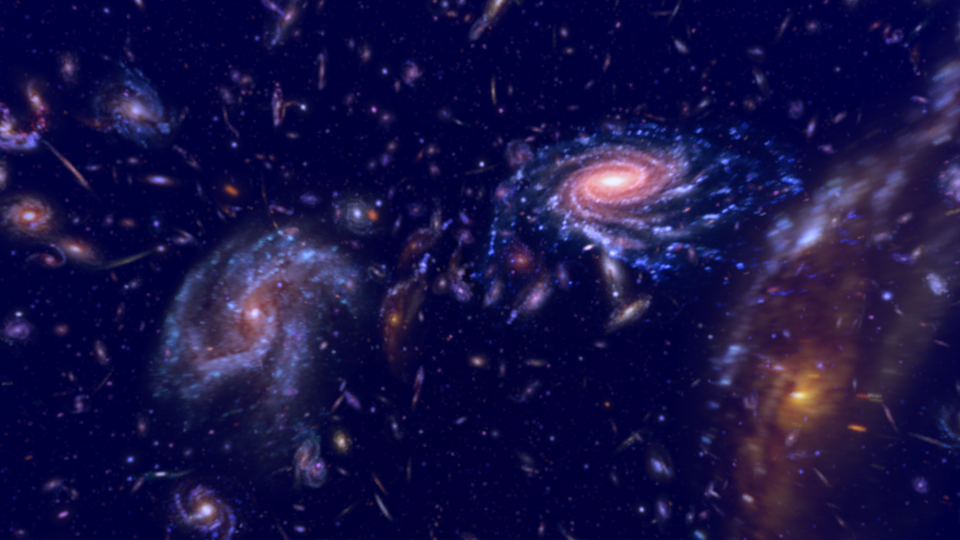
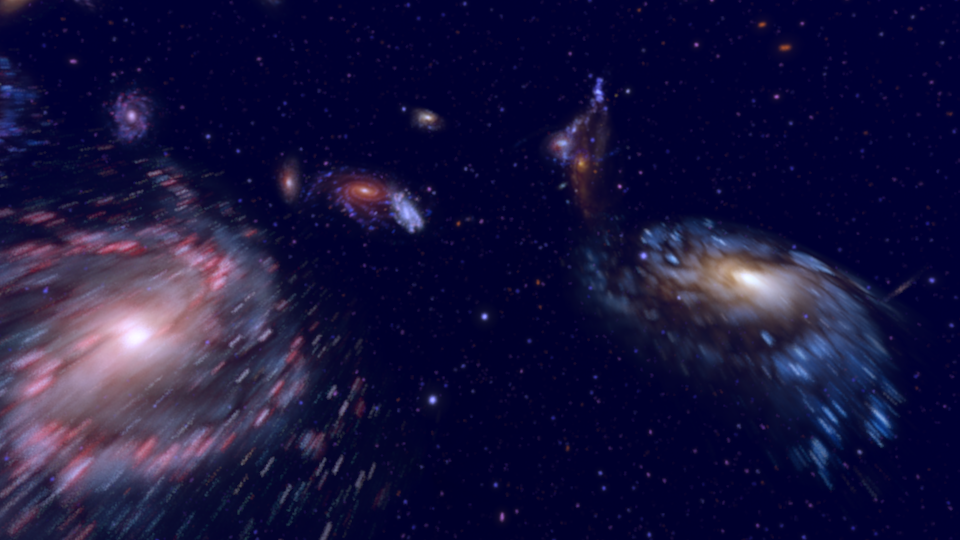
Scene 2: Galaxy Field
Brief Reflection:
The setup for this scene was pretty rudimentary, and basically centers around several particle systems that were used to randomly distribute image planes in space (using sprites) that were late randomized using a script I found on the intrawebs (source below). The particle systems were used to create the setup for the location of the image planes (that would later be filled in with galaxy/star images); and, after creating the initial state for the image planes, I next used a script to randomize both the rotation/scale of the image planes themselves, along with the actual files that were plugged into the image planes’ texture nodes. This system of using sprites to place image planes ended up being a great way to cheat a look that would otherwise have been extremely costly to render, as the final renders almost look like the galaxies were formed using fluid systems (—which would have been way more complicated to figure out, something I could probably never have done.)
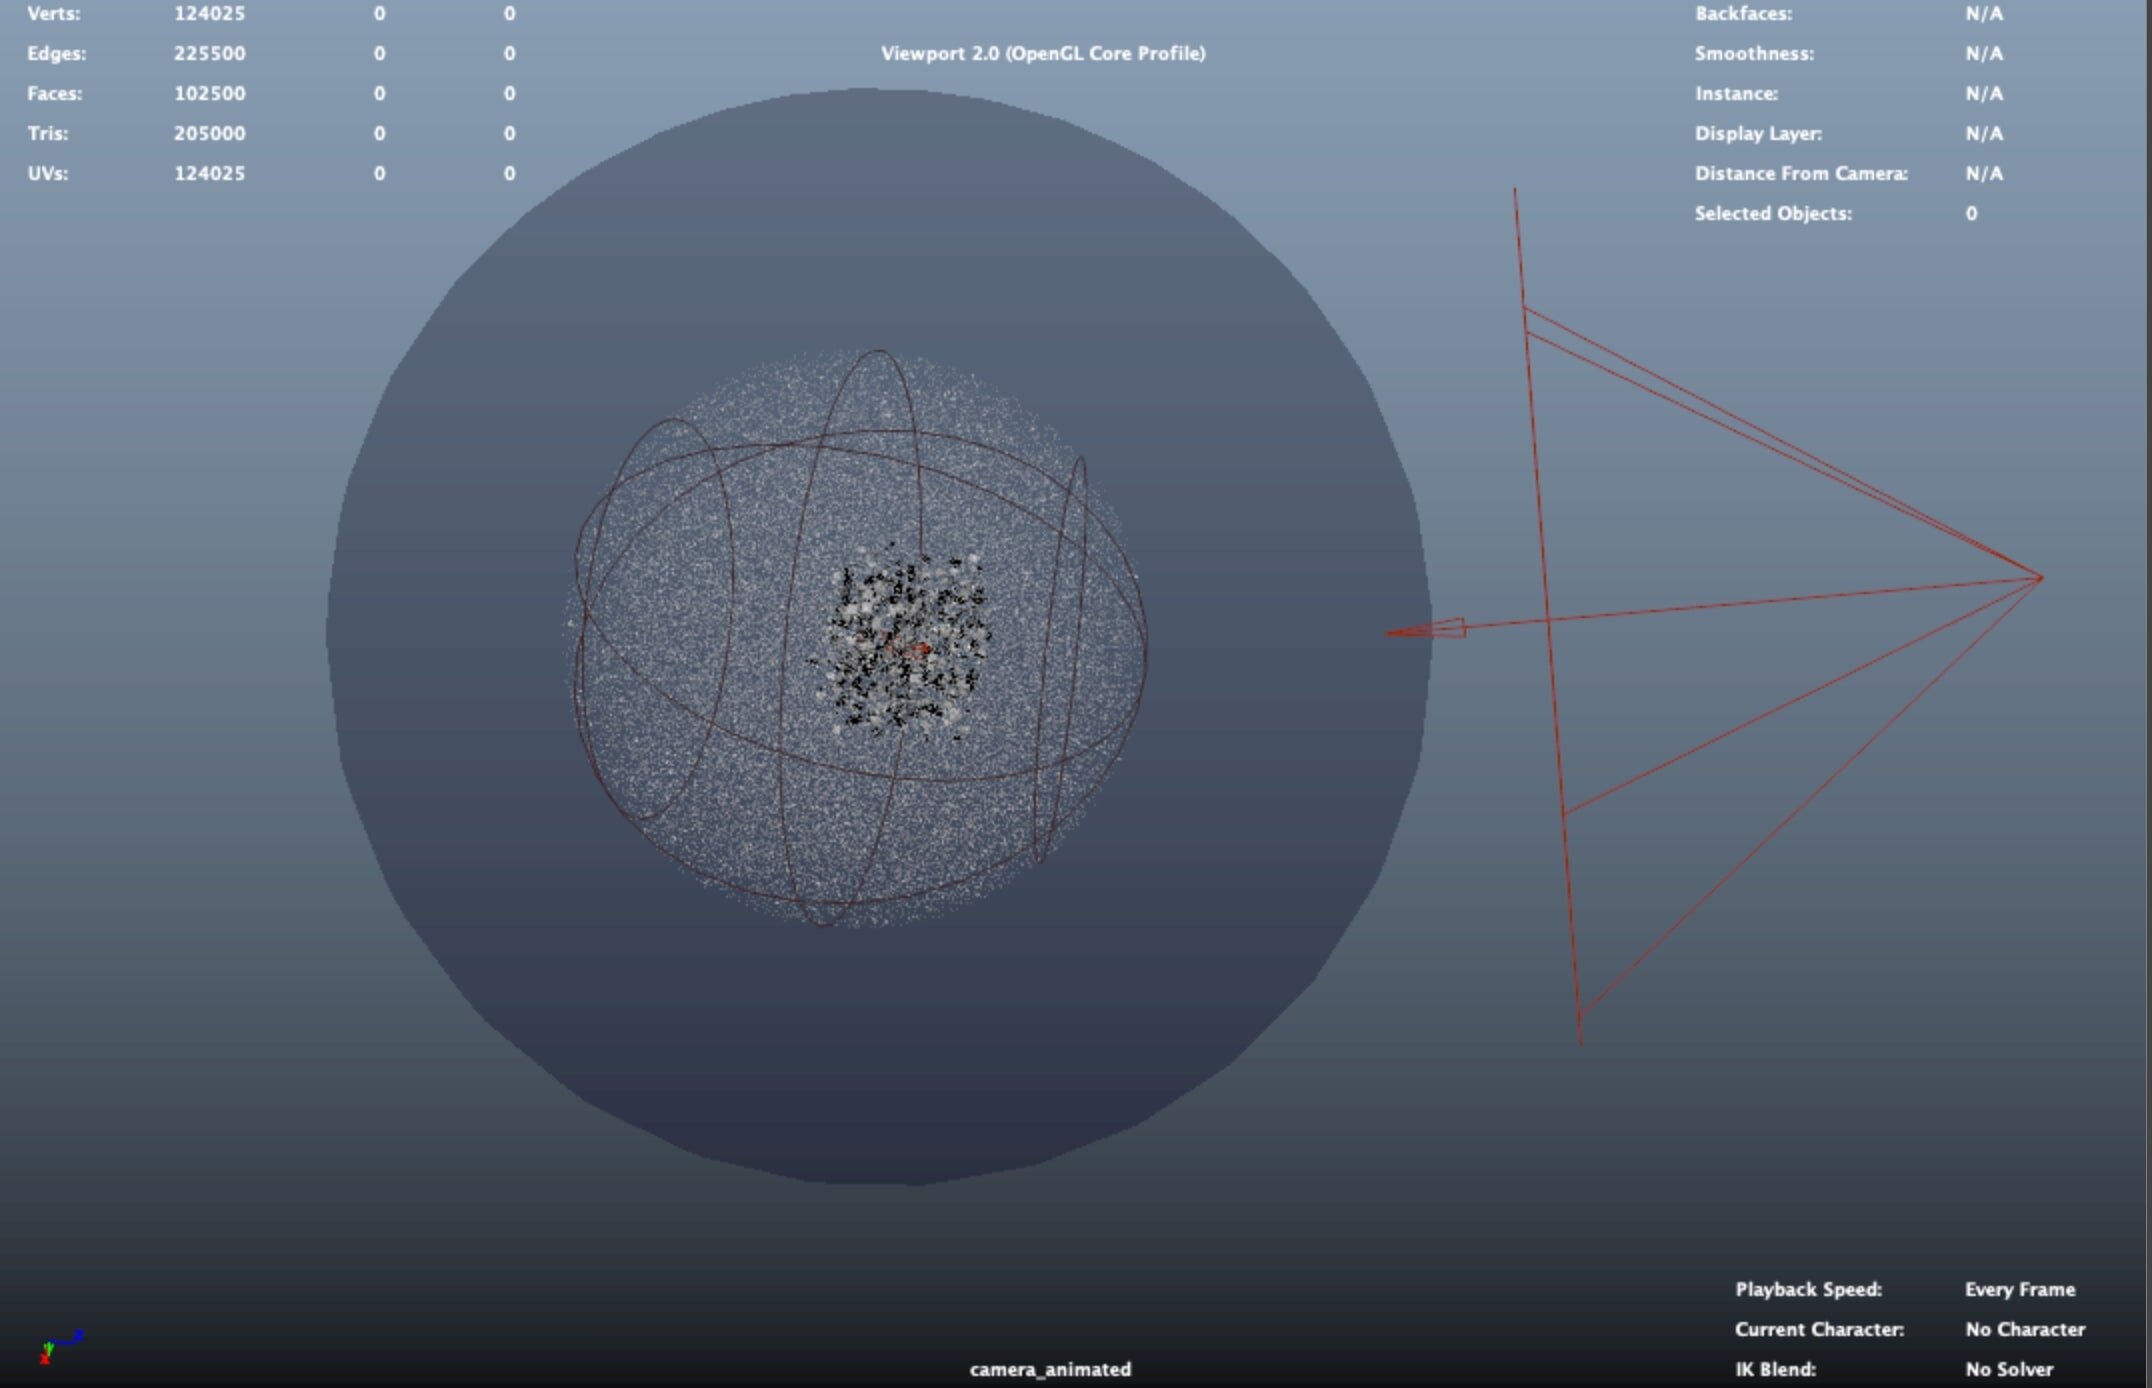
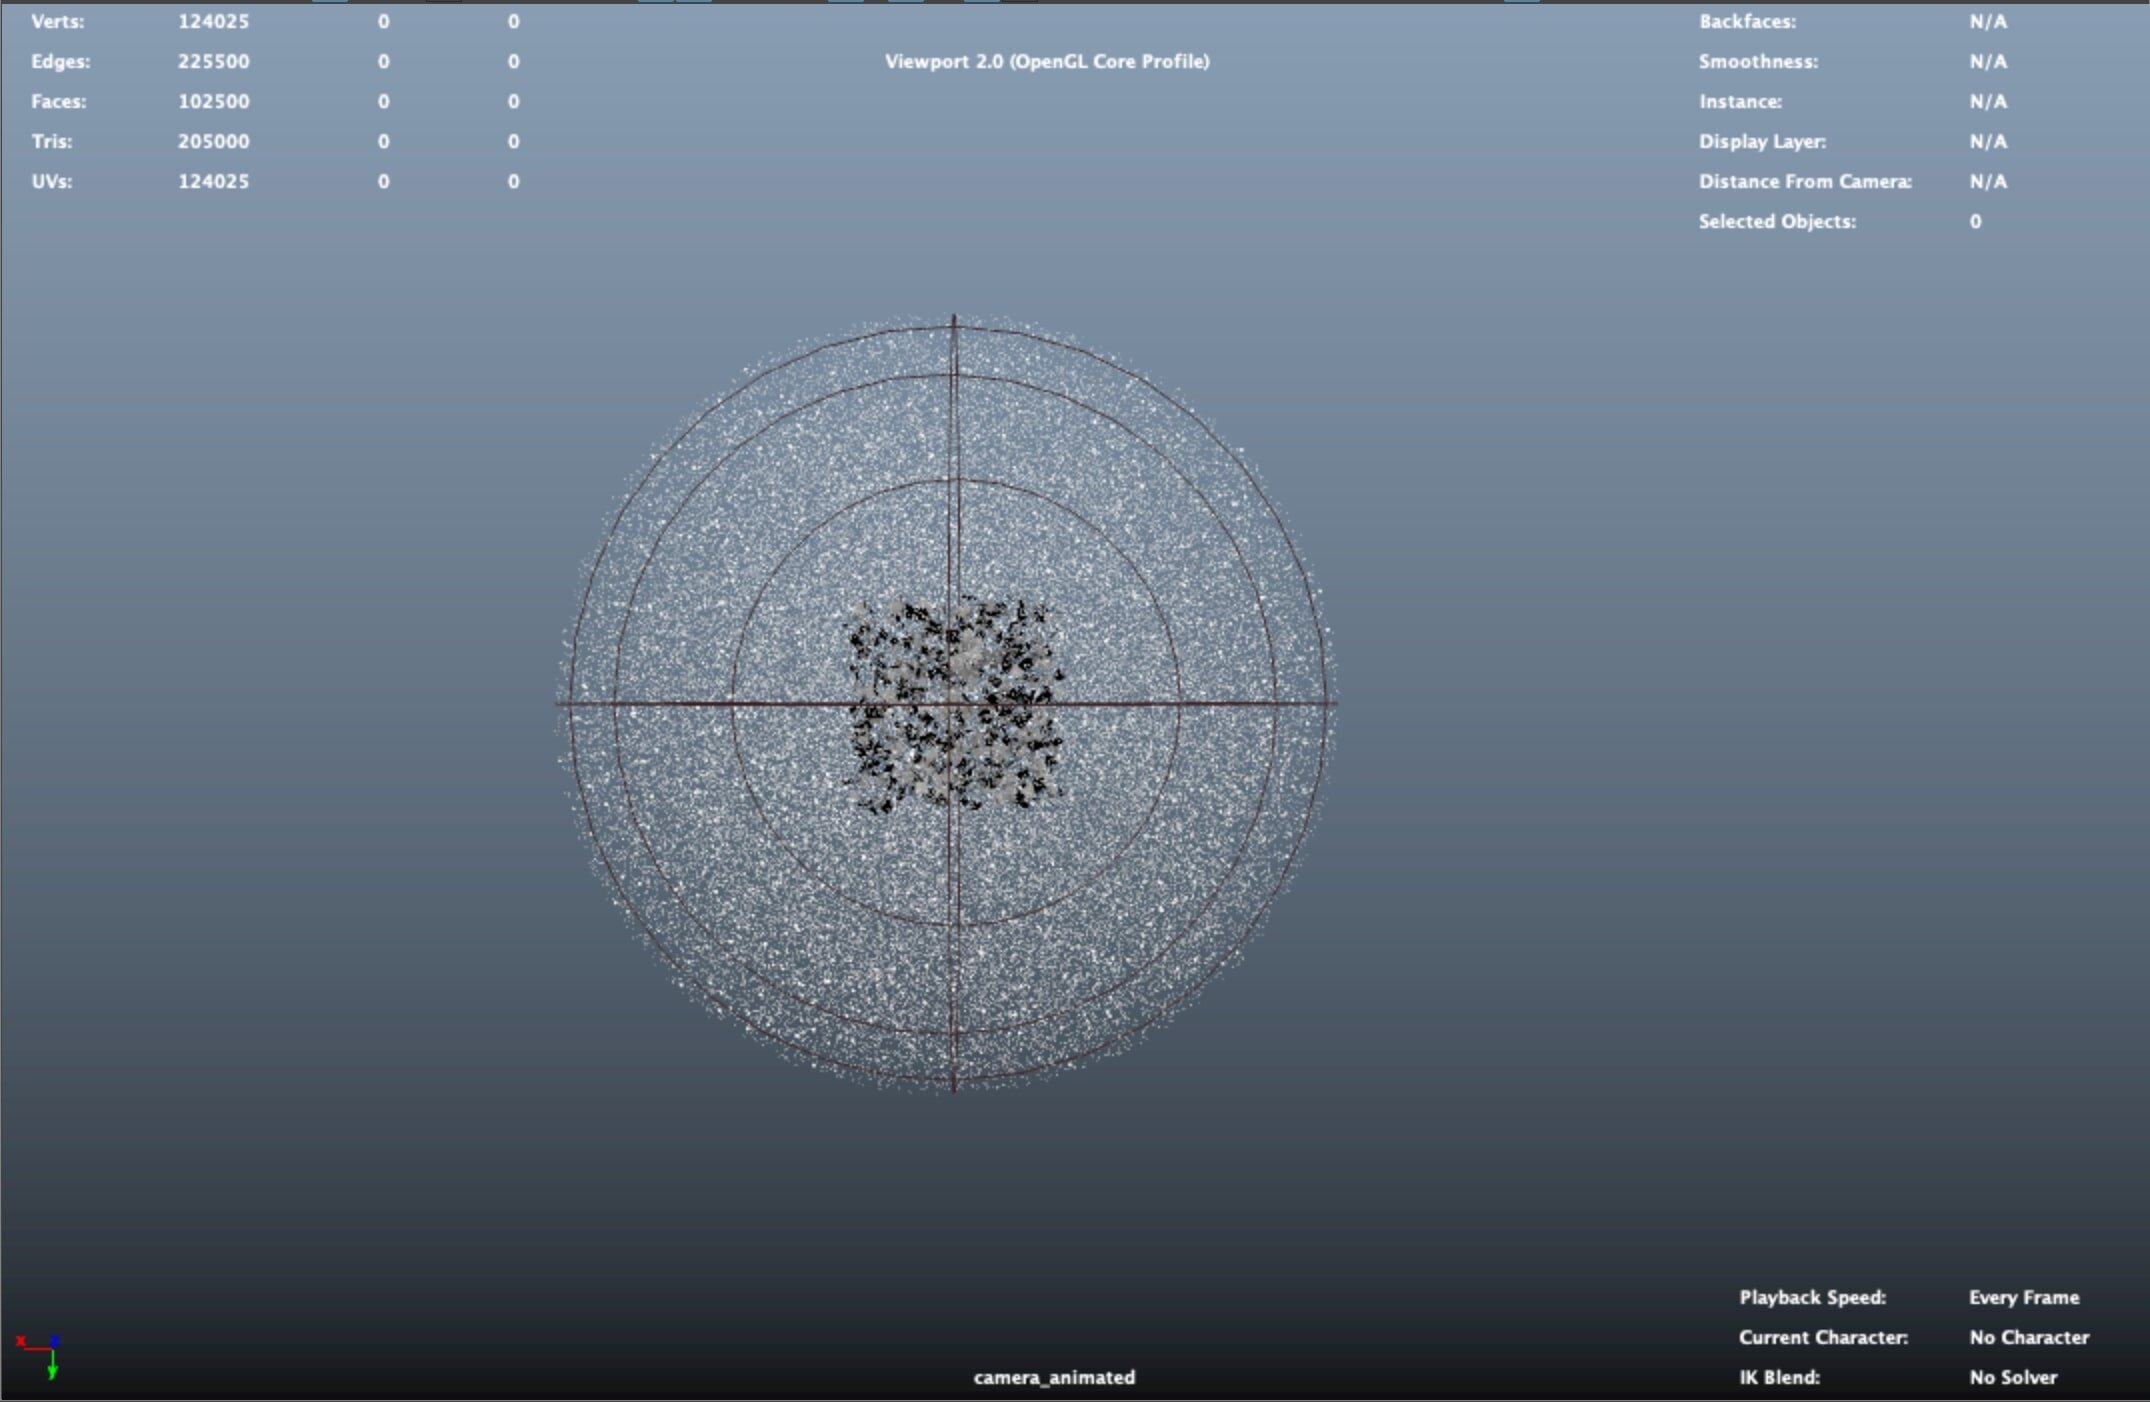
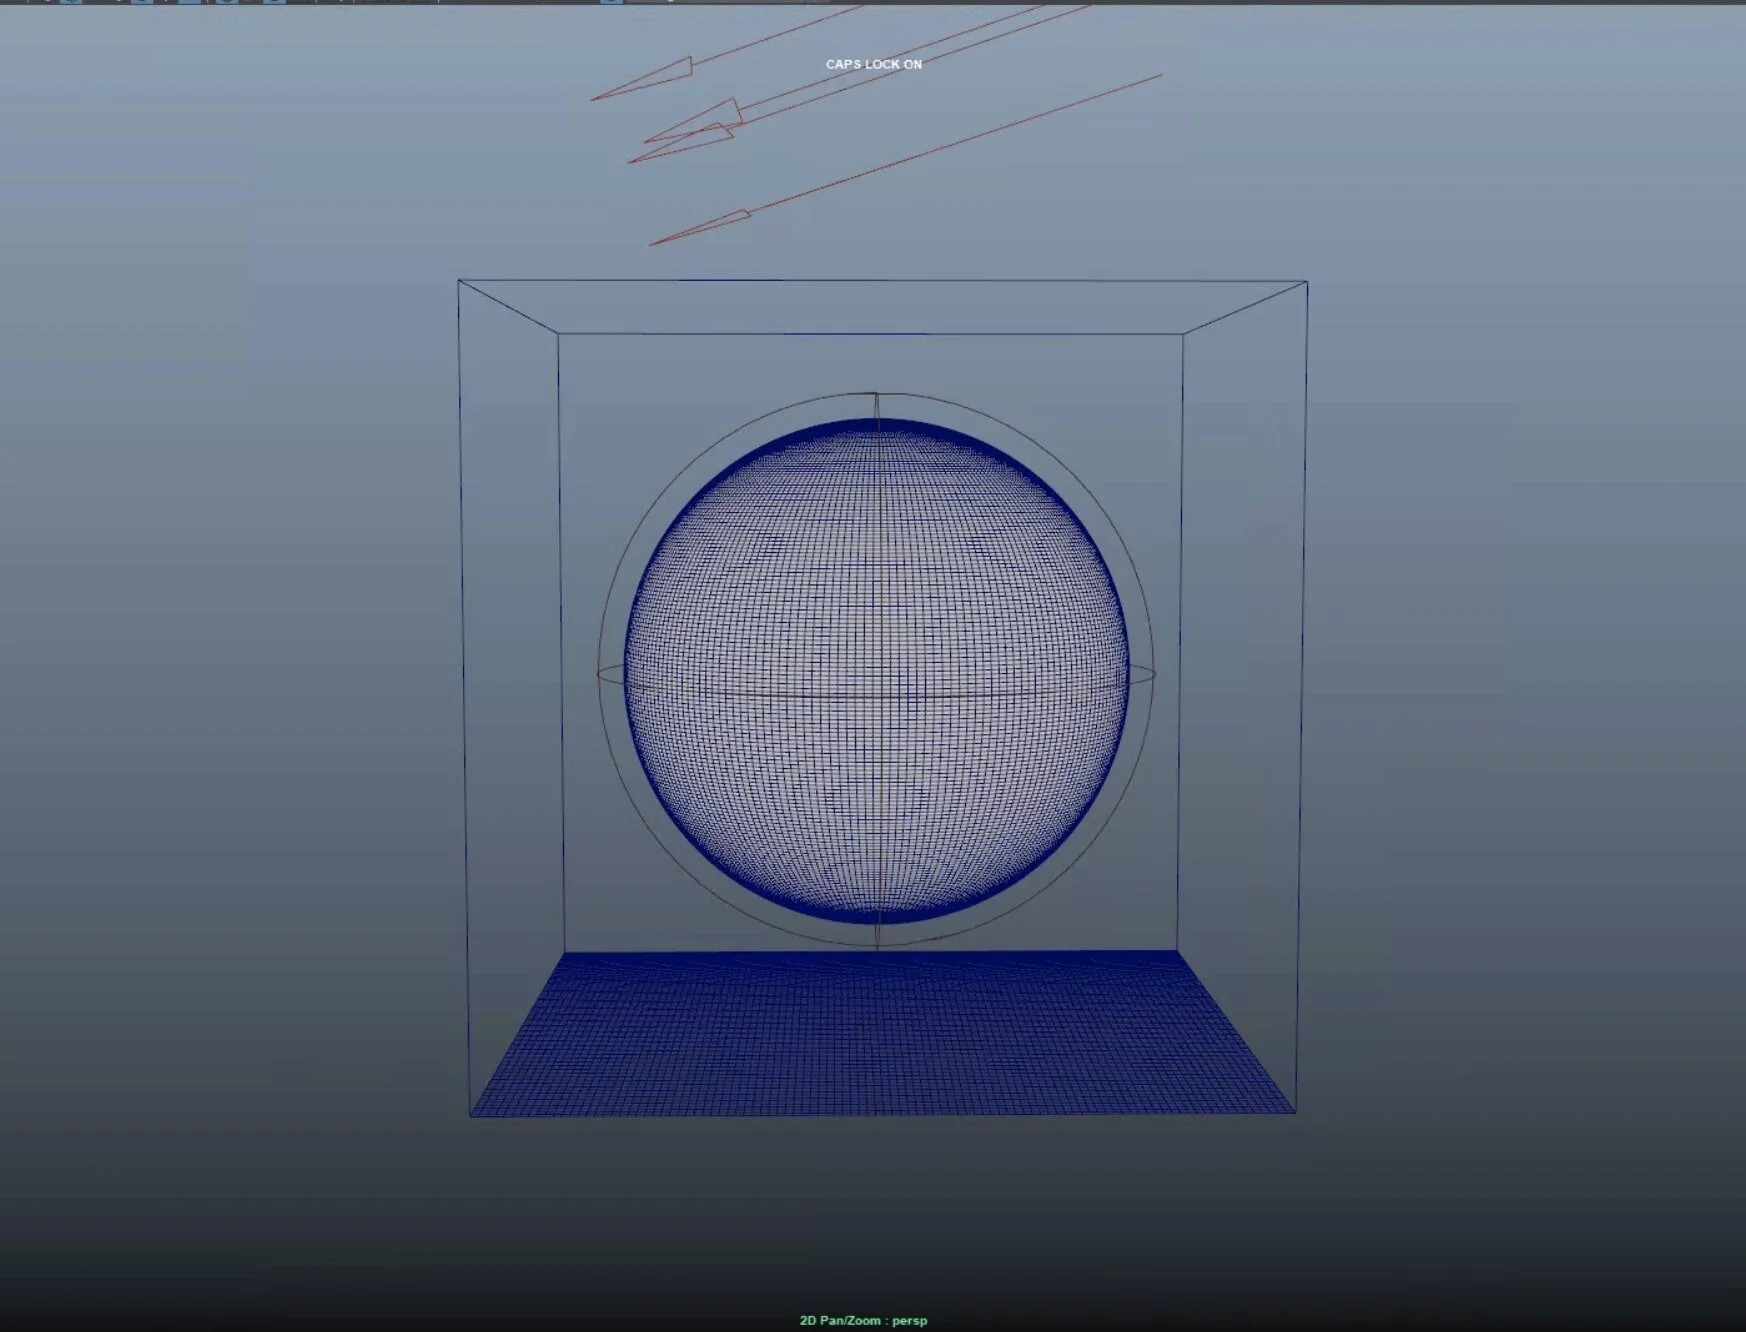
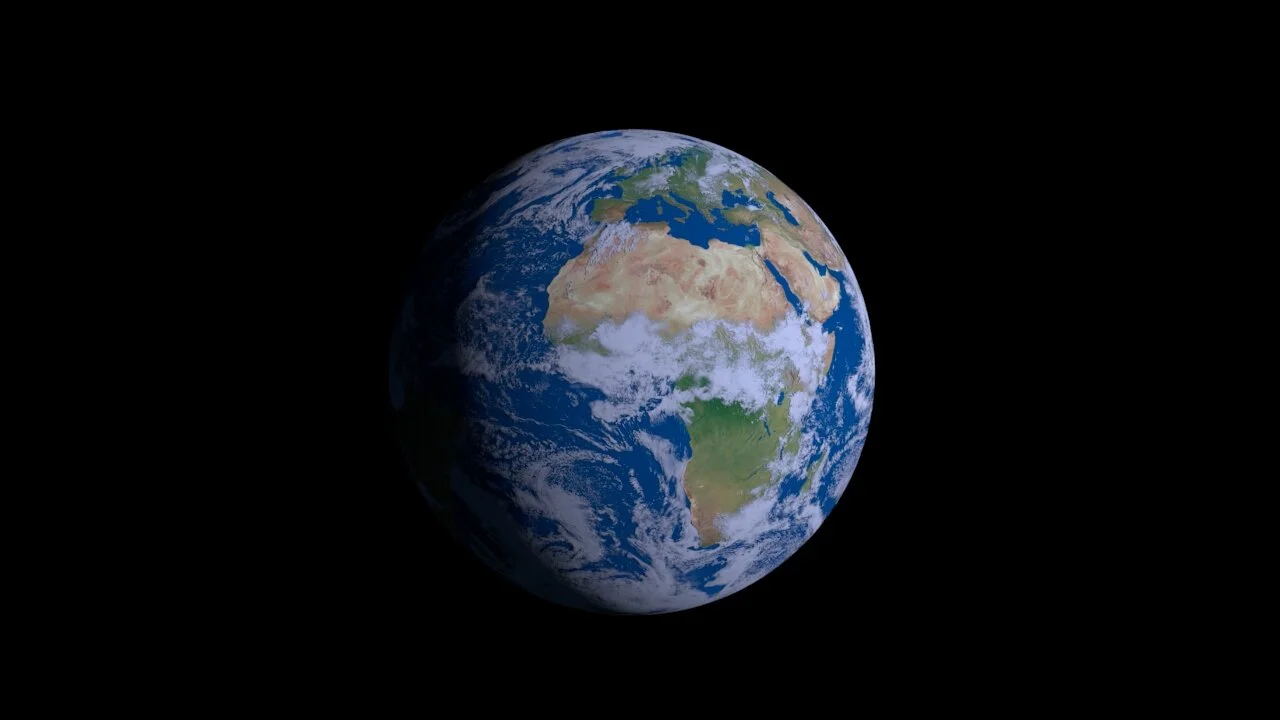
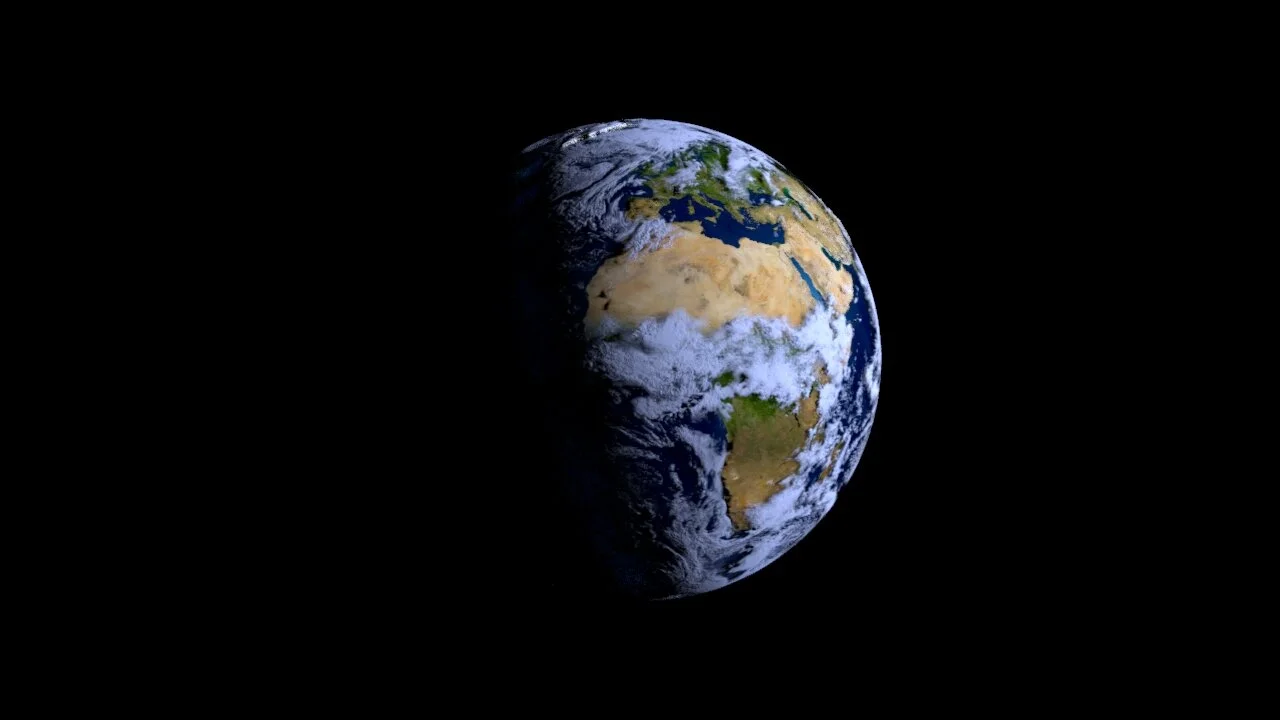
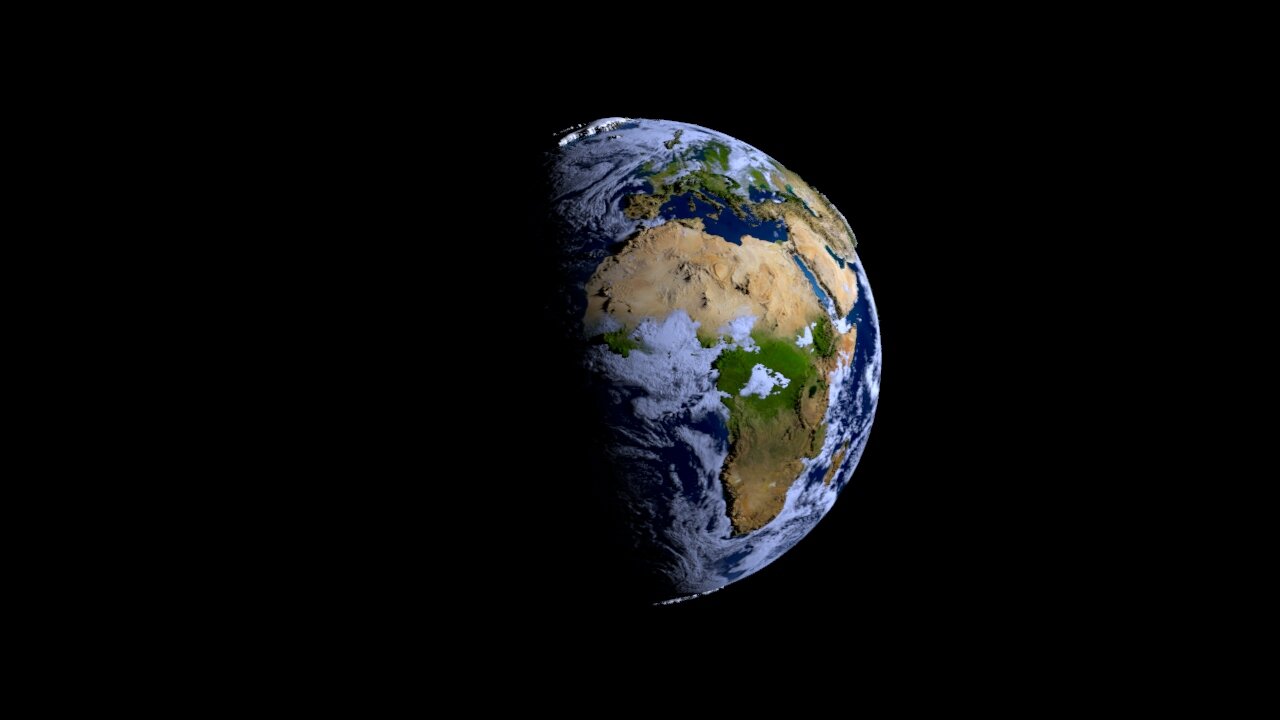
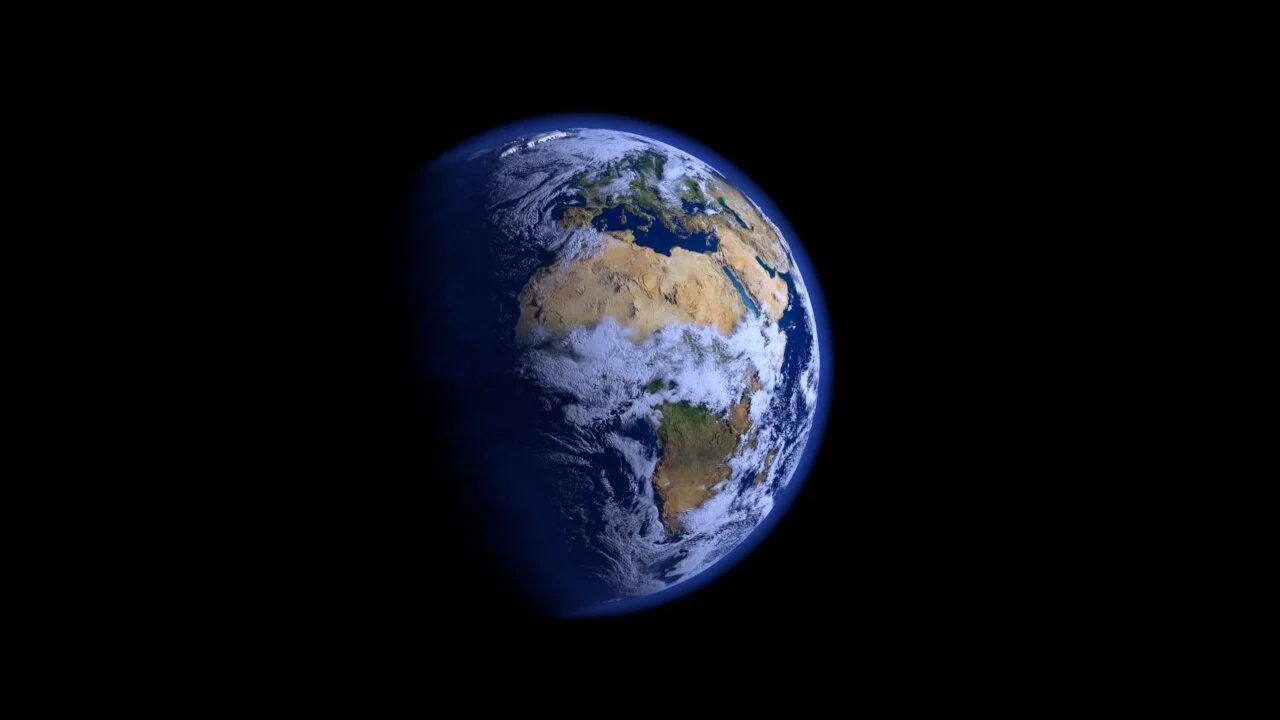
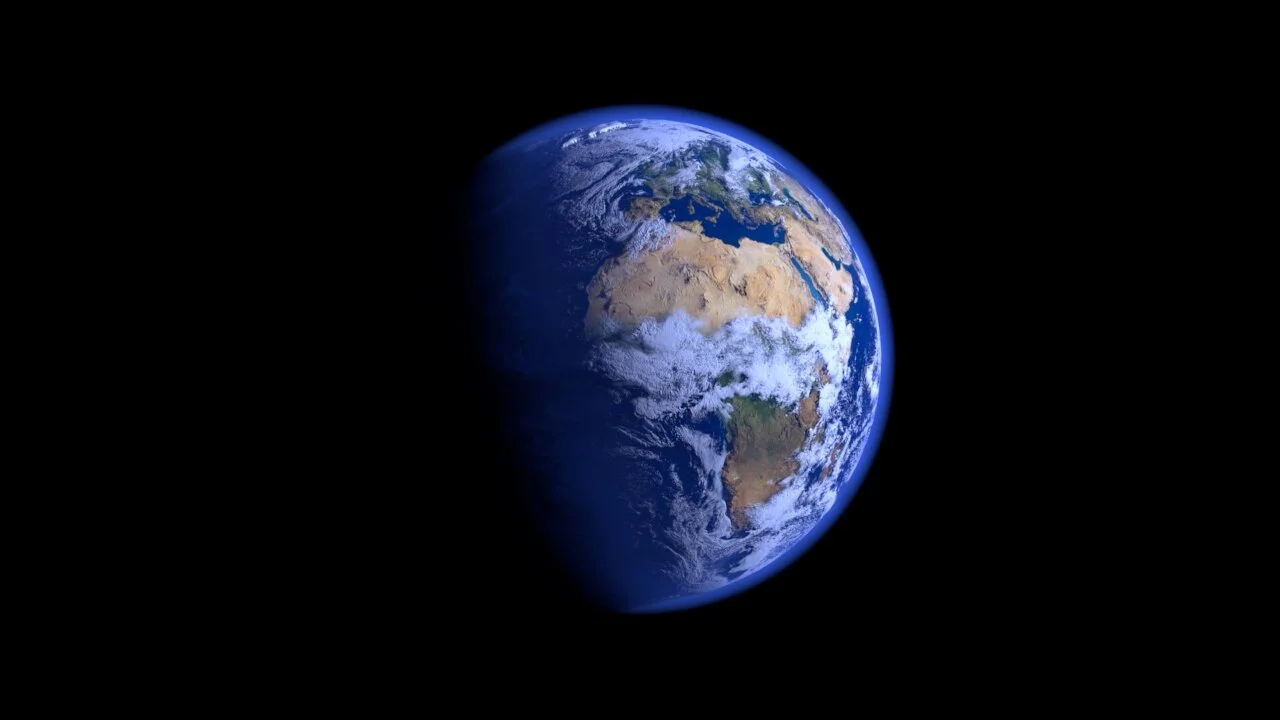
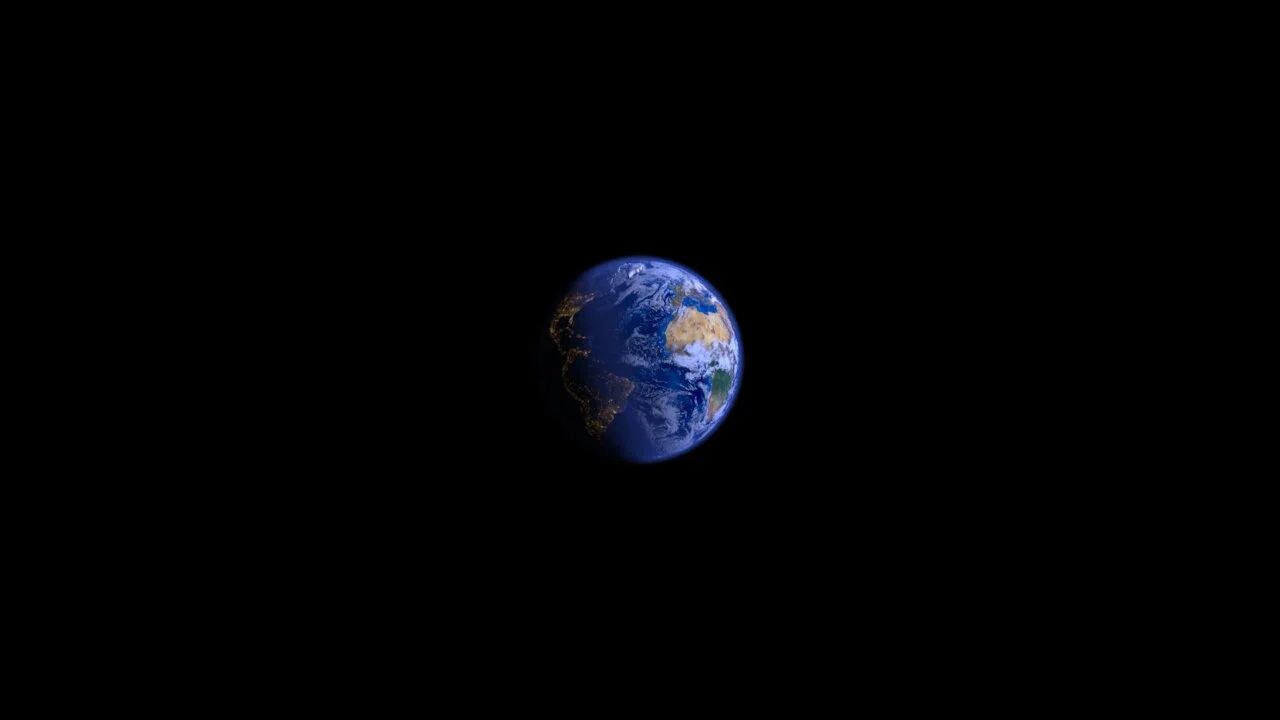
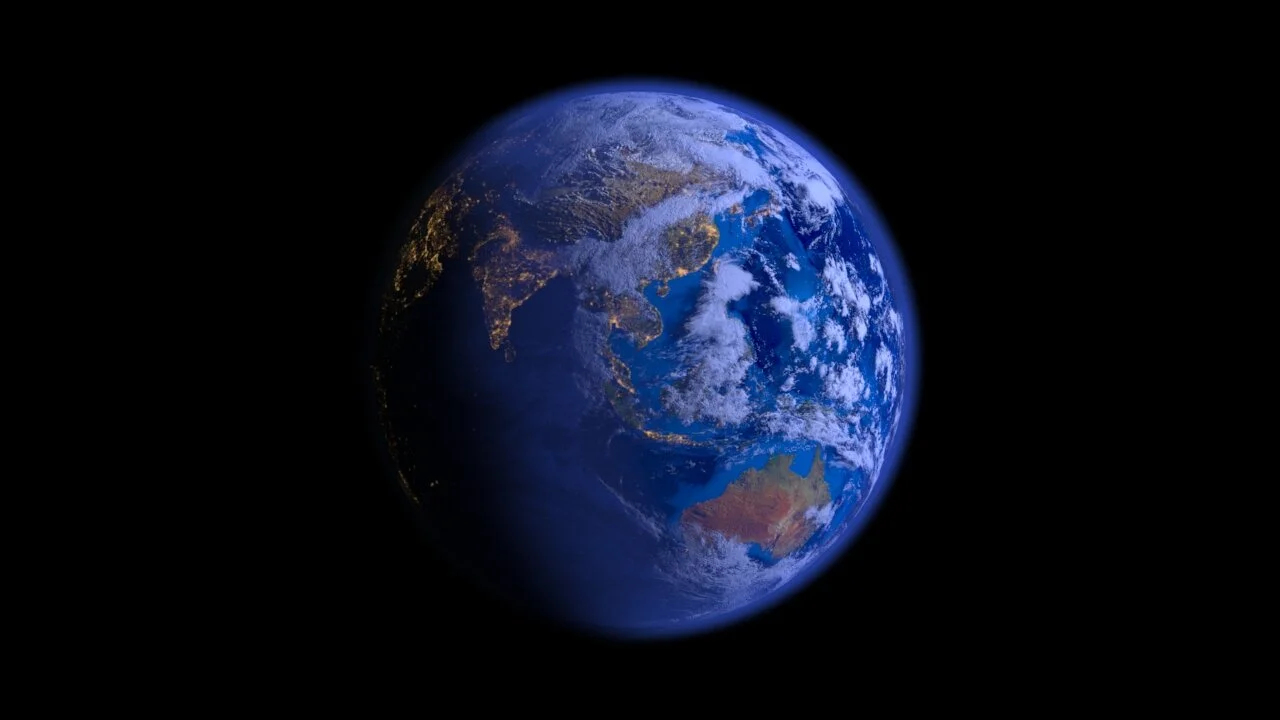
Scene 3: A Pale Blue Dot
Brief Reflection:
So this scene was actually extremely simple to set up in comparison to the rest of the scenes in this piece (despite what the quality of the final renders shown below might otherwise indicate.) The scene is literally just using two high-poly spheres (—one for the clouds layer and one for the earth itself—) that are superimposed on top of each other (using ‘trace sets’), with an additional fluid system positioned on top of the spheres to create the glowing blue-ish atmospheric effect. The core of this scene (i.e. the magic that actually makes it look realistic) was entirely in the texturing process. I pulled some absurdly high-rez textures from the NASA database (—128k files that were then compressed down to 64k—), and then used those textures to create custom PBR shaders for the ‘earth’ + ‘cloud’ layers. That’s all there really was too it—2 spheres, a fluid system, and 30gb+ in texture files across the 2 shading networks.